The Dream 1000 Project

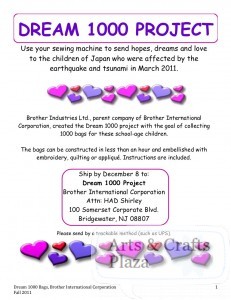
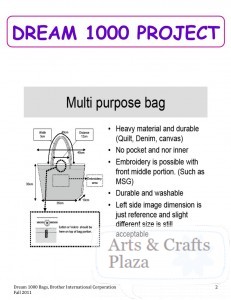
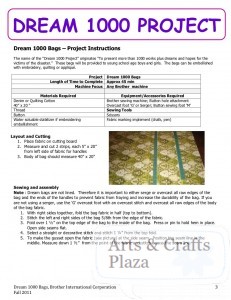
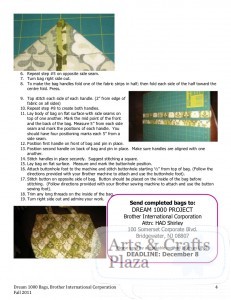
Brother company is sponsoring a wonderful project, ‘The Dream 1000 Project’. As we all heard, Japan had a major disaster this year, Earthquake followed by Tsunami that devastated the area. The folks there are still struggling to put their lives back together. Brother’s goal is to collect school bags for the children made from a pattern that takes approximately 45 minutes to complete. The bags will be collected and distributed to the children affected by the disaster. Some Brother dealers agreed to collect the bags and ship them, check with your local dealer to see if they are participating. Follow the link below for the Dream 1000 project information and instructions on how to construct the bags and where to send them.  It’s the little things that make a difference. The kids will appreciate any and all efforts. The complete bag must be shipped by December 8, 2011.

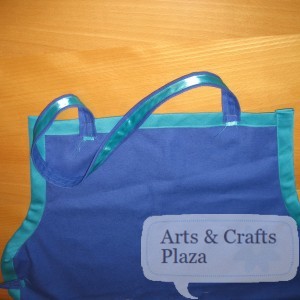
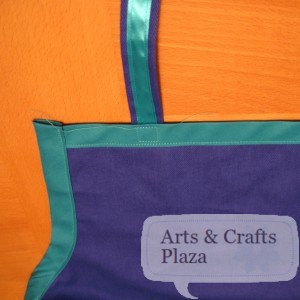
See how to make this bag:
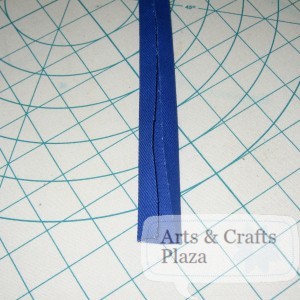
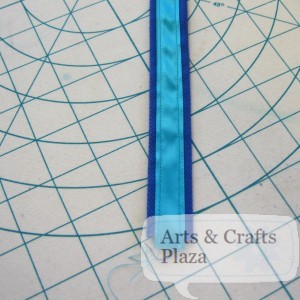
You can find: How To: Dream 1000 Project Bag – Part 1
You can find: How To: Dream 1000 Project Bag – Part 2

See information Brother provided and consider joining for a great cause:

The Dream 1000 Project – Tuesday, October 25 at 8:00am – December 8 at 9:00am

Brother Industries Ltd., parent company of Brother International Corporation, created the “Dream 1000 Project” with the goal of collecting 1000 bags for young school age boys and girls in Japan who were affected by the earthquake and tsunami in March 2011. We’d like to surpass this goal, but we’ll need your help.

We invite you to use your sewing machine to send hopes, dreams and love to the children of Japan by creating multipurpose school bags.
Send bags to:

Ship by December 8 to:

Dream 1000 Project
Brother International Corporation
Attn: HAD Shirley
100 Somerset Corporate Blvd.
Bridgewater, NJ 08807

Please send by a trackable method (such as UPS).

In the link below we have provided the specific instructions on how to create and where to send the bags.
The bags can be constructed in less than an hour and embellished with embroidery, quilting or applique.
You can find the instructions below:
http://ow.ly/d/o3X

For your convenience, see information:

Join the event on facebook:
https://www.facebook.com/event.php?eid=235853446469748

Remember, the goal is 1000 bags, the hope is to far surpass this. Thank you for all your help!

Houston, TX
Visit Brother at the George R. Brown Convention Center!
1001 Avenida De Las Americas, Houston, TX
Brother “drop-in” classroom #361A
Monday, October 31 – Saturday, November 5
8:00 am – noon. 1:00 pm – 5:00 pm
Sunday, November 6
8:00 am – noon only
All materials for creating the bags will be available in the classroom!

Central California
Central Valley Vacuum & Sewing Center customers, we are participating and will allow you to come into the store and use one of our Brother embroidery machines so that you can also participate.
We will even ship them to save you the postage. info@cvvsc.com
41453 Avenue, Madera, CA 93636     559-822-3300      www.cvvsc.com

East Bay of SF, CA:
We are hosting a free sewing bee using all of our fabulous modern sewing technology to sew and embroider tote bags for children in Japan who are still greatly impacted by the effects of the 2011 earthquake and tsunami. Joining Brother dealers across America, our joint goal is to donate at least 1000 totes for school age Japanese boys and girls.
sewnow! will provide all the supplies and set-up, as well as refreshments and a take home gift for all participants. Basic sewing skills required – ages 8-100 are welcome for a morning of sewing fun.
Register by clicking the facebook event or email info@sewnow.com to confirm participation.
960 Moraga Rd., Lafayette, CA 94549   925.283.7396     http://www.sewnow.com
Join us at sewnow! to participate in the ‘Dream 1000 Project.

To see some pictures of the area affected and how it’s changing:
http://blogs.sacbee.com/photos/2011/09/japan-marks-6-months-since-ear.html

Let’s create something!
How to: Polymer Clay beads Mokume Gane Style – Part 2

You can find: How to: Polymer Clay beads Mokume Gane Style – Part 1

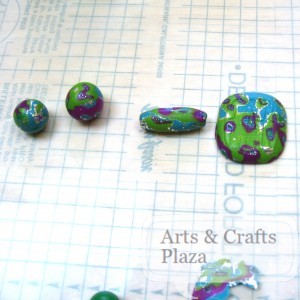
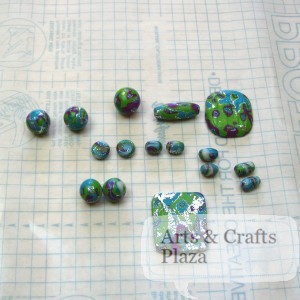
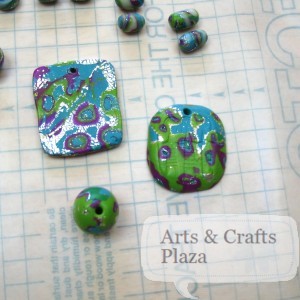
Take the colorful Polymer Clay slices you created and start wrapping your made beads, gently as to keep it’s shape.

Repeat for as many beads as you want.

Shapes are up to you, from larger pendants to your basic round beads.

You can also make imprints on your newly created beads.

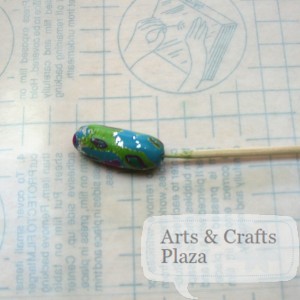
Make sure you make holes in your beads so you can string it or attach with jump ring.
Use a skewer or anything size appropriate to create the holes.

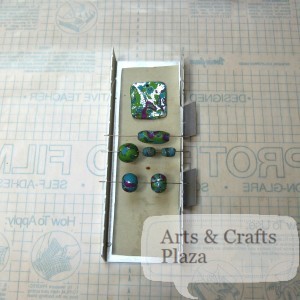
Put your beads on a rack so your beads will retain it’s shape and have even heat on them.

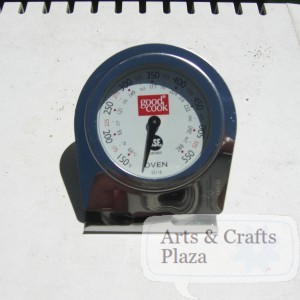
Use oven thermometer to make sure the temperature is actually same as indicted.
Should the temperature be off you can easily burn your Polymer Clay beads.

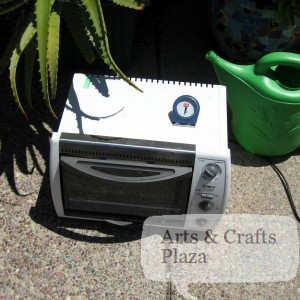
We used an old toaster oven to bake our beads. It is not recommended to use your kitchen oven.
Put your oven outdoors, in the backyard or balcony if possible.

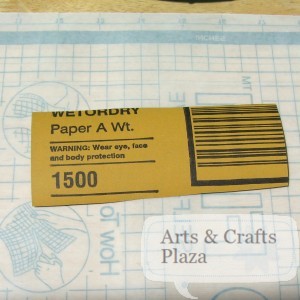
Now it’s time to sand our beads.
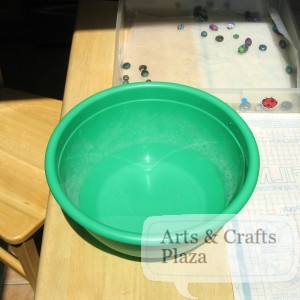
It is better to sand the Polymer Clay beads under water so you are not breathing in the dust.

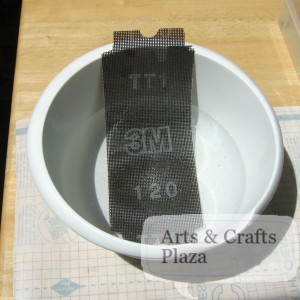
Start of with a more coarse grade sanding paper.

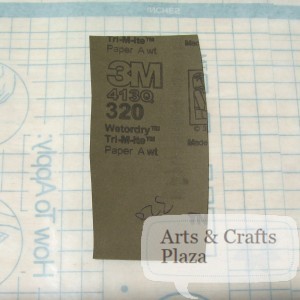
Gradually work your way to a more finer sanding paper.

Keep working on sanding your beads on finer sanding paper for best results.

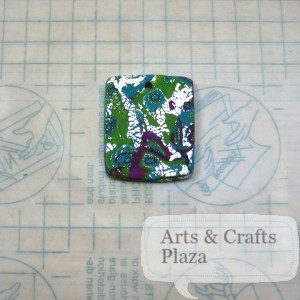
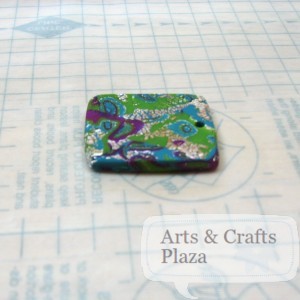
Notice the sides of the pendant are now straight and aligned.

While the top and bottom have a slight curve to them.
The design style is up to you.

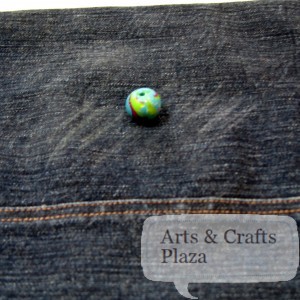
Finish by buffing your beads on an old pair of jeans.

There are different methods to seal your beads.
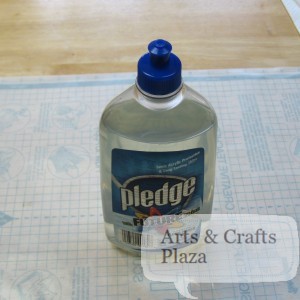
We chose to use Pledge with future shine.

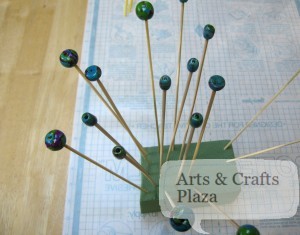
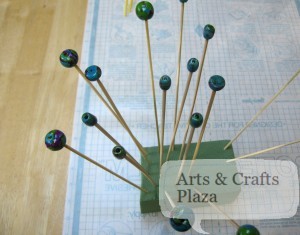
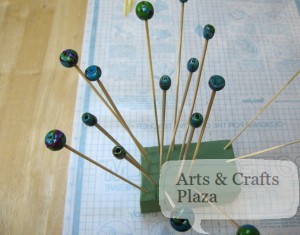
We used floral foam to put our beads on skewers and then using a brush coated them with two layers.
Check product instructions for drying time between layers.

Your Polymer Clay beads are now ready to be used. From Jewelry to decorative projects.

Your project is now complete! enjoy.
You can find: How to: Polymer Clay beads Mokume Gane Style – Part 1

How to: Polymer Clay beads Mokume Gane Style – Part 1

My friend Catherine suggested we have a play day making beads from Polymer Clay in Mokume Gane style.
This was my first attempt and not too shabby if I do say so myself.

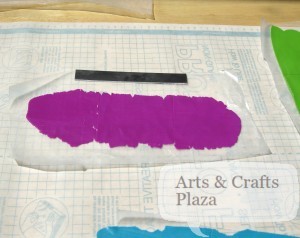
Start off by protecting the work surface. In this case we used Protecto film.

Pick a color and start working with it. We used Purple.

Choose another color you would like to use with your design. We used light Blue.

Want a shade of color but you don’t have it?
Not a problem, just mix two or more colors.
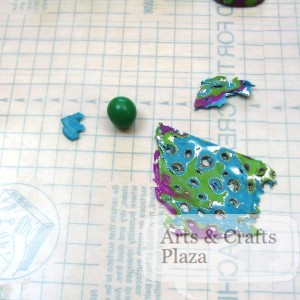
Start by cutting them into small pieces (we used a mixer to achieve these results)

Then start working the two colors together.

You will end up with the color you want. We were going for Lime Green.

Once you have all your colors it’s time to move on to the next step.
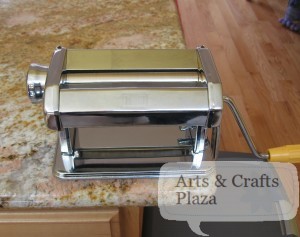
We used an old pasta maker.

Gradually make your clay thiner.

Cut your colors into 3 parts roughly the same size.

Then add Silver leaf on about 1/2 your color Polymer Clay blocks.
Make sure to cover at least 1 of every color.

Now it’s time to stack them.
Be sure to alternate between a block with Silver leaf and a block without.
As well as the different colors.

Once you have your block put dents it different sizes randomly spaced.
Don’t push all the way down (don’t create a hole).

Now it’s time to slice into your block at an angle.
You want your cut pieces to consist of several layers.

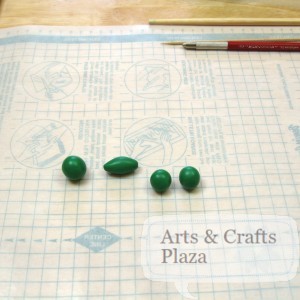
You can now create your base shape with a color you will cover partly or completely, it’s up to you.

You can find: How to: Polymer Clay beads Mokume Gane Style – Part 2

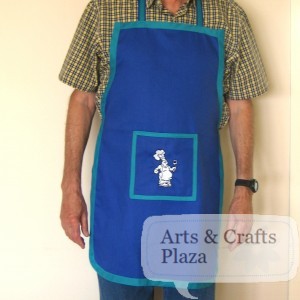
How to: Sewing a Chef’s Apron

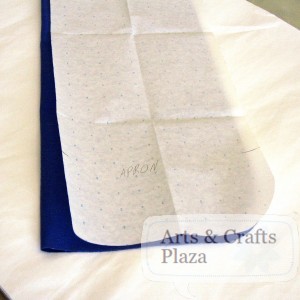
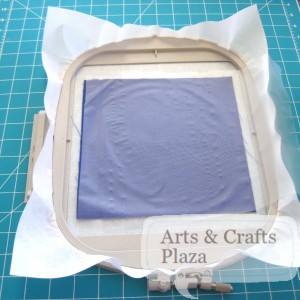
We start by tracing the Apron’s pattern to our fabric

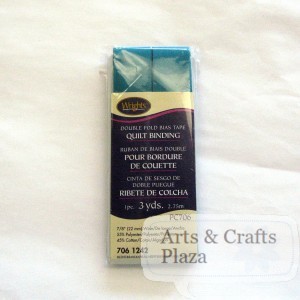
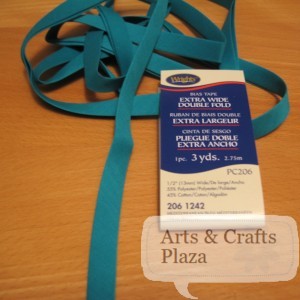
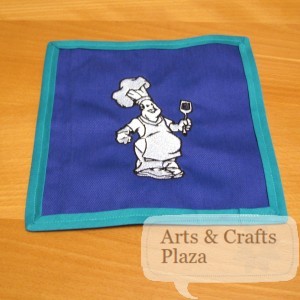
We decided to add another color by framing the apron with quilt binding.

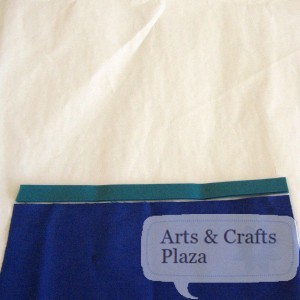
We start by cutting a piece of the biding to cover the top of the apron.

We are now working on the back side of the apron.
We pin the binding on the short fold to the apron’s fabric.

We sew it with a straight stitch.

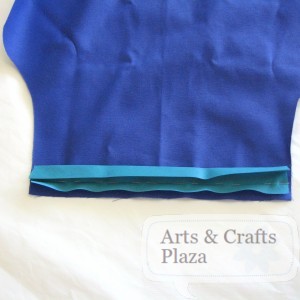
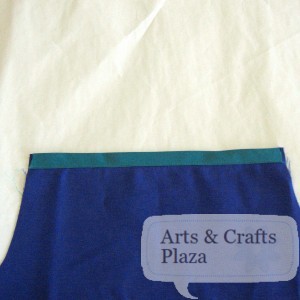
We turn our apron to the front side now.
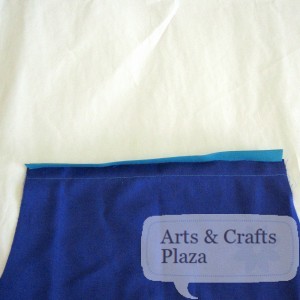
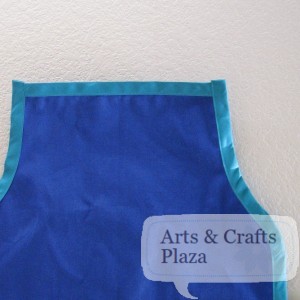
This is how it should look from the front.

We will fold the binding to the front of the apron.
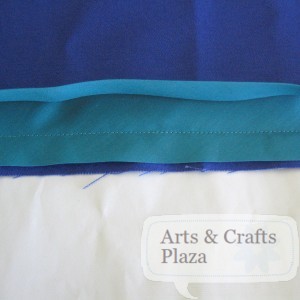
Stitch it, making sure to cover the stitch that is already there.

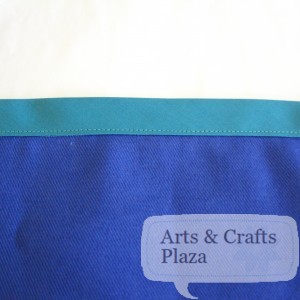
The stitch from a closer view.

We are now going to repeat the process around the rest of the apron.

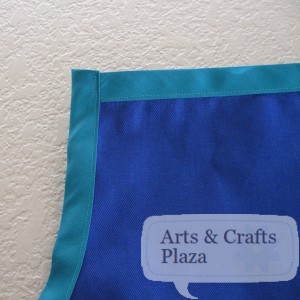
Closer look at the corner top of the apron.

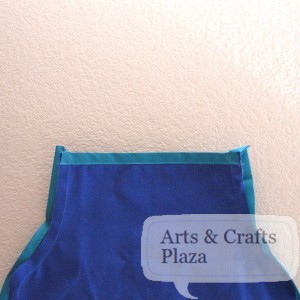
The binding stitched around the entire apron.

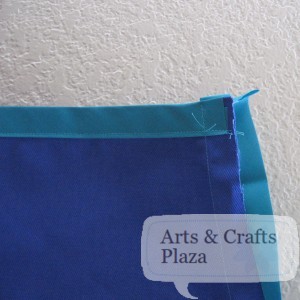
Closer look at the top corner.

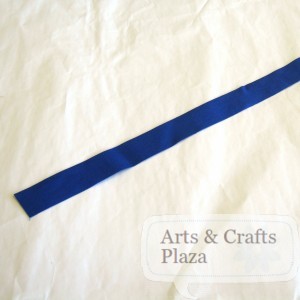
We cut the straps, one for around the neck and two to tie the apron.

We fold the strap in half and iron.

We now fold from both sides into our center fold and iron.

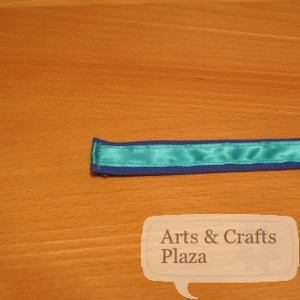
We hide the edges by sewing a ribbon in matching color to our binding.

We pin the strap to the back of our apron.
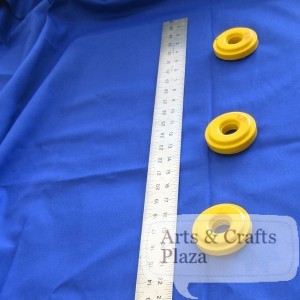
Be sure to measure equal distance from both sides.

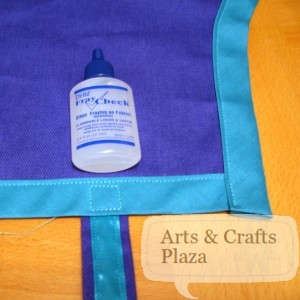
We sew the straps by making a square to secure it to our apron.

Cut any access thread and put a dab of Fray Check to make sure it wouldn’t come unraveled.

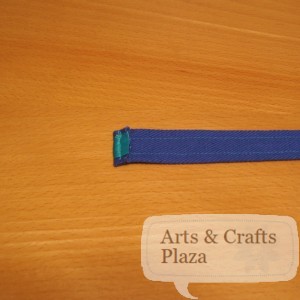
We fold the end of the strap and sew.

A look for the back side of the strap.

We cut the fabric for the pocket.

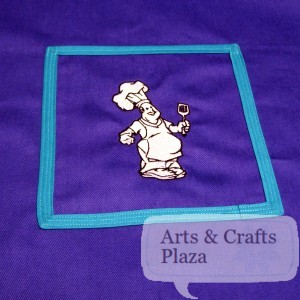
We will now embroider a chef on our pocket.
See instruction for Embroidery on our post: “Mickey Mouse Embroidered on a Towel

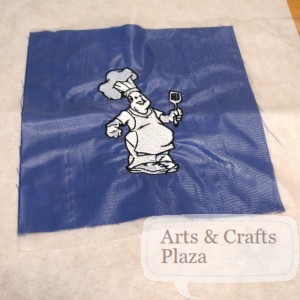
The Embroidered pocket.

We will use a narrower quilt binding in the same color for the pocket.

We will make sure our corners meet at 45 degree angles.

We will attach the pocket to the apron.
Remember to reverse your stitches at the top of the pocket to secure it better.
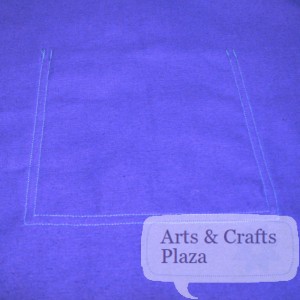
We stitched around the pocket twice.

A view of the pocket from the back.

Your project is now complete! enjoy.
How to: Silver Hoop with Purple Swarovski Crystals Earrings

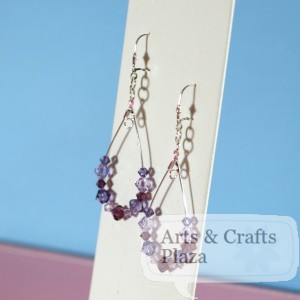
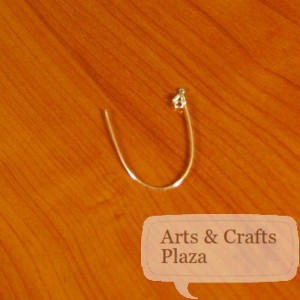
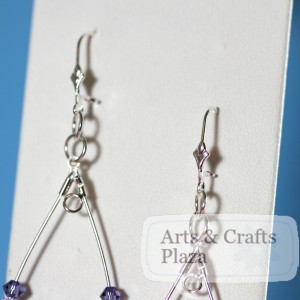
To create these gorgeous Silver Hoop with Purple Swarovski Crystals Earrings we will start with the hoop.

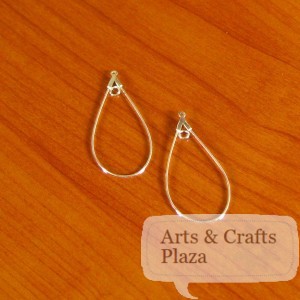
Use a hoop that you can open on one side by just pulling the bar out.

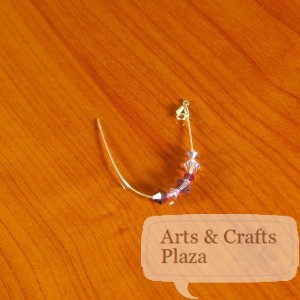
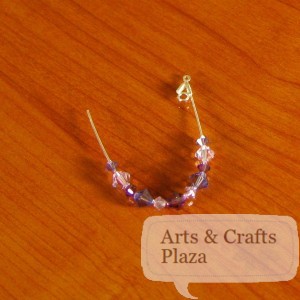
We start by stringing on the hoop bar various Swarovski Crystals in different shades and sizes.

By selecting a single Swarovski Crystal and mirroring on the either side, we create a pattern.

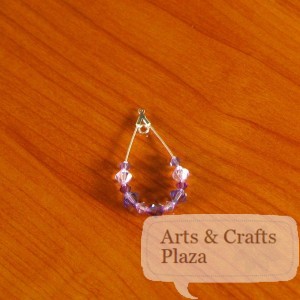
Once we are happy with the look, we will close the hoop bar by inserting it back into the slot.

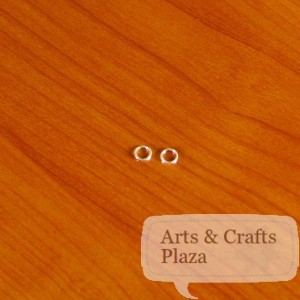
To attach the hoop to the ear wire we will use a jump ring.
A jump ring, is a ring that has an opening and doesn’t complete the full circle.

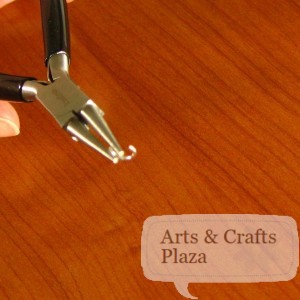
We open the jump ring by using 2 round nose pliers. The first plier we use to hold the jump ring.
The second plier we use by moving it away from you.
Reverse the motion to close.

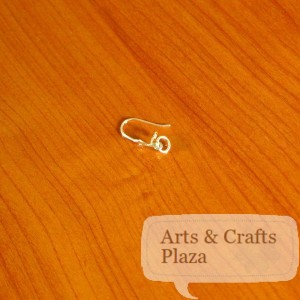
We attach the first jump ring to the ear wire.
Open and close the jump ring with the ear wire inside it.

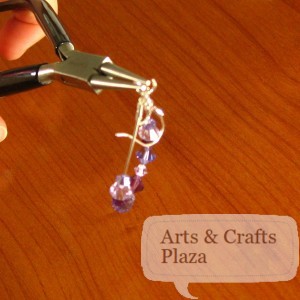
We will attach a second jump ring to our already attached jump ring with the ear wire as well as to the hoop.
By attaching the second jump ring, we create more movement to our Jewelry piece

Make sure you attach it in a way that both the ear wire and hoop are facing the same way.

Your project is now complete! enjoy.

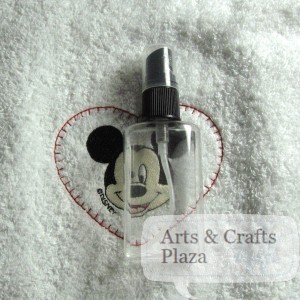
How to: Mickey Mouse Embroidered on a Towel

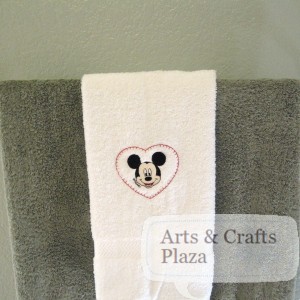
Mickey Mouse towel Embroidery "how to"

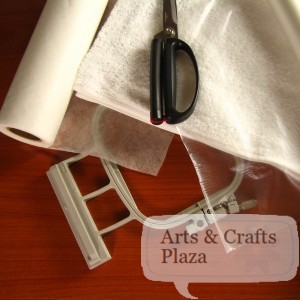
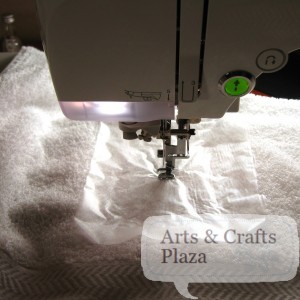
To embroider Mickey Mouse on a towel we will use a stabilizer and a topper to sandwich the towel.

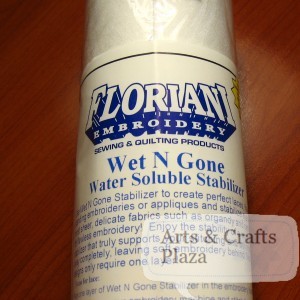
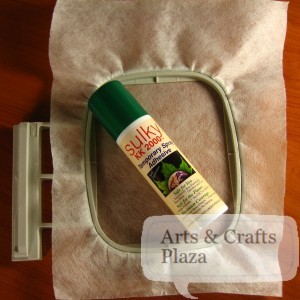
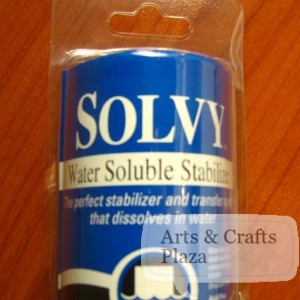
We will start by hooping Wet N Gone, a water soluble stabilizer.

Micky Mouse Towel Embroidery "how to"

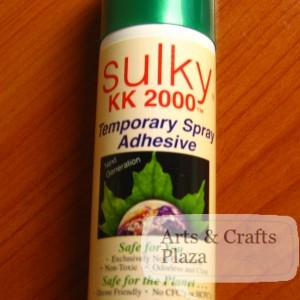
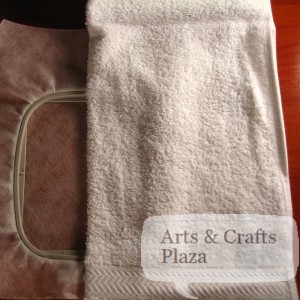
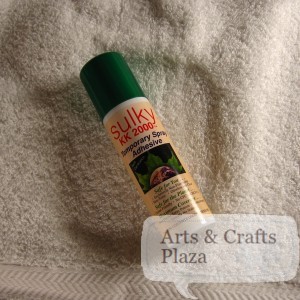
We will then use a spray adhesive to attach the towel to the stabilizer.

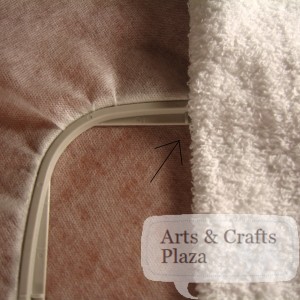
It is possible to hoop a towel if it is not too thick, however, we find that using the adhesive works best as you can better position the towel.
We don’t recommend using sticky paper stabilizer as it will pull on the towel.

When positioning the towel, make sure you find the center point of the towel and align it with the center points on the hoop.

This is probably one of the most important step, be sure to take your time and get it right.

We will use the spray adhesive again this time on the towel.

We will put the water soluble topper on top of the towel, which will keep the stitches from sinking into the towel.

Now we are ready to put the hoop into the embroidery machine.

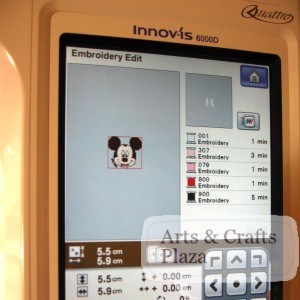
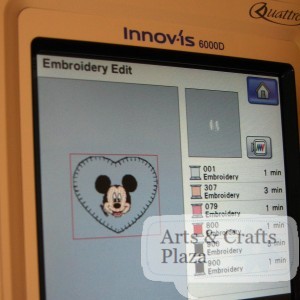
Select your design. We chose Mickey Mouse that is built in the Brother machine. We are using Brother’s Quattro Innovis 6000D (D is for Disney).

We then select a heart border and make sure none of the stitches overlap.

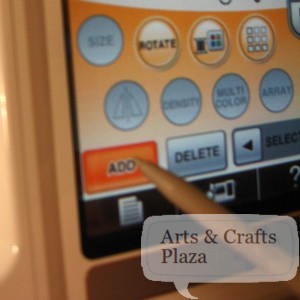
You want to make sure Mickey’s ears are not clipped by the border. Use the size button to achieve the appropriate size.

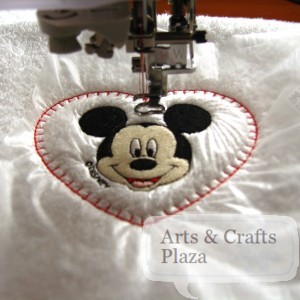
Mickey and boarder are ready to be embroidered.

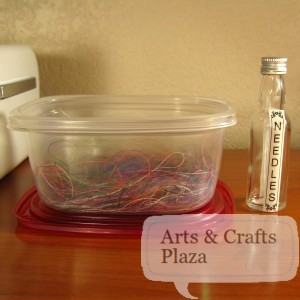
We suggest keeping a bottle for used needles, best practice to always have a place for them.
Be sure to change your needle every 8 hours.
As well as, keeping a plastic container on hand which we use to store the small pieces of thread.
Once you have enough you will be able to use that for another project.
Keep an eye out for this project.

We can now start embroidering Mickey
Make sure you have enough clearance for your machine to move the hoop freely.

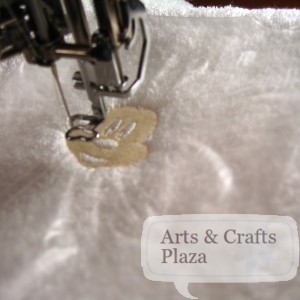
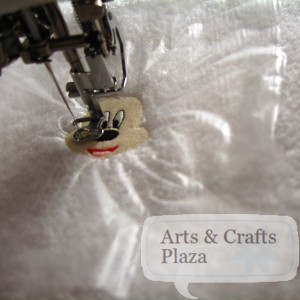
At first it doesn’t look like it’s going to come together.

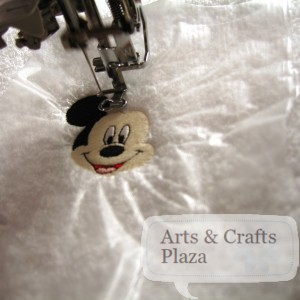
As you embroider more colors it all comes together.

Choose the color you want for your border, we used Red. Default is Black.

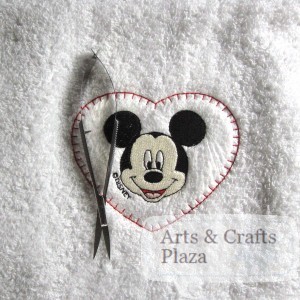
Remove hoop from your embroidery machine and cut any jump stitches that may be there.

You can now remove the water soluble topper. You can usually gently pull on it and it will come off.
Spray the design with water and use another piece of water soluble to get it all off by dabbing it.
It especially helps when it’s a gift to someone and you don’t want to explain that it will dissolve once they wash it.

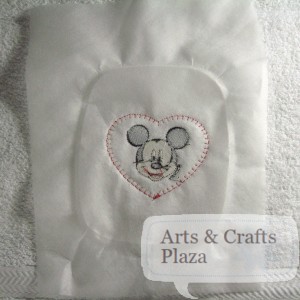
Now it’s time to tackle the back side of our embroidery.

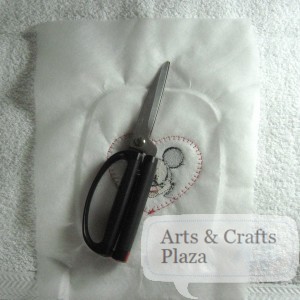
Cut the water soluble as close to the stitched as you can.
Be sure not to cut into the stitches or the towel.

The rest will dissolve once the towel has been washed.

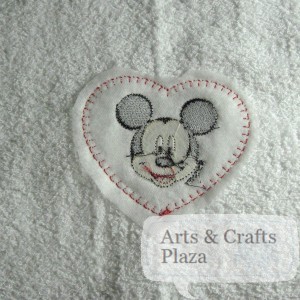
Your project is now complete! enjoy.