How To: Sewing Halloween Table Runner

Halloween is a fun holiday not to mention colorful.
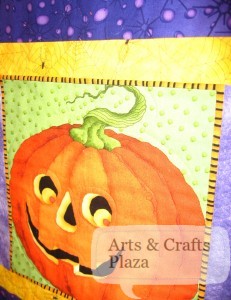
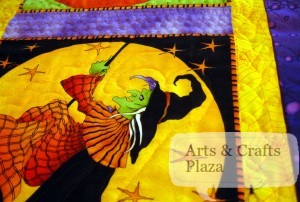
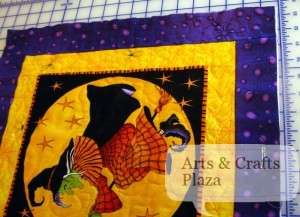
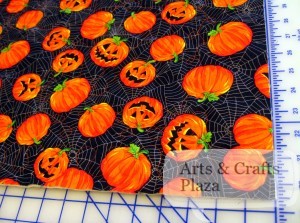
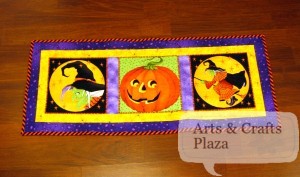
When a friend bought this Table runner with Halloween theme, I thought perfect!

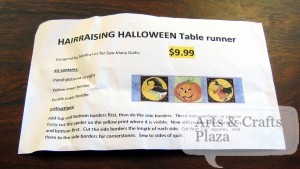
In the package you have instructions.

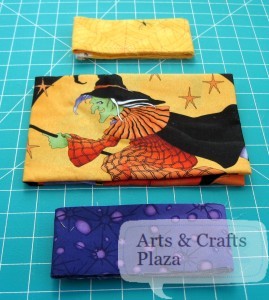
As well as fabric for the top of the table runner.
There are things that are not included (typical) as it is your choice on what you may want to use.
Not included: batting, backing fabric and binding (all optional).

You want to start by pressing everything so it’s straight.
Press iron down don’t move it on fabric as not to stretch fabric.

Make any markings you need to help guide you as you sew.
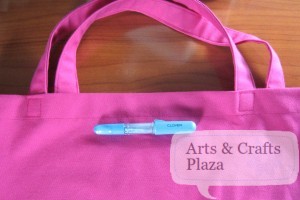
Use chalk or erasable pen.
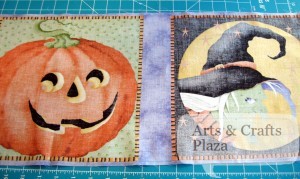
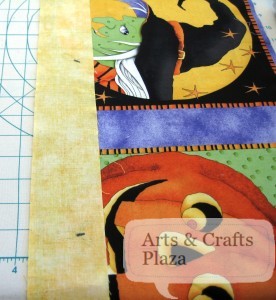
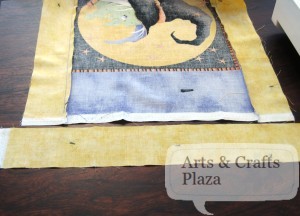
I am using the Black/Orange border as my sewing guide.
I wanted a “connecting line” between the borders.

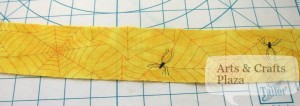
You can select to chose which color you want to use first as they are the same length (Yellow or Purple)
I chose to start with the Yellow for more contrast but it’s up to you.
The instructions are only a guide line.
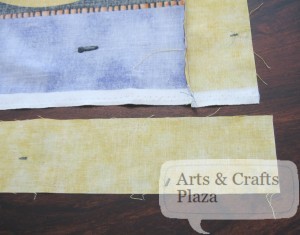
Put right sides of fabric facing together and sew.

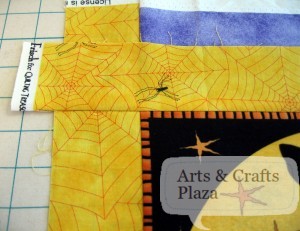
How the sewing line should look on right side of main fabric.

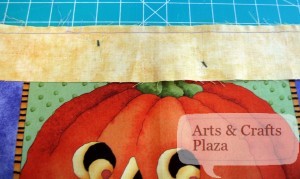
You want to iron your seams.
Always iron to the darker side of your fabric.

Repeat on other side.
This is how it should look from back side.

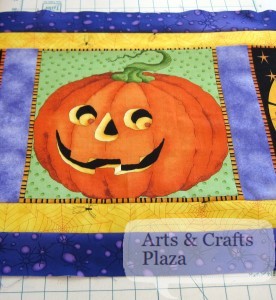
As you get 3 long stripes of fabric (Yellow and Purple) you need to trim it to size.

You don’t have to be exact and as long as you cut it just a little longer you’re good.
You could get a little fancier and add cornerstones.
You could mix and match your 2 colors.
I didn’t think it needed that, so I kept it simple.

Decide where you want to position the sides.
I decided to stay with the border but you have extra fabric so you can chose to make your table runner longer.

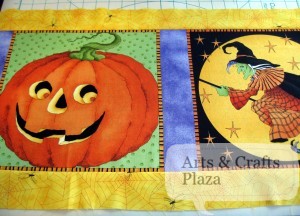
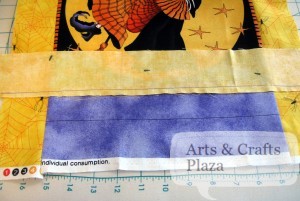
Iron again.

A close up look at the corners.

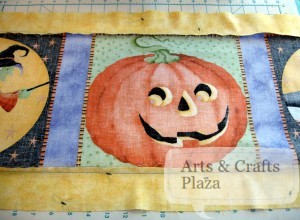
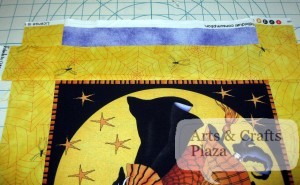
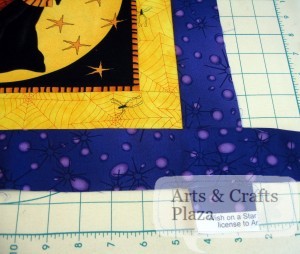
Repeat process with Purple strips of fabric.

Close up look at corner.

At this point you have options.
You can turn raw edges under, sew and be done.
You can buy ready made biding.

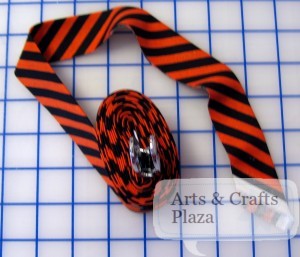
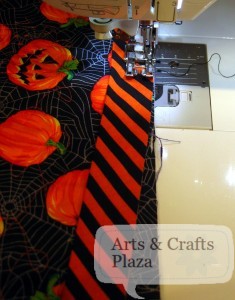
I chose to make my own biding using Halloween color fabric.
It’s stripes of Orange and Black cut on bias so lines are diagonal.

Cut to size your favorite type of batting.
Cut to size your selected fabric for backing.
Attach with pins until you are done
Cut access fabric and batting.

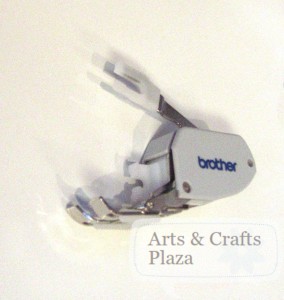
You may want to use a walking foot.
As it will help with moving all layers of fabric nice and smooth.

Every batting package will tell you how wide your stippling needs to be.
Usually, around 4-5 inches apart.
That means you don’t have to stipple every little square inch.

You can use stippling as a decorative feature.
You can stipple all your colors the same way.
You may choose to stipple every color different and create something more unique to you.

Decide what thread color you want to use.
Have a dominant color and you don’t want your stippling to show, chose that color.
You could use a contrast color and make your stippling even more of a feature.
Another option is to use clear thread.
You are the designer!

A look at back fabric, already have some stippling going.


You could saw your back fabric and turn it and then do your stippling.
I chose to use binding.

Not sure how to make your own binding?
How to attach your binding?
What to do with those corners?
Look for future posts to answer all these questions!

Have a fun and safe Halloween!

Enjoy!

Let’s create something!

“Sew Unique”: Jo-Ann National Sewing Month contest!

It’s that time of the year again!
Unless you’ve been living under a rock or are just getting into sewing…
You know what I’m talking about.
September is National Sewing Month!

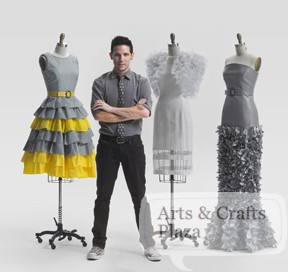
Jo-Ann Fabric and Craft Stores has teamed up with Christopher Straub of season six TV show, Project Runway to host Sew Unique.

The idea behind this contest is unconventional uses of nontraditional fabrics.
If you’ve ever watched Project Runway you know there is an episode in every season where they take the contestant to a dollar store or a pet store or something store.
Tell them, buy something and create a look fit for the runway!

I think my favorite to this day is the one where, Daniel Feld, made this gorgeous dress from plastic cups on season five!
You don’t have to go that crazy but you get the idea… but you can and beyond!

Don’t just go to your stash of fabric or the store, grab your favorite cotton fabric and whip up something.

Taken from the contest rules:
“The item may be sewn by hand or by machine, or both. Sponsors are looking for creative uses of “utility” fabrics, such as burlap, duck canvas, rubber sheeting, ticking, mesh, netting, ripstop, vinyl, and others, although creative entries showing nontraditional uses of unique fabrics will also be considered.”

Want to read the fine prints of the rules?
Check it out: http://www.joann.com/static/socialMedia/Contest/NSM_contest_rules.pdf

You are just hearing about this contest.
You’re creative juices are starting to work.
You’re thinking to yourself, is it worth it?
What can I win?

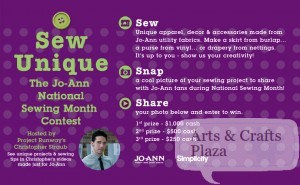
The First Prize gets $1000 cash and a Simplicity gift basket worth $275.
A Second Prize winner will get $500 cash and a Simplicity gift basket worth $275.
Third Prize winner wins $250 cash and a Simplicity gift basket worth $275.
All other Finalists will receive a Simplicity gift basket valued at $50.

So how long do I have to enter?

The Contest begins on September 1, 2012 at 9:00 a.m. Eastern Time.
The Contest ends on September 30, 2012 at 11:59:59 p.m. Eastern Time.

What do I need to do to enter?

To enter, ‘like’ Jo-Ann Fabrics and Craft Stores on facebook, http://www.facebook.com/JoAnn
Go to the contest tab, “Contest: Sew Unique”.
Fill out the official entry form.
Upload a photo of your creation (see instructions).
You can submit one entry a day (not the same item).

If you are one of the ten lucky finalists:
The ten finalists will be notified via e-mail and/or telephone on or about October 26, 2012.

Winners will be selected on November 20, 2012

Want to see who you’re competing against?
Check out Jo-ann’s contest page on facbook and see what people have already submitted and be inspired!

Christopher Straub will provide inspiration and advice through a series of videos on Jo-Ann’s Facebook page.
Christopher created a collection of designs using utility fabrics from Jo-Ann.
Each week during September, he will offer tips and inspiring ideas.
So make sure you check Christopher’s videos!

 You now have the 411 on Sew Unique contest!
If you’re not on Jo-Ann’s mailing list and have their phone app you are missing out!
Take advantage of the coupons, tutorials and so much more that Jo-Ann has to offer.

Final thought:
Next time you give a gift to someone, don’t paper wrap it.
Use fabric!
Tell them, the next time you see them, you want to see that fabric put to good use!

Enjoy!

Let’s create something!

How To: Make a Button Using Your Fabric, Self Cover Buttons

You want to create your own buttons so it will match your design perfectly, what do you do?
Use Self Cover Buttons!

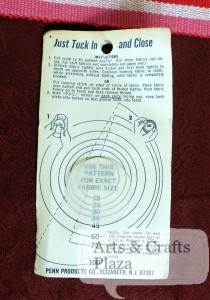
Instructions are simple and located at back of packaging.

Trace the right size circle to match the size of your button.
You can use a scrap peace of tracking paper.

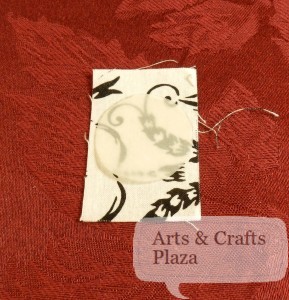
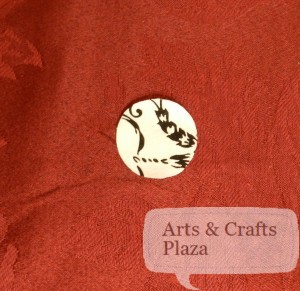
Audition your circle on a small piece of fabric, trace and cut.

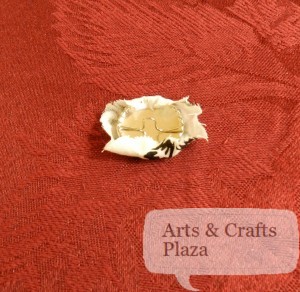
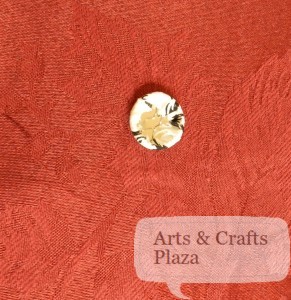
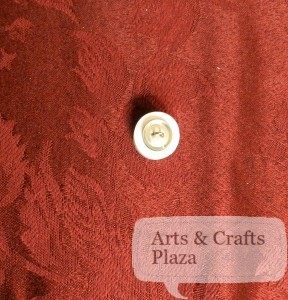
Now that you have your fabric circle, turn it so the right size of the fabric will face down.

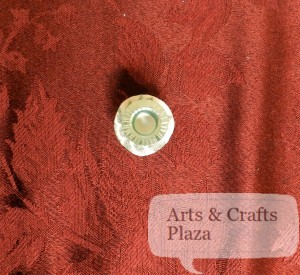
Put button on top of your fabric.
The teeth are sharp so be careful not to hurt yourself.

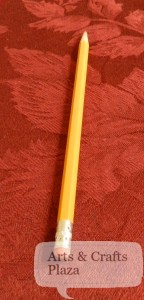
You may want to use a pencil with an eraser to push the fabric into the teeth.

Start pushing your fabric into the teeth, first on opposite sides.

Then all the way around.

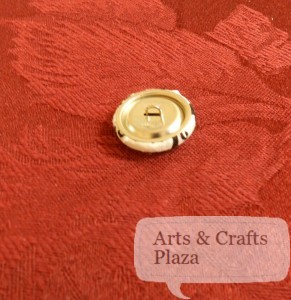
Put back plate on top.

Push down.

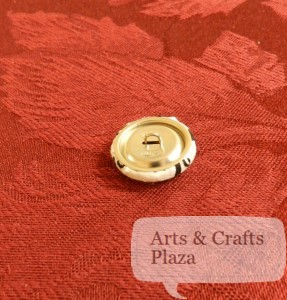
It will snap into place.

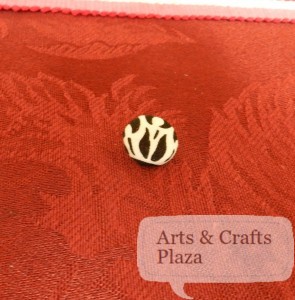
You are now the proud owner of your very own unique button!

To view another technique of how to create your own button: How To: Button Maker
To view another technique of how to create your own button: How To: Make a Button Using Your Fabric

Enjoy!

Let’s create something!

How To: Make a Button Using Your Fabric

You created a gorgeous buttoned down shirt and you want to create your own buttons using your own fabric, what to do?

Get Buttons to Cover!

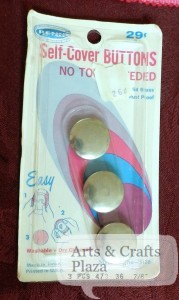
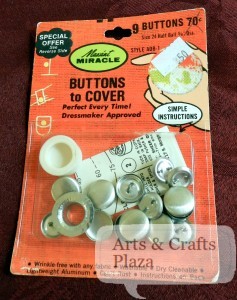
A look at back of packaging.
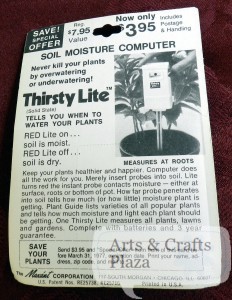
This is an old package with some advertising on it.

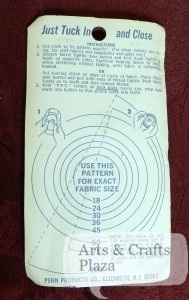
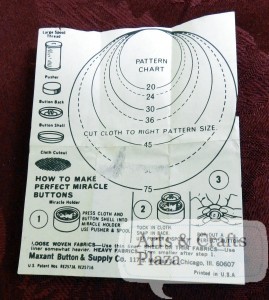
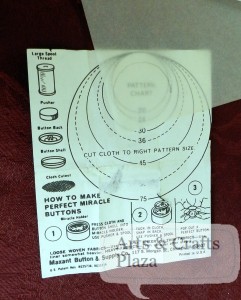
The instruction paper inside.

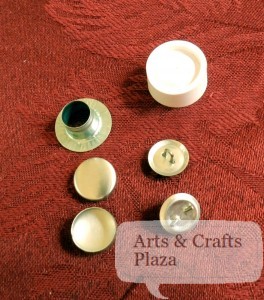
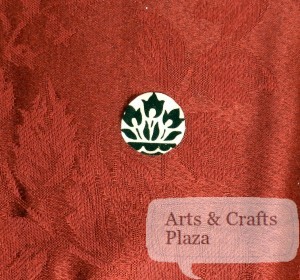
The parts you will use.

Use a paper to trace the size circle/button you would like.
You can use a scraps tracing paper from a pattern you use.
Cut out your circle pattern.

Use only need a very small piece of fabric.

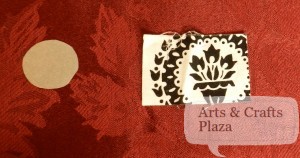
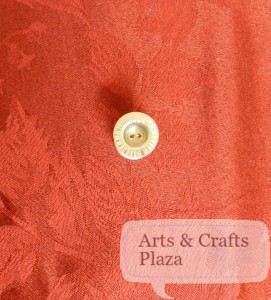
See which part of the print you would like to use as the front of your button.

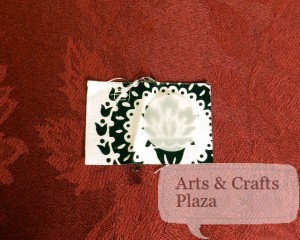
Trace and cut your circle from your fabric.

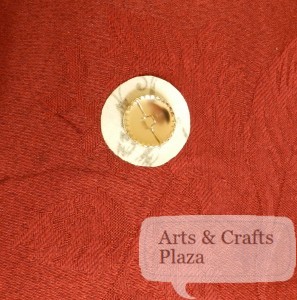
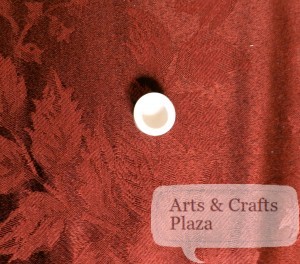
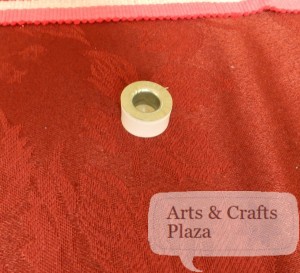
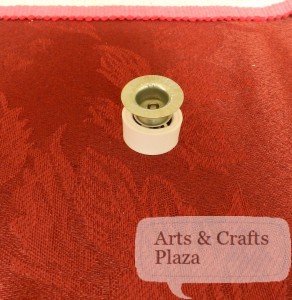
This White rubbery gizmo is called Miracle holder.
Place it with hole facing up.

Place your fabric on top.
Right side of fabric facing down.

Put button shell on top of fabric.

Put pusher on top of everything.

Press down.

A side angle.

Remove pusher.
This is what you will see.

Put back of button on top.
Make sure your fabric is all tucked in inside.

Put pusher on top.

A side angle.

And push down.

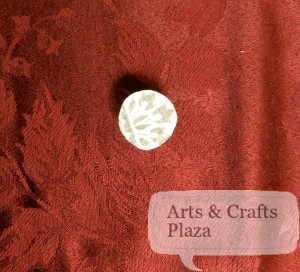
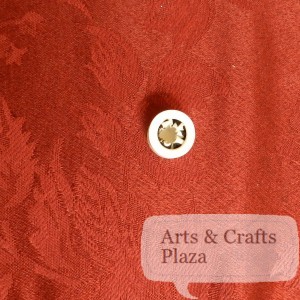
You are done!
Just remove the button and there you go.

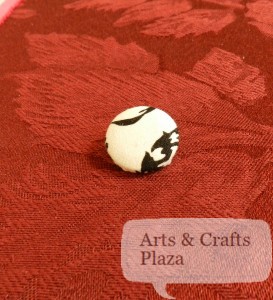
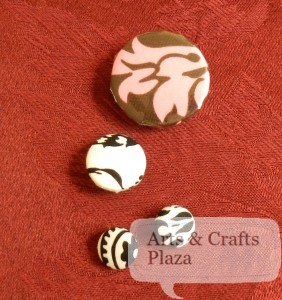
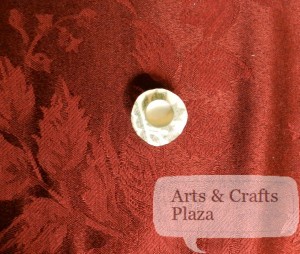
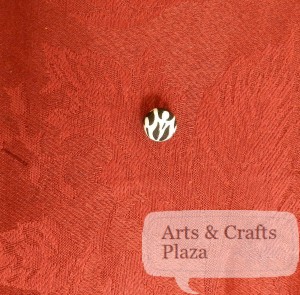
A side view of your completed button made to mach everything you wanted.

To view another technique of how to create your own button: How To: Button Maker
To view another technique of how to create your own button:How To: Make a Button Using Your Fabric, Self Cover Buttons

Enjoy!

Let’s create something!

Shop Hop by the Bay

What is Shop Hop?

It’s a wonderful way to get to know your soon to be favorite stores.
Each area has a group of shops that participate in a shop hop. Stop by a shop hop participating store and pick up your passport. You will get a chance to explore a shop you may not have visited before. At each location you will have your passport stamped and receive a FREE GIFT!

Think this is a great idea? What to participate? Live in the Bay Area, CA?
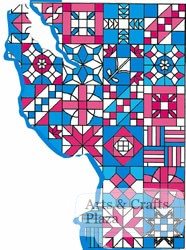
Shop hop by the Bay 2012 is a group of 13 quilt shops and the San Jose Museum of Quilts and Textiles.
If you Quilt or Sew you will love it!
Not a Quilter or a Sewer? It’s fine, come anyway, check out the classes and think about joining.
Each store carries different fabrics, patterns, notions and gifts, come and share in the love.

At the first store, along with your passport, you will receive a Shop Hop by the Bay containing a map.
It will guide you to all participating shops.
You can see where every store is located:
http://www.shophopbythebay.com/shops.htm
Although a visit to the beautiful San Jose Museum of Quilts & Textiles is optional, in doing so you will be entered into the Museum’s own drawing for a wall-size collectible quilt!

Need more reasons to participate? How about winning some prizes?
Visit all 12 shop and the Museum and you will be entered into a drawing to win one of the wonderful prizes.
Got 7 or more stamps? And you will be eligible to win a second chance gift basket.

Shop Hop by the Bay Prizes:

GRAND PRIZE: A week a Empty Spools Seminar in Pacific Grove, CA.
KIDS GRAND PRIZE: 
One lucky Shop Hopper will win a sewing machine ($350 value);  must be between 5 and 17 years of age to be eligible.
13 First Prizes: $100 Gift Certificate to one of the participating shops.
Additional Prizes: 12 Fabulous gift baskets full of fabric, books, patterns, notions and more! Plus… 1 year free membership to San Jose Museum of Quilts & Textiles.
Up to $25,000 in Prizes and Give-Aways this Year!

When?

Shop hop by the Bay will take place between June 20-24.
Turn in your completed passport at the last shop you visit. This MUST be done during the Shop Hop.

Where?

To see completed list of shops and maps:
http://www.shophopbythebay.com/shops.htm
Participating Shops:
Always Quilting

Back Porch Fabrics
Eddie’s Quilting Bee
Family Threads
Golden State Sewing & Quilting
The Granary
Judy’s Sewing Center Capitola
Laurel Leaf
The Nimble Thimble
Quilts and Things
Sew Bee It Quilting
SueDee’s
San Jose Museum of Quilts & Textiles

At your first shop you will receive Shop Hop By The Bay passport and a newsletter containing a large scale map with insets showing the location of each shop

Shop Hop hours:

9:00 a.m. to 6:00 p.m. Wednesday-Saturday, June 20-23 and
11:00 a.m. to 4:00 p.m. Sunday, June 24
(some shops may have extended hours)

When/How do I know if I won a prize?

All winners will be notified using the contact information they provided in their passports.
You don’t have to be present in order to win.

Grab your friends. Make new friends. Join in for a fabulous tour of the Bay’s Best Shops!
This is a great way to spend a few days with your quilting and sewing friends, become inspired by what you see, and shop!
Explore the area, made a day out of it.

A more optimized route:

Always Quilting 4230 Olympic Avenue, San Mateo, CA 94403
The Laurel Leaf 648 Laurel Street, San Carlos, CA 94070
Sew Bee It Quilting 94 San Pedro Avenue, Morgan Hill, CA 95037
Quilts and Things 16985 Monterey St., #312G Morgan Hill, CA 95037
The Nimble Thimble 7550 Monterey Street, Gilroy, CA 95020
Family Threads 107D The Alameda, San Juan Bautista, CA 95045
Back Porch Fabrics 157 Grand Avenue, Pacific Grove, CA 93950
Judy’s Sewing Center Capitola 1501 41st Avenue, Capitola, CA 95010
SueDee’s 222 Mount Herman Rd. Ste. G Scotts Valley, CA 95066
Golden State Sewing & Quilting 2435 South Winchester Boulevard, Campbell, CA 95008
San Jose Museum of Quilts & Textiles 520 N 1st St, San Jose, California 95112
The Granary 1326 South Mary Avenue, Sunnyvale, CA 94087
Eddie’s Quilting Bee 480 South Mathilda Avenue, Sunnyvale, CA 94086

Spring Tea Party and Fashion Show

Above: Belinda with asymmetrical blouse.

Have you ever been to a tea part and fashion show?
If you haven’t, you are in for a treat…

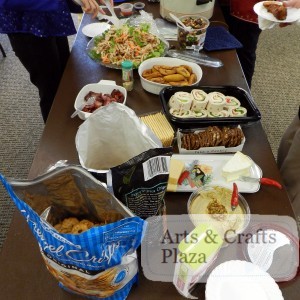
Started off with potluck with the participants.
The army marched on it’s stomach…

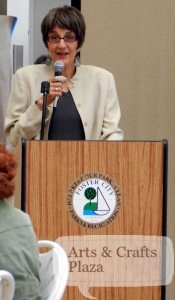
Meet the sewing instructor, Lynn Faus.

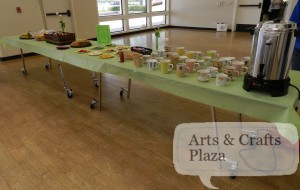
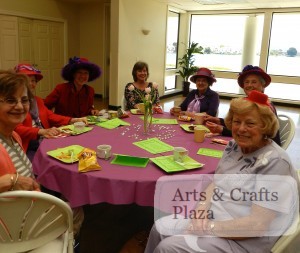
Tea and refreshments.
It is a spring tea party after all.

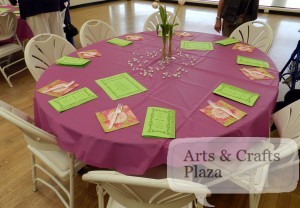
Tables are all set.

Getting ready, behind the scenes.
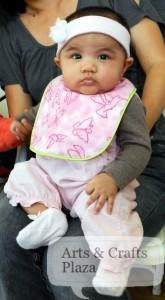
Adorable baby Mina – check.

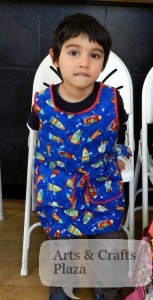
Cute kid, with Apron and over mitt – check.

Final preparations.
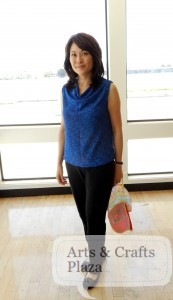
Susan with Tina’s cowl neck top.

Here we go!

From full ensemble.
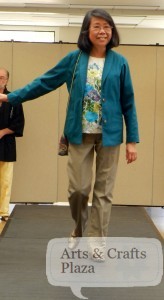
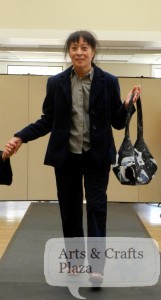
Tina with Jacket, shirt, pants and purse.

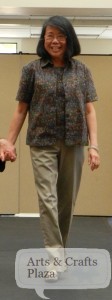
Lucy with camp shirt.

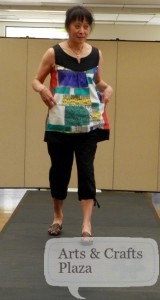
Linda with sleeveless smock with pockets.

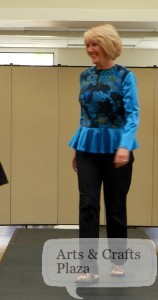
Judy modelling Ruth’s peplum top.

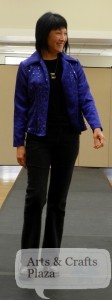
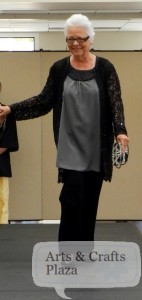
Belinda with sequin top.

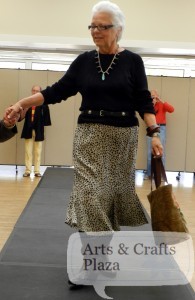
Look at the flair of Mary’s skirt with a matching handbag.

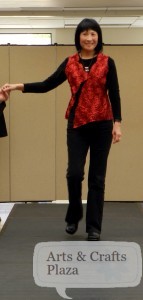
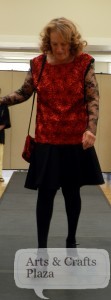
Marsha with Satin rosette Red top and matching purse .

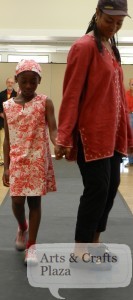
Mom Charity made the dress and Miriam loves it!

Tina’s pants and shirt.

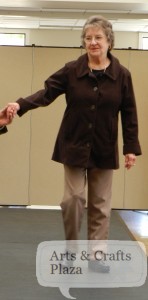
Linda made the jacket, corduroy suit, tailored shirt and bag.
She is SO talented and also Lynn’s assistant.

Mary made the pants.

Check out Elaine’s jacket.

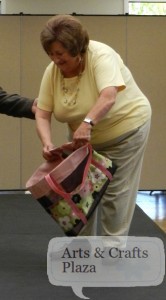
Marie walking this gorgeous bag by Marsha.
Did you know some of the materials for it came from the hardware store?

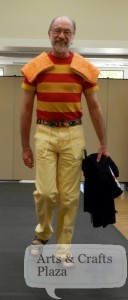
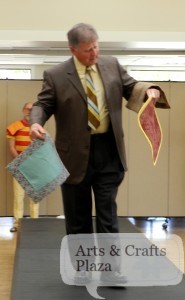
Rock those place-mats Ron!

A different style of place-mats by Ken.

Susan’s Bibs for the little ones.
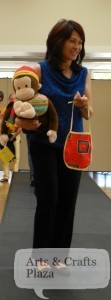
That monkey is the perfect model!

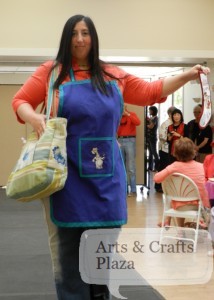
Keren kicking off BBQ season.
A girl’s must have, a big tote bag.
Christmas stocking? why, that’s how we roll!

Same fabric yet different looks:
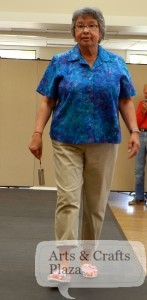
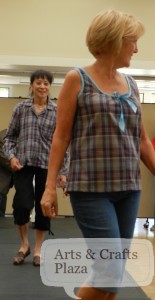
Judy with a summer sleeveless top.
Linda with long sleeve open collar shirt.
There were two additional looks that didn’t get into the shot, sorry ladies.

What is a fashion show without something for our four legged friends?
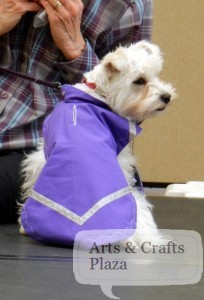
Linda made this coat and hat for her adorable dog, Mochi.

Great job on organising such a successful event.
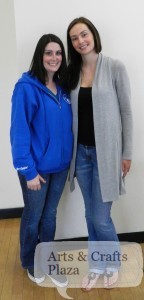
Colleen on right, Corrie on left.
To find out more information about events and classes at the Foster City Recreation Center:
http://www.fostercity.org/Services/classes/index.cfm

Hope you enjoyed as much as the Tea Party goers did!

Like what you saw?
Look for one  near you or even better join the local sewing class!

DREAM 1000 PROJECT – Update

BROTHER INTERNATIONAL CORPORATION’ DREAM 1000 PROJECT PRODUCES SCHOOL BAGS FOR
JAPANESE EARTHQUAKE AND TSUNAMI VICTIMS

To view original post:
The Dream 1000 Project

Customers and dealers overwhelmingly respond to global relief effort with much-needed sewn bags
BRIDGEWATER, NJ –When a Japanese engineer working for Brother Industries Ltd., the parent company of Brother
International Corporation, “dreamed” big, he could not have imagined the outpouring of international support he would receive.
The Dream 1000 Project, a global relief effort created in mid-2011, called for all of Brother’s worldwide employees
and its dealers to support those affected by the March 2011 Japanese earthquake and tsunami by producing 1,000 hand-
decorated fabric school bags for children to tote their belongings.
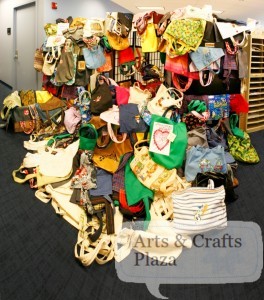
Photo 1: Tote bags created by Brother employees and dealers for Japanes children affected by the tsunami
came in an array of colors and designs.

The project combines Brother’s history and leadership of producing world-class sewing machines with its strong corporate
commitment to the community and its Japanese roots. The completed bags from the U.S. as well as Canada, Brazil, and
Taiwan, were shipped in late December. In total, more than 1,300 tote bags were produced and shipped to the Japanese
children.

Here in the U.S., project leaders asked for 100 tote bags but Dean Shulman, Senior Vice President of Brother
International Corporation and head of the Home Appliance and Industrial Products Divisions, set a higher goal. Shulman
asked for 300 tote bags from his associates around the country.
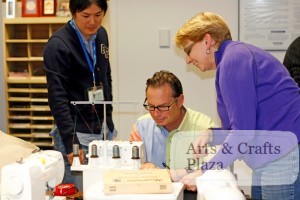
Photo 2: Dean Shulman (center), senior vice president of Brother International Corporation and head of the
Home Appliance and Industrial Products Divisions, created his own tote bag for the Dream 1000 project.

“In the end, our employees, dealers, and customers answered our request in an even bigger way and sent us 524 tote
In bags for the relief effort,”says Shulman. “
They completely surpassed our goal of 300. One dealer even sent 70 bags.”

Part of the allure of producing the bags was their easy pattern to follow. Participants say the bags took no more than 45
minutes to produce, depending on how much unique embroidery, quilting, or appliqué was added. The 20 x 20-inch tote
bags were made with heavy, durable fabrics such as denim or canvas and had a closure, either a button or Velcro, and
handles.

“Sewers and crafters are very compassionate, giving people,”says Shulman. “
They used their Brother sewing machines
to send hopes, dreams, and love to the children of Japan by creating these essential multi-purpose school bags. Nearly a
year after the disaster, the Japanese people still face basic needs to rebuild their lives.”

On March 11, 2011 a strong earthquake measuring 9.0 on the Richter scale struck off the Pacific coast of Japan, followed
by severe aftershocks. It was the most powerful known earthquake ever to hit Japan and one of the five most powerful
earthquakes in the world since modern record-keeping began in 1900. The earthquake triggered powerful tsunami waves
that reached heights of up to 133 feet causing devastating human and physical damage in northeastern Japan and
destroying entire cities in the coastal prefectures of Fukushima, Iwate and Miyagi. The Japanese National Police Agency
confirmed 15,844 deaths, 5,890 injured and 3,451 people missing. The disaster damaged or destroyed more than
700,000 commercial and residential properties, leaving thousands of families homeless in the middle of winter.

According to Save the Children, an international humanitarian organization, the crisis in northeastern Japan directly
affected more than 100,000 children through displacement, loss of access to education, loss of family members, and
exposure to high levels of stress and anxiety.
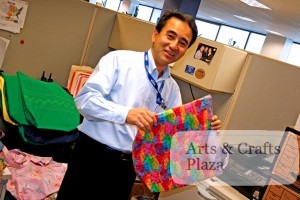
Photo 3: Brother International Corporation’s president, Tadashi Ishiguro, admires the many tote bags produced
for the Dream 1000 project.

Coming to their aid, Brother employees, dealers, and customers from 17 U.S. states gathered together throughout the
summer and fall to produce the tote bags. Dozens of quilters from around the world created bags during the Houston Quilt
Show in November—the largest quilt show in the U.S. with 30,000 attendees. Terry Koike, president of Brother Industries
Ltd, participated in the project by making a bag, as did Brother International Corporation’ president, Tadashi Ishiguro and
his wife. Brother International Corporation’ Dean Shulman made a bag and decorated it with glitter, a guitar, and
handwritten message, “ Our Heroes in Japan from Your Brothers in the U.S.A.”Another donated bag was embroidered
To simply with the words “Love, love, love.”

Creative Threads, a family-owned two-store dealership in Binghamton and Greene, New York, contributed 12 bags to the
project. A note accompanying their donation said, “ We send our thoughts and prayers for those in Japan impacted by the
tsunami. We hope that these bags will help bring some joy to the children affected by this tragedy.”

Amy Phipps, an employee at Creative Threads, joined four others who produced the school bags. “ We thought it was a
great idea on Brother’s part to extend this invitation to make the bags and help the children. They are so far away in
Japan and you don’t know what to do to help. You can contribute money but it seems so impersonal. Knowing that these
bags are needed gave us the opportunity to help out, especially for the children who sometimes seem to be forgotten.”

The five from Creative Threads found the pattern very easy to follow. They enjoyed, said Phipps, being able to customize
the bags for either boys or girls using their own fabrics and embroidering Disney characters on some of them.
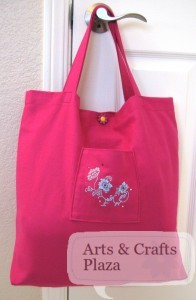
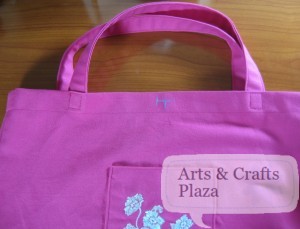
Keren at Arts And Crafts Plaza makes a bag to donate to the kids affected by the Tsunami and Earthquake in Japan.
How To: Dream 1000 Project Bag

At sewnow! in Lafayette, California (outside of San Francisco), co-owner Susan Goldie assembled her pre-teen and teen
sewing class to produce the tote bags. The 22 teens worked at different stations and produced 20 bags for the project.

“Our core business is to teach sewing skills to children and adults,”says Goldie. “ We incorporated the project into our
teen sewing class. The kids found it super fun to make the bags and they were aware of the disaster in Japan and felt it
important to help other children.”

Goldie’s group produced tote bags for both boys and girls using blue and grey denim fabric and accessorizing them with
floral or plaid straps. The more experienced sewers took the roles of precision sewing techniques such as top-stitching
and button holing whereas the new sewers produced straight-line stitches.

“We even had a few guys come to work on the tote bags,”recalls Goldie. “
They are usually more interested in the
technology behind the sewing machines. This project really highlighted that area on our Brother machines since we used
the Quattro® 6000D model with the scanner and camera features. The Brother machine also has hundreds of built-in
embroidery designs that we could use on our tote bags and that captivated their interest.”

To learn more about Brother International Corporation, visit www.brother.com.

About Brother International Corporation
Brother International Corporation has earned its reputation as a leading supplier of innovative products for the home sewing enthusiast. Through a
growing network of sewing machine dealers and retail outlets nationwide, Brother offers a full line of home sewing machines, from basic to top-of-the-line
sewing and embroidery machines. The company is recognized for its high-quality, state-of-the-art machines and accessories, offering ease of use and
flexibility at affordable prices. Brother is a wholly owned subsidiary of Brother Industries Ltd. With worldwide sales approaching $5 billion, this global
manufacturer was started almost 100 years ago by sewing fanatics. Brother offers a diversified product line that includes fax machines, Multi-Function
Center® machines, P-touch® Labeling Systems and both color and mono laser printers for home, office and industry. Bridgewater, New Jersey is the
corporate headquarters for Brother in the Americas, from Canada to South America. It has fully integrated sales, marketing services, manufacturing,
research and development capabilities located in the U.S. In addition to its headquarters in Bridgewater, New Jersey, Brother has facilities in California,
Illinois, Massachusetts and Tennessee, as well as subsidiaries in Canada, Brazil, Chile, Argentina Peru and Mexico. For more information you can visit
the website at www.brother.com.
 

How to: Sew 1 Step Buttonhole

Looking to buy a new Sewing Machine? Look here

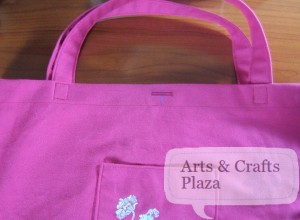
Start of by deciding where you would like to position the button.
Use a caulk pen to mark the position.
You will need to mark the beginning and length of the button.
Do a test run to check what position your sewing machine will start sewing.
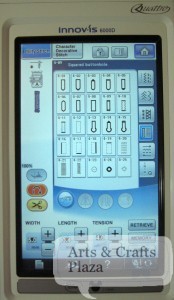
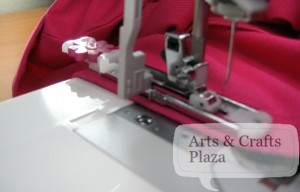
This machine, Brother’s Quatrro, sewing starting at bottom left, going up, going right, moving down and finishing at left bottom position.

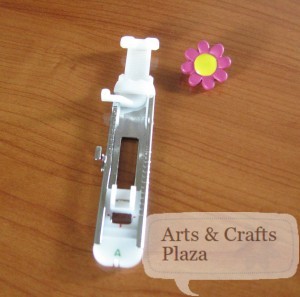
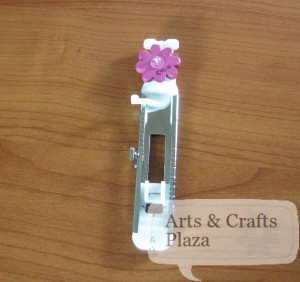
Extend the back (White plastic part) and insert button into button hole foot.
By doing so it “tells” the machine what size is your button.

In this case insert button facing down.
make sure the button holder plate is gripping the button tightly.

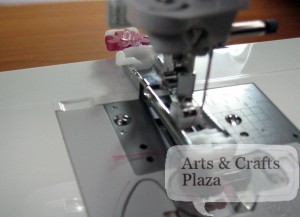
Attach the buttonhole foot.

Select which button hole is appropriate for the type of fabric you are using.

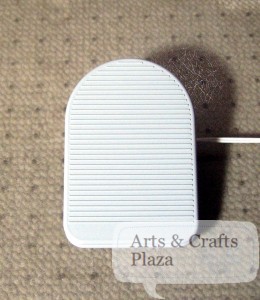
In some machine you will need to press on the foot peddle to make your machine start.

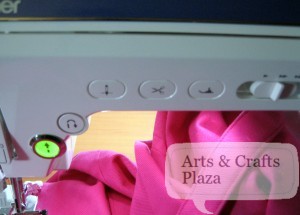
In some machine it’s a click of a button away.

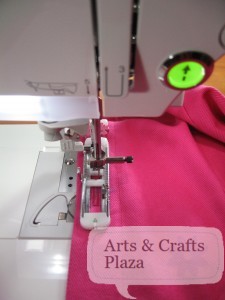
Place your fabric under the button hole presser foot.
There are markings on the buttonhole presser foot, use them to position the fabric.
Notice the little “window” opening at the front, watch for your fabric markings through it.

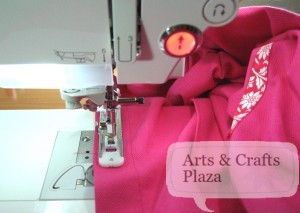
Lower the buttonhole lever that is located to the left of the needle, until it’s behind the metal bracket on the buttonhole foot.
Bring your thread under the presser foot.

Hold the end of the upper thread.
Your sewing machine will do the rest.

Now that you have the perfect buttonhole, you will need to open it.

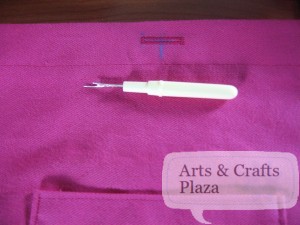
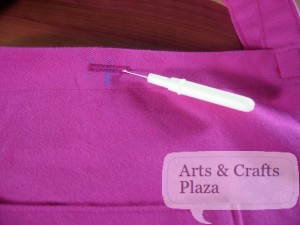
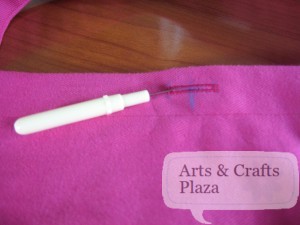
If you don’t have a buttonhole kit, use a seam ripper.

Start at one side push the seam ripper down and cut until you get to the half way point.

Repeat on other side until you meet the opening in the middle.
Be careful not to get into the stitches.

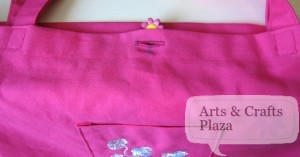
Depending on the type of button you use, you may be able to use your sewing machine to secure the button to your fabric.
In this case, hand stitch.

Enjoy!

Let’s create something!

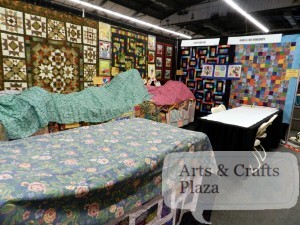
Setting Up a Booth for a Craft Show

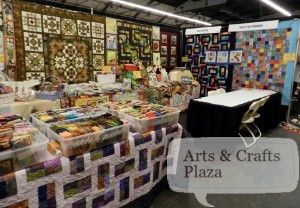
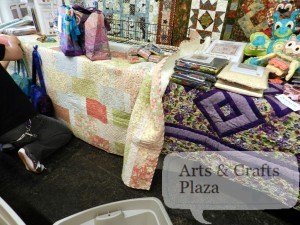
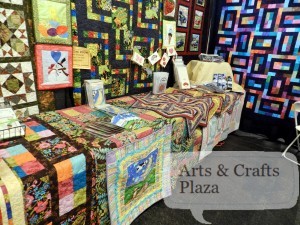
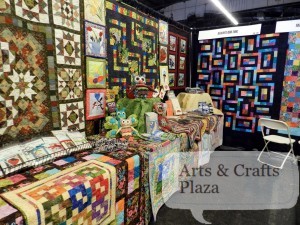
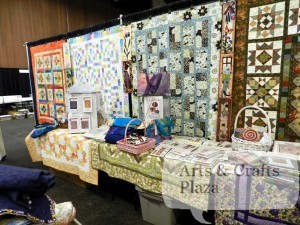
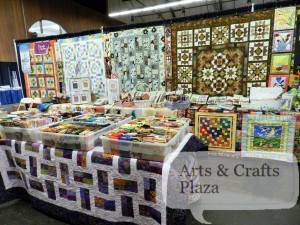
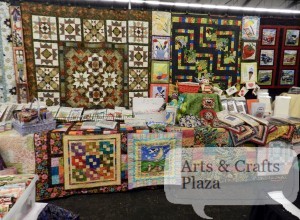
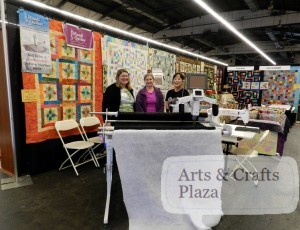
A behind the scene look, how to set up your booth for a craft show.

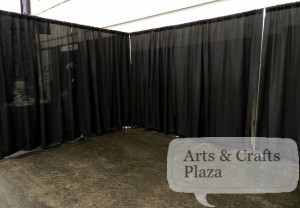
You’ll start off with a blank space.
Unless you order booth extras such as carpet, tables, table skirts, chairs etc.

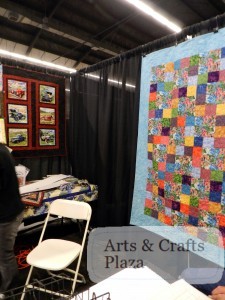
Best to start off with hanging your samples/fliers on the walls of your booth.

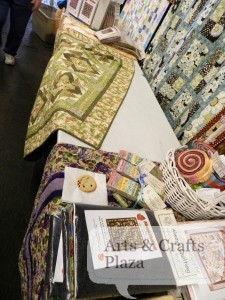
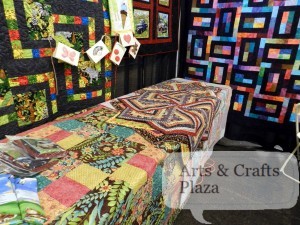
Have gorgeous quilts? Use them as table covers.

Try out a few layouts as you’re spreading things out.

Use stands to maximize the table’s space.

Take boxes, flip them, cover with a pretty quilt and you’re got a one of a kind stand.

Play with placing your samples and wares.

Carousel stands are a great way to save on space.

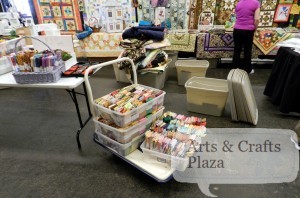
Bring or rent a dolly, it will save you valuable time on trips into your booth.

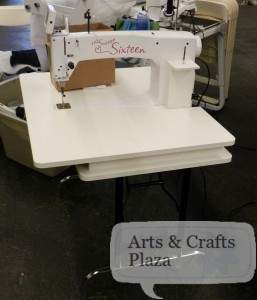
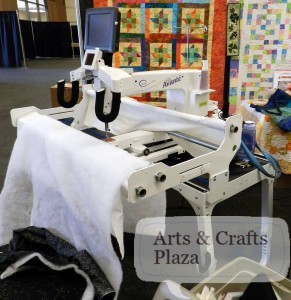
Have a machine you want to demo?

Have everything set up in advance so folks can easily get a feel for the machines.

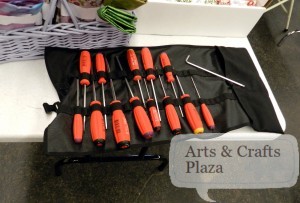
Bring your tools for any last minute adjustments.

Hang fliers so folks know what they are looking at and can refer to it.

Think about having enough clearance to walk around and several ways in and out of your booth.

Front of your tables is prime real-estate, use it!

A big thank you to ‘Always Quilting’ for letting me tag along!

Check out Always Quilting web site:
www.alwaysquiltingonline.com
To visit the store:
4230 Olympic Avenue
San Mateo, CA 94403

Phone: 650-458-8580

Bring fabrics to cover your booth at the end of the day.

The San Mateo Sewing and Quilt Show is FREE to attend!
You can find more information about the Quilt, Craft & Sewing Festival

Enjoy!

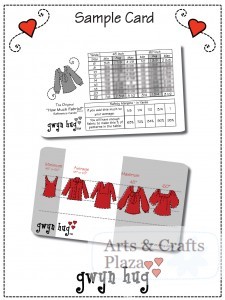
Winner Announced! – “How Much Fabric?” Reference Cards ***GIVEAWAY***!

Lets start with a round of applause to “How Much Fabric?” Reference Cards GIVEAWAY sponsor www.gwynhug.com!
Thank you for making this happen!

Thank you to all Arts and Crafts Plaza & Gwyn Hug “old” and “new” fans on and off facebook!
Come back often to continue to use and enjoy the services offered on ArtsAndCraftsPlaza.com!

The winner of “How Much Fabric?” Reference Card Set of your choosing is….

Ruth R. Tillman who thinks: “Love these cards! What a great idea.”

Look for a message on your facebook account.
Please select which “How Much Fabric?” Reference Card Set you would like to receive.

To learn more about: “How Much Fabric?” Reference Cards