How to: Sewing a Chef’s Apron

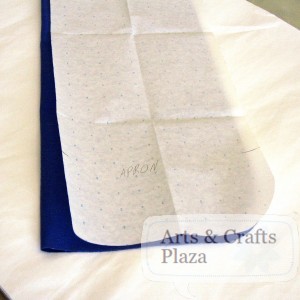
We start by tracing the Apron’s pattern to our fabric

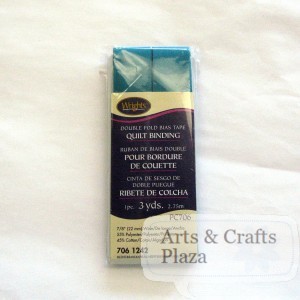
We decided to add another color by framing the apron with quilt binding.

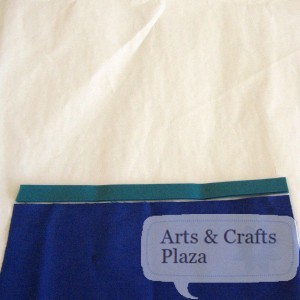
We start by cutting a piece of the biding to cover the top of the apron.

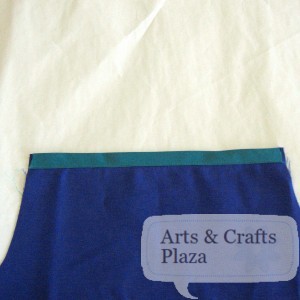
We are now working on the back side of the apron.
We pin the binding on the short fold to the apron’s fabric.

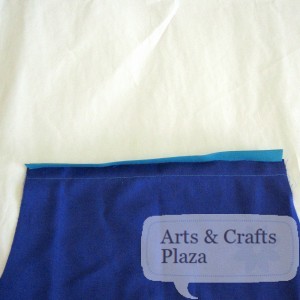
We sew it with a straight stitch.

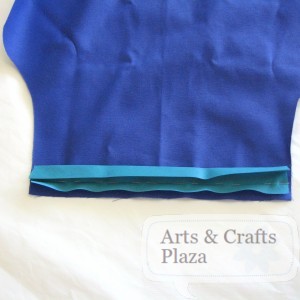
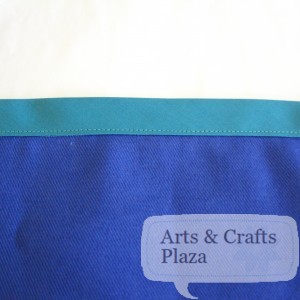
We turn our apron to the front side now.
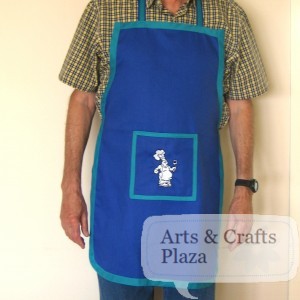
This is how it should look from the front.

We will fold the binding to the front of the apron.
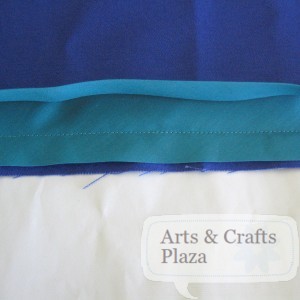
Stitch it, making sure to cover the stitch that is already there.

The stitch from a closer view.

We are now going to repeat the process around the rest of the apron.

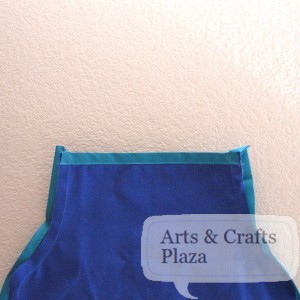
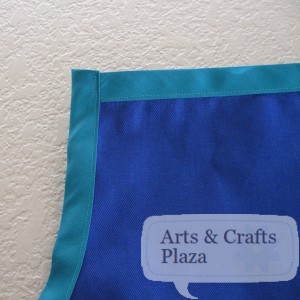
Closer look at the corner top of the apron.

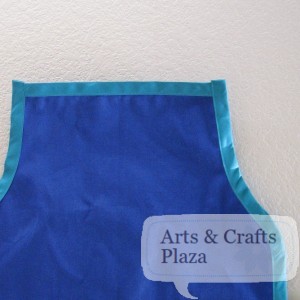
The binding stitched around the entire apron.

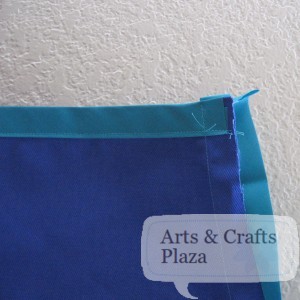
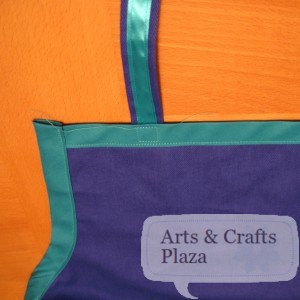
Closer look at the top corner.

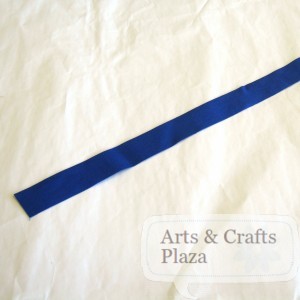
We cut the straps, one for around the neck and two to tie the apron.

We fold the strap in half and iron.

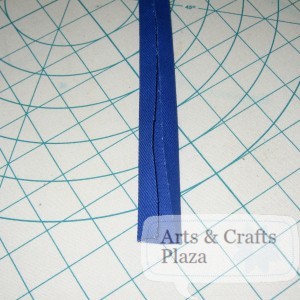
We now fold from both sides into our center fold and iron.

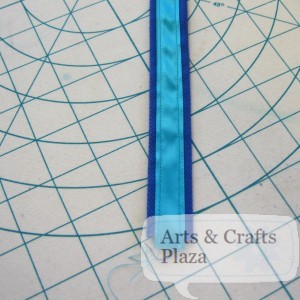
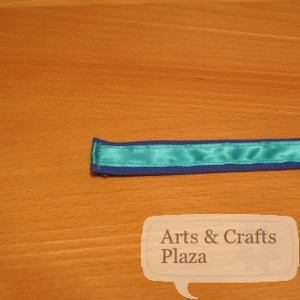
We hide the edges by sewing a ribbon in matching color to our binding.

We pin the strap to the back of our apron.
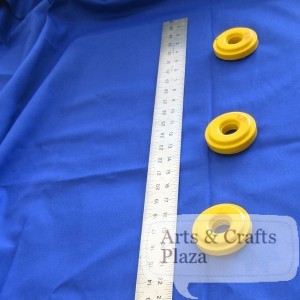
Be sure to measure equal distance from both sides.

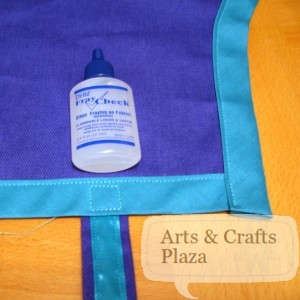
We sew the straps by making a square to secure it to our apron.

Cut any access thread and put a dab of Fray Check to make sure it wouldn’t come unraveled.

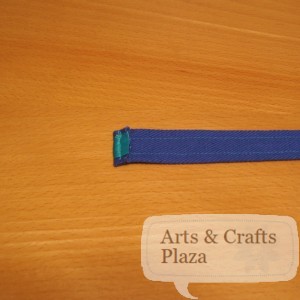
We fold the end of the strap and sew.

A look for the back side of the strap.

We cut the fabric for the pocket.

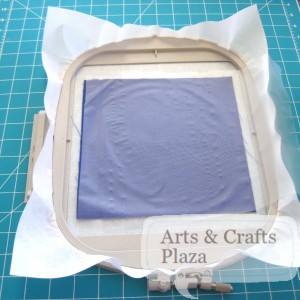
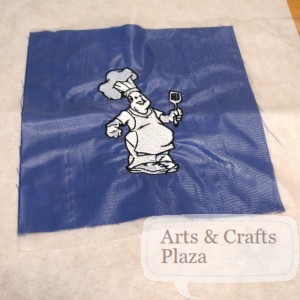
We will now embroider a chef on our pocket.
See instruction for Embroidery on our post: “Mickey Mouse Embroidered on a Towel

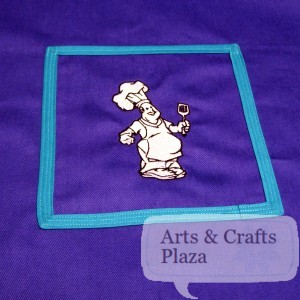
The Embroidered pocket.

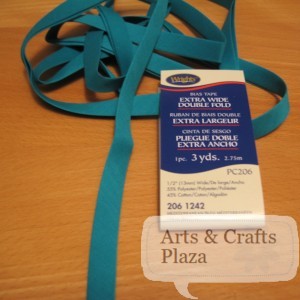
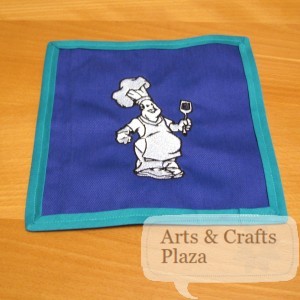
We will use a narrower quilt binding in the same color for the pocket.

We will make sure our corners meet at 45 degree angles.

We will attach the pocket to the apron.
Remember to reverse your stitches at the top of the pocket to secure it better.
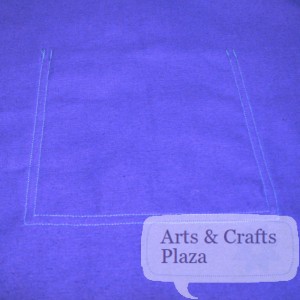
We stitched around the pocket twice.

A view of the pocket from the back.

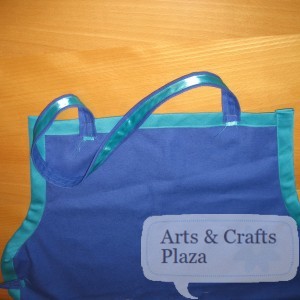
Your project is now complete! enjoy.
How to: Silver Hoop with Purple Swarovski Crystals Earrings

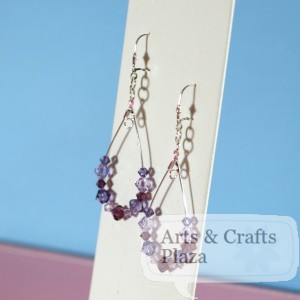
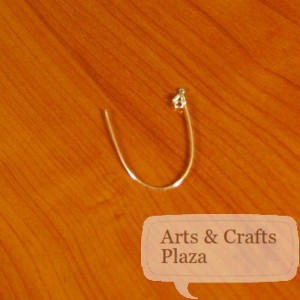
To create these gorgeous Silver Hoop with Purple Swarovski Crystals Earrings we will start with the hoop.

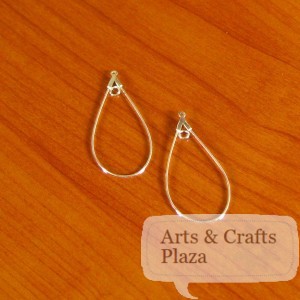
Use a hoop that you can open on one side by just pulling the bar out.

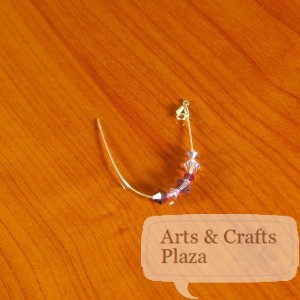
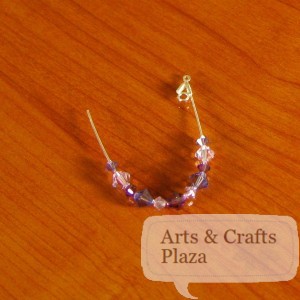
We start by stringing on the hoop bar various Swarovski Crystals in different shades and sizes.

By selecting a single Swarovski Crystal and mirroring on the either side, we create a pattern.

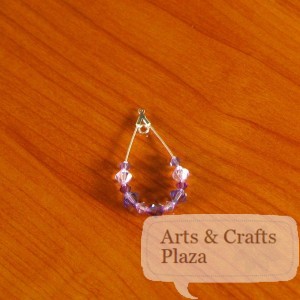
Once we are happy with the look, we will close the hoop bar by inserting it back into the slot.

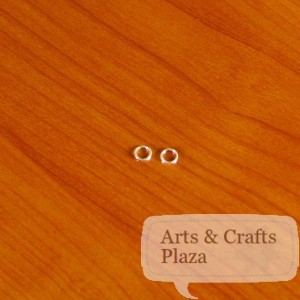
To attach the hoop to the ear wire we will use a jump ring.
A jump ring, is a ring that has an opening and doesn’t complete the full circle.

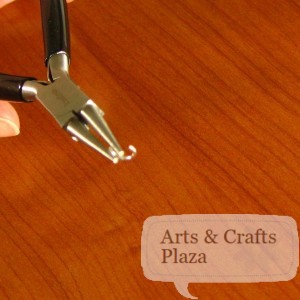
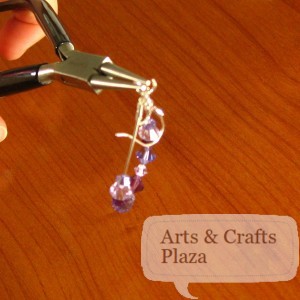
We open the jump ring by using 2 round nose pliers. The first plier we use to hold the jump ring.
The second plier we use by moving it away from you.
Reverse the motion to close.

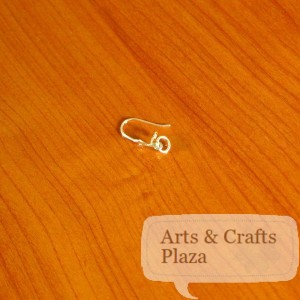
We attach the first jump ring to the ear wire.
Open and close the jump ring with the ear wire inside it.

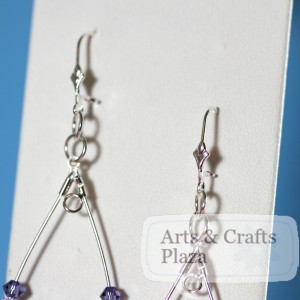
We will attach a second jump ring to our already attached jump ring with the ear wire as well as to the hoop.
By attaching the second jump ring, we create more movement to our Jewelry piece

Make sure you attach it in a way that both the ear wire and hoop are facing the same way.

Your project is now complete! enjoy.
How to: Mickey Mouse Embroidered on a Towel

Mickey Mouse towel Embroidery "how to"

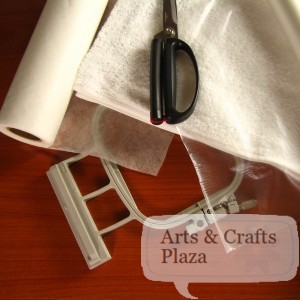
To embroider Mickey Mouse on a towel we will use a stabilizer and a topper to sandwich the towel.

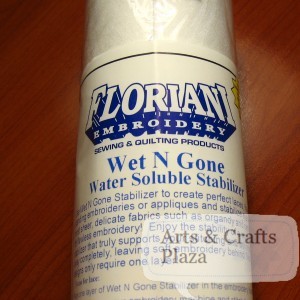
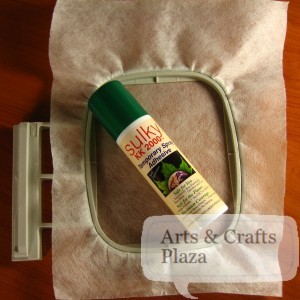
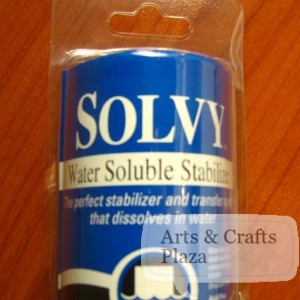
We will start by hooping Wet N Gone, a water soluble stabilizer.

Micky Mouse Towel Embroidery "how to"

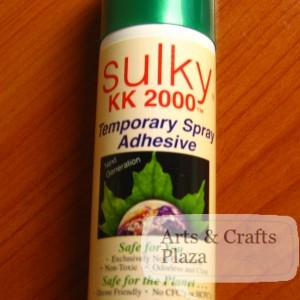
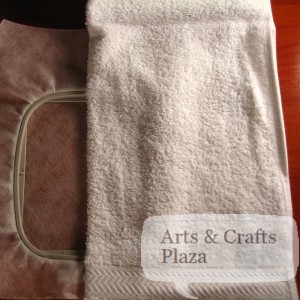
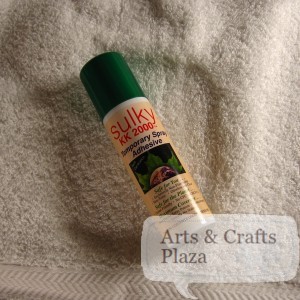
We will then use a spray adhesive to attach the towel to the stabilizer.

It is possible to hoop a towel if it is not too thick, however, we find that using the adhesive works best as you can better position the towel.
We don’t recommend using sticky paper stabilizer as it will pull on the towel.

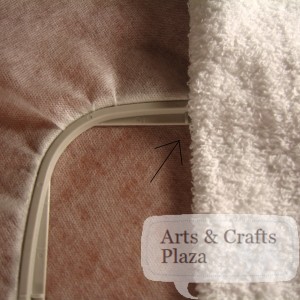
When positioning the towel, make sure you find the center point of the towel and align it with the center points on the hoop.

This is probably one of the most important step, be sure to take your time and get it right.

We will use the spray adhesive again this time on the towel.

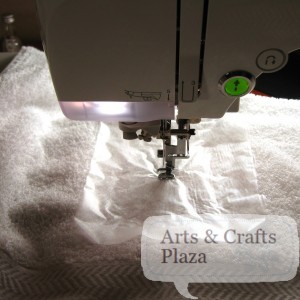
We will put the water soluble topper on top of the towel, which will keep the stitches from sinking into the towel.

Now we are ready to put the hoop into the embroidery machine.

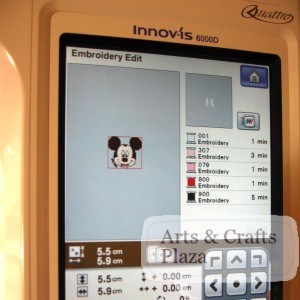
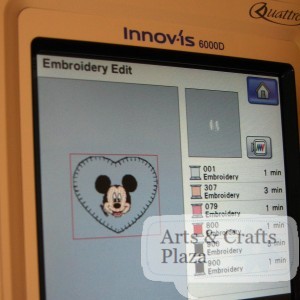
Select your design. We chose Mickey Mouse that is built in the Brother machine. We are using Brother’s Quattro Innovis 6000D (D is for Disney).

We then select a heart border and make sure none of the stitches overlap.

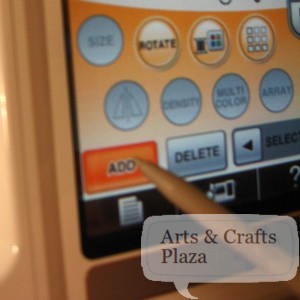
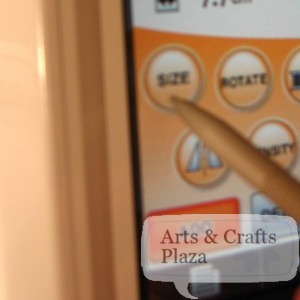
You want to make sure Mickey’s ears are not clipped by the border. Use the size button to achieve the appropriate size.

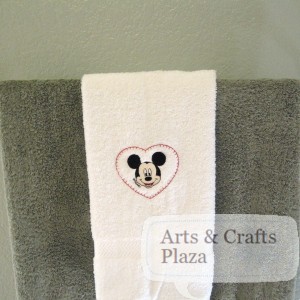
Mickey and boarder are ready to be embroidered.

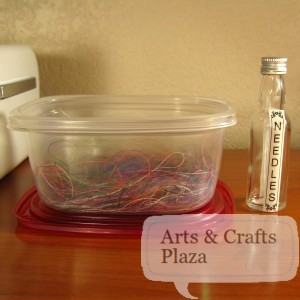
We suggest keeping a bottle for used needles, best practice to always have a place for them.
Be sure to change your needle every 8 hours.
As well as, keeping a plastic container on hand which we use to store the small pieces of thread.
Once you have enough you will be able to use that for another project.
Keep an eye out for this project.

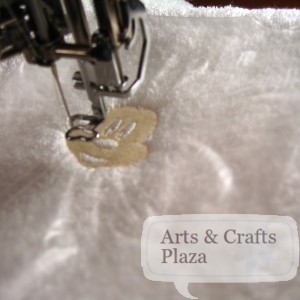
We can now start embroidering Mickey
Make sure you have enough clearance for your machine to move the hoop freely.

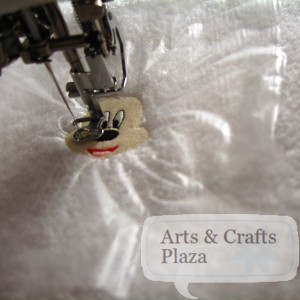
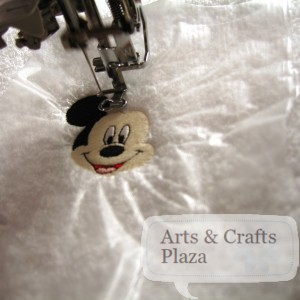
At first it doesn’t look like it’s going to come together.

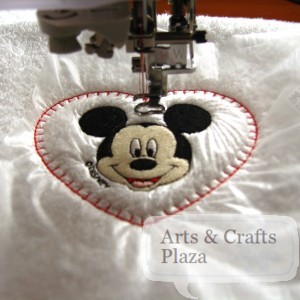
As you embroider more colors it all comes together.

Choose the color you want for your border, we used Red. Default is Black.

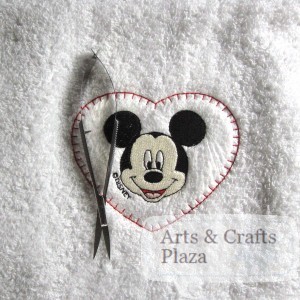
Remove hoop from your embroidery machine and cut any jump stitches that may be there.

You can now remove the water soluble topper. You can usually gently pull on it and it will come off.
Spray the design with water and use another piece of water soluble to get it all off by dabbing it.
It especially helps when it’s a gift to someone and you don’t want to explain that it will dissolve once they wash it.

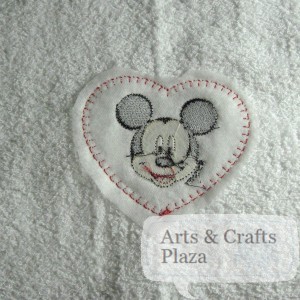
Now it’s time to tackle the back side of our embroidery.

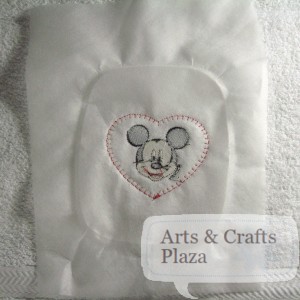
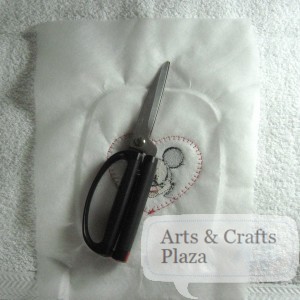
Cut the water soluble as close to the stitched as you can.
Be sure not to cut into the stitches or the towel.

The rest will dissolve once the towel has been washed.

Your project is now complete! enjoy.


Welcome to Arts and Crafts Plaza!

Arts and Crafts Plaza is for creative people everywhere!

Connect with other Arts and Crafts enthusiasts. Designed for the hobbyist and do-it-yourself folks.
In Arts and Crafts Plaza will be find posts about the various craft fields.  Are you  interested in Jewelry / Knit / Crochet / Sewing / Embroidery / paper crafts? This is the place for you!

Our Mission: Our mission is to provide you ideas mixed with a little inspiration to inspire you to create.

Let’s create something!