How To: Valentine Shadow box

Valentine’s day fast approaching…
Want to create something special for your loved one?
Want it to last and not be tacked away somewhere?

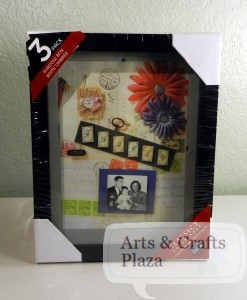
Use a shadow box.
This way you are not limited to something flat and you can create something that has dimension.

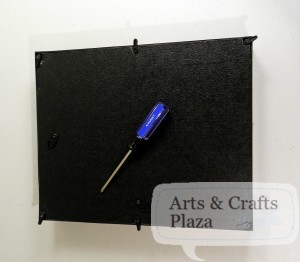
Remove the back of the shadow box.
Most of the time you can just twist it to the side and it opens.
On occasion the screws are over tightened, you may need to use a screw driver.

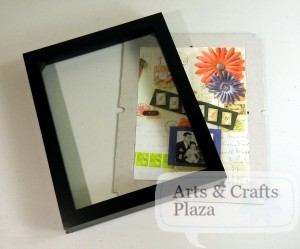
The glass and backing are separated.
Notice the Black border around the glass, it will partially block the view of the design.
You can use part or all of the backing area for different style results.

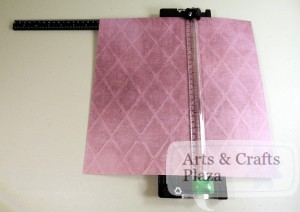
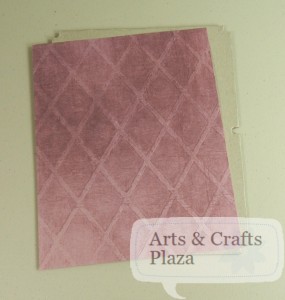
Take a patterned paper and cut to the size of backing.
Paper can be as busy or solid color depends on results you want achieved.
In this case 7 * 9.5 inches.

Make sure it fits the backing of shadow box.
Attach to backing at this point.
Use double sided tap, Adhesive Transfer Tape or glue.

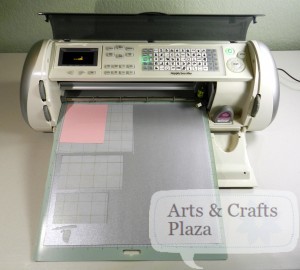
Pull out your Cricut machine.

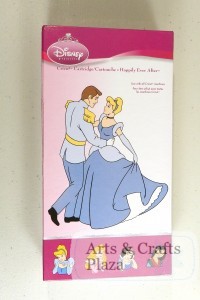
All the designs are from Happily Ever After cartridge.

Put your paper on the cutting mat.
Silver color was selected as background color in this case.

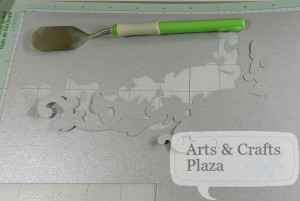
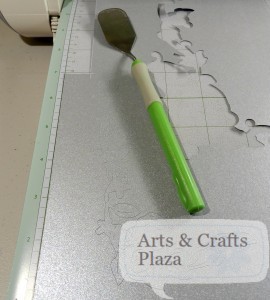
Use the Cricut spatula to gently remove paper from cutting mat.

The Cricut spatula and Cricut Tool Kit will help prevent the paper from bending as you try to remove it from the cutting mat.

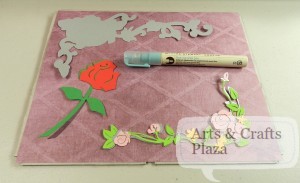
Play around with how you want to place everything on your backing.
Once you get an idea of where things will go start gluing the pieces together.
Use a Glue pen or use Create-a-Sticker Machine.

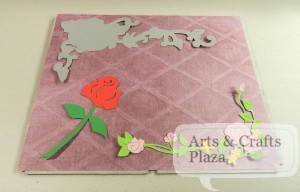
This is how it should look.
Now you have less pieces that you need to move around.

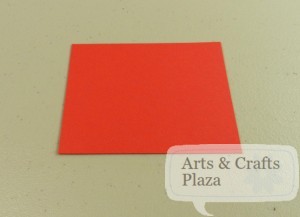
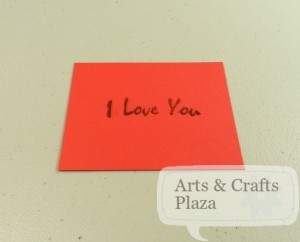
Take a Red piece of paper and cut it to a note card size.

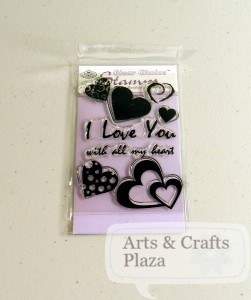
Use Clear Choice stamp ‘I love you’ or any other stamps you would like.

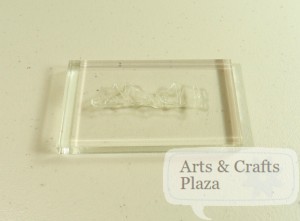
Place it on a clear Acrylic stamping block.
Clear your stamp after each use.

Use different ink colors with the same stamp to create a 3D effect.
Use additional stamps, in this case the heart to create a pattern.
Add a White paper underneath it, to make it stand out more.

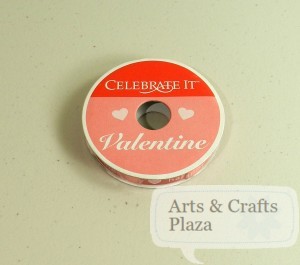
Add ribbons in Valentine’s theme.

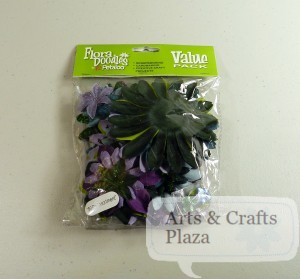
Use flowers in different sizes and create a layers with different colors.

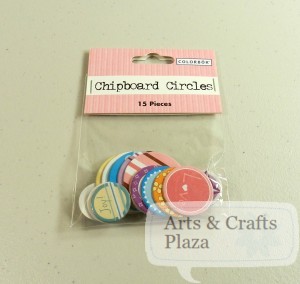
Use chipboard circles with a message as the focal point of the flower.

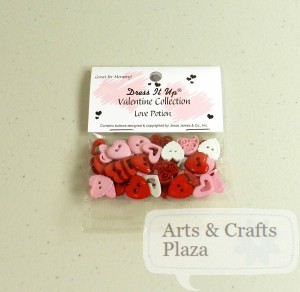
Use Valentine theme buttons as accent in your flowers.

Arrange all components in shadow box.
Don’t glue everything all around, this will add to 3D effect.
Hang or place shadow box with love.

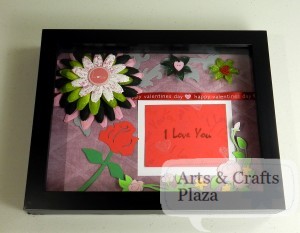
Your Valentine shadow box is now complete.

Happy Valentine!
Let’s create something!
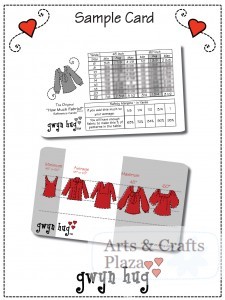
Winner Announced! – “How Much Fabric?” Reference Cards ***GIVEAWAY***!
Lets start with a round of applause to “How Much Fabric?” Reference Cards GIVEAWAY sponsor www.gwynhug.com!
Thank you for making this happen!

Thank you to all Arts and Crafts Plaza & Gwyn Hug “old” and “new” fans on and off facebook!
Come back often to continue to use and enjoy the services offered on ArtsAndCraftsPlaza.com!

The winner of “How Much Fabric?” Reference Card Set of your choosing is….

Ruth R. Tillman who thinks: “Love these cards! What a great idea.”

Look for a message on your facebook account.
Please select which “How Much Fabric?” Reference Card Set you would like to receive.

To learn more about: “How Much Fabric?” Reference Cards

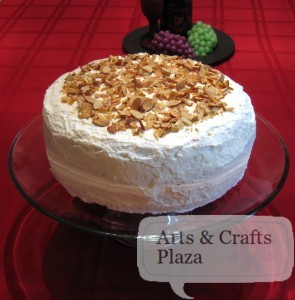
How To: Almond Joy Layer Cake – Part 1

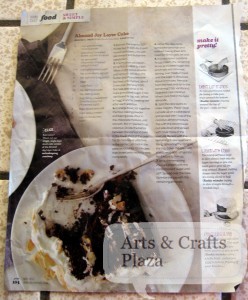
My friend saw this cake in the magazine and we thought we’d give it a go.
This is a test run before her cute little daughter’s birthday.
With Valentine’s Day fast approaching you may want to make this amazing cake for your sweetheart!

To see the article online on Rachael Ray magazine:
http://www.rachaelraymag.com/Recipes/almond-joy-layer-cake

Ingredients

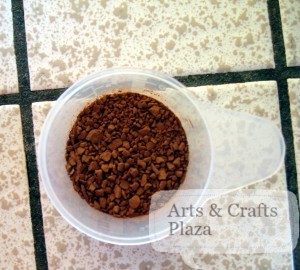
  • 2/3 cup unsweetened cocoa powder
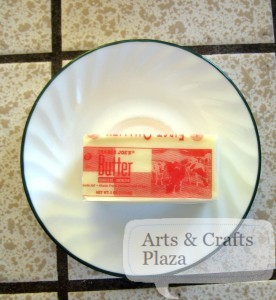
  • 1 stick (4 oz.) unsalted butter, cut into 8 pieces
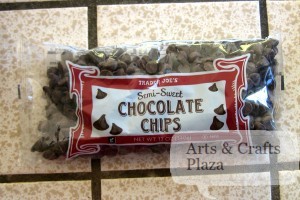
  • 3 oz. semisweet chocolate, chopped (about 1/2 cup)
  • 2 1/4 cups granulated sugar
  • 4 tsp. pure vanilla extract
  • 1/2 tsp. salt plus a big pinch
  • 3 eggs
  • 1 1/2 cups flour
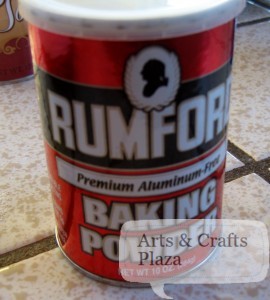
  • 1 1/2 tsp. baking powder
  • 1 tsp. baking soda
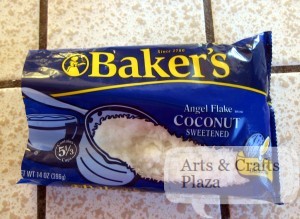
  • 1 bag (14 oz.) sweetened shredded coconut (4 packed cups)
  • 2 cups sliced almonds
  • 3 cups heavy cream
  • 1/3 cup confectioners’ sugar

Start off by Preheating your oven to 325°.
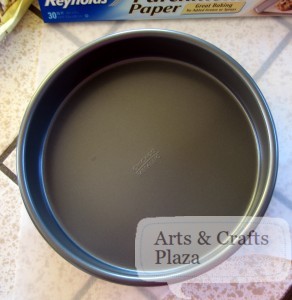
Use two 8-inch-by-2-inch round cake pans.

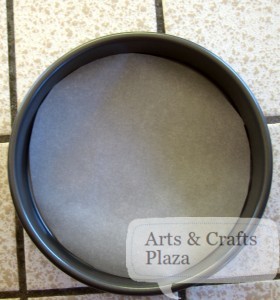
Place your cake pan over the parchment paper and mark.
(bottom of the cake pan)

Cut and place parchment paper inside both cake pans.
Butter the parchment paper.

Bring 2/3 cup water to a boil, in a medium saucepan.
Whisk in the 2/3 cup unsweetened cocoa powder until smooth.

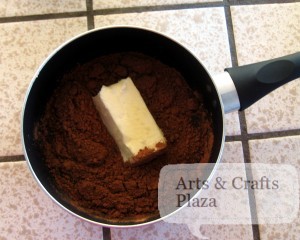
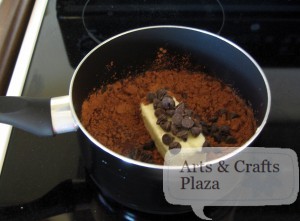
Whisk in the butter 1 stick (4 oz.) unsalted cut into 8 pieces

We forgot to cut the butter, but that’s ok it’ll be just fine.

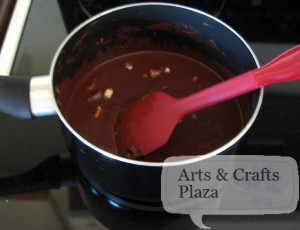
Whisk in the 3 oz. semisweet chocolate over low heat until melted.

Should take, about 2 minutes but since we forgot to cut the butter it was more like 4-5 minutes.

Almost there…

Remove from the heat.

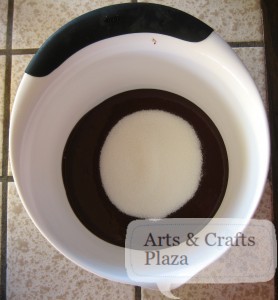
Whisk in 1 1/2 cups granulated sugar

We chose to use a separate bowl instead of the saucepan.

Add 2 tsp. vanilla and 1/2 tsp. salt.

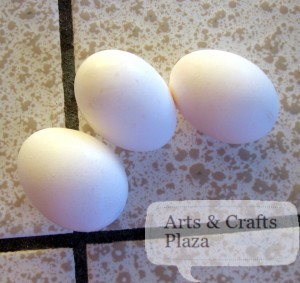
Add 3 eggs.
Whisk in 1 egg at a time.
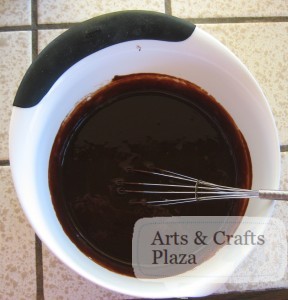
Beat it well after each egg addition.

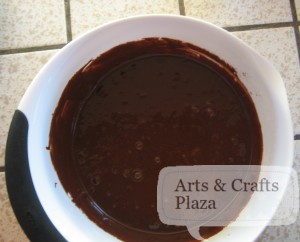
Mixture should look like this.

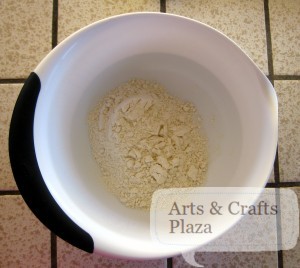
In a large bowl, stir together the 1 1/2 cups of flour.

Add 1 1/2 tsp. baking powder.

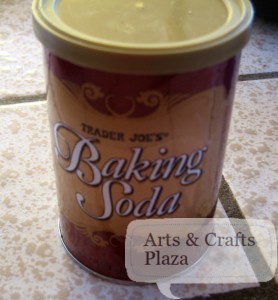
Add 1 tsp. baking soda

Pour in the chocolate mixture until smooth.

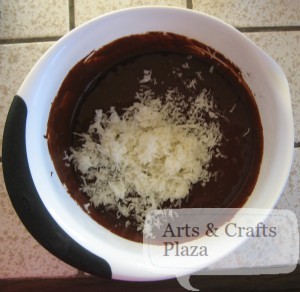
Stir in 1 packed cup sweetened shredded coconut.

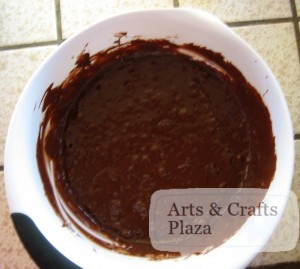
Mix it together.

Mixture should look like this.

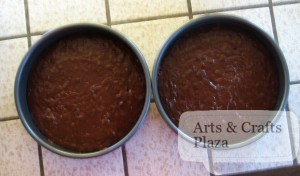
Divide the batter between the two cake pans.

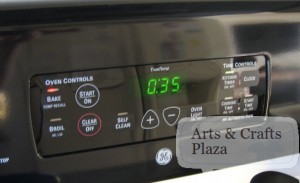
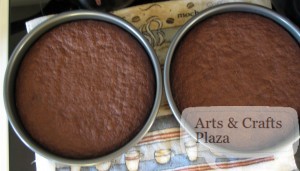
Bake on 325° in the lower third of the oven for 35 minutes or until firm in the center.

Let cool in the pans on racks for 10 minutes, then invert onto racks to cool completely.

You can find:How To: Almond Joy Layer Cake – Part 2

Let’s create something!