How To: Sewing Halloween Table Runner

Halloween is a fun holiday not to mention colorful.
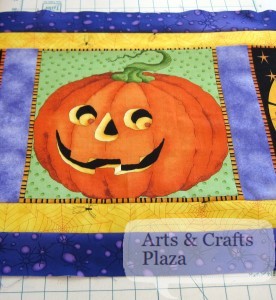
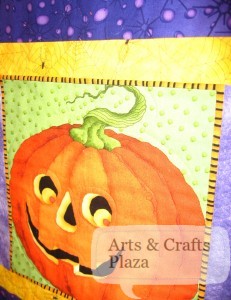
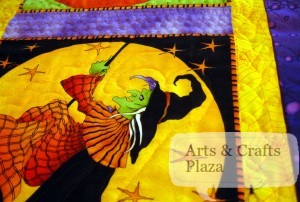
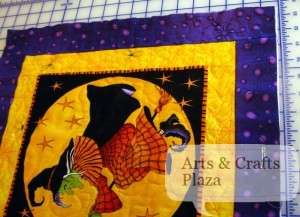
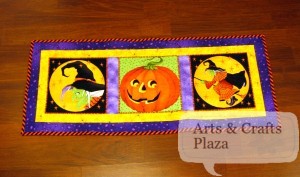
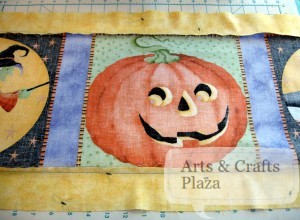
When a friend bought this Table runner with Halloween theme, I thought perfect!

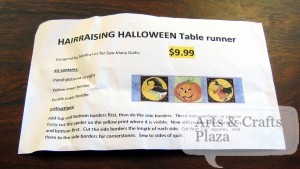
In the package you have instructions.

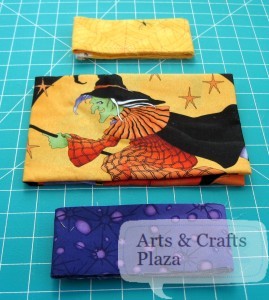
As well as fabric for the top of the table runner.
There are things that are not included (typical) as it is your choice on what you may want to use.
Not included: batting, backing fabric and binding (all optional).

You want to start by pressing everything so it’s straight.
Press iron down don’t move it on fabric as not to stretch fabric.

Make any markings you need to help guide you as you sew.
Use chalk or erasable pen.
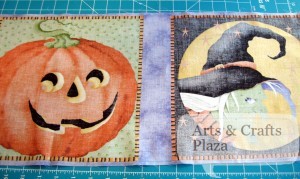
I am using the Black/Orange border as my sewing guide.
I wanted a “connecting line” between the borders.

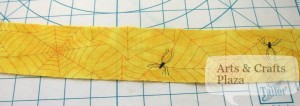
You can select to chose which color you want to use first as they are the same length (Yellow or Purple)
I chose to start with the Yellow for more contrast but it’s up to you.
The instructions are only a guide line.
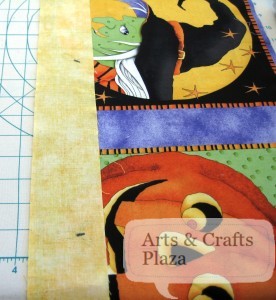
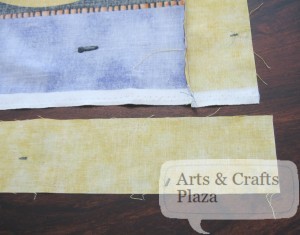
Put right sides of fabric facing together and sew.

How the sewing line should look on right side of main fabric.

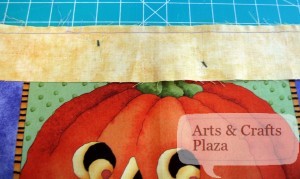
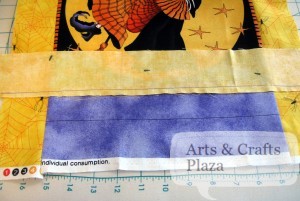
You want to iron your seams.
Always iron to the darker side of your fabric.

Repeat on other side.
This is how it should look from back side.

As you get 3 long stripes of fabric (Yellow and Purple) you need to trim it to size.

You don’t have to be exact and as long as you cut it just a little longer you’re good.
You could get a little fancier and add cornerstones.
You could mix and match your 2 colors.
I didn’t think it needed that, so I kept it simple.

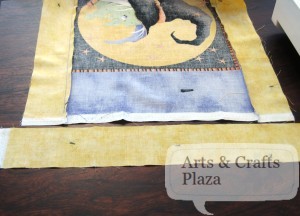
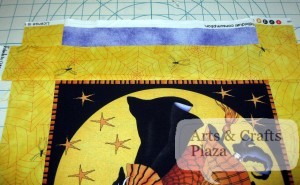
Decide where you want to position the sides.
I decided to stay with the border but you have extra fabric so you can chose to make your table runner longer.

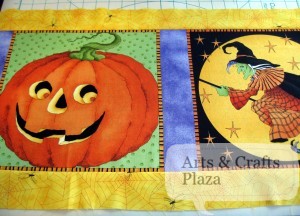
Iron again.

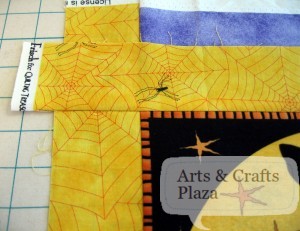
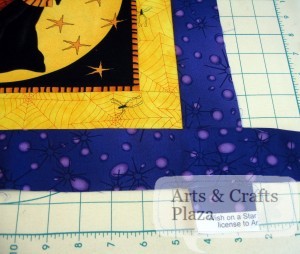
A close up look at the corners.

Repeat process with Purple strips of fabric.

Close up look at corner.

At this point you have options.
You can turn raw edges under, sew and be done.
You can buy ready made biding.

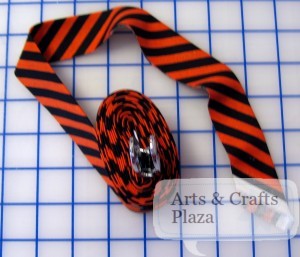
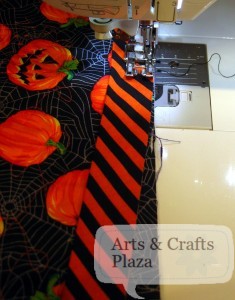
I chose to make my own biding using Halloween color fabric.
It’s stripes of Orange and Black cut on bias so lines are diagonal.

Cut to size your favorite type of batting.
Cut to size your selected fabric for backing.
Attach with pins until you are done
Cut access fabric and batting.

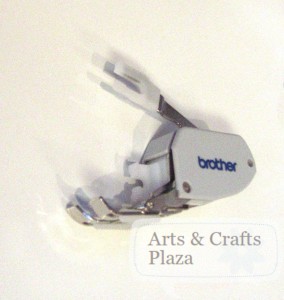
You may want to use a walking foot.
As it will help with moving all layers of fabric nice and smooth.

Every batting package will tell you how wide your stippling needs to be.
Usually, around 4-5 inches apart.
That means you don’t have to stipple every little square inch.

You can use stippling as a decorative feature.
You can stipple all your colors the same way.
You may choose to stipple every color different and create something more unique to you.

Decide what thread color you want to use.
Have a dominant color and you don’t want your stippling to show, chose that color.
You could use a contrast color and make your stippling even more of a feature.
Another option is to use clear thread.
You are the designer!

A look at back fabric, already have some stippling going.
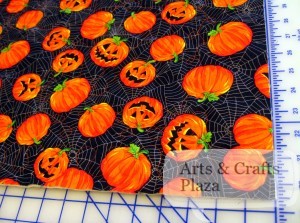

You could saw your back fabric and turn it and then do your stippling.
I chose to use binding.

Not sure how to make your own binding?
How to attach your binding?
What to do with those corners?
Look for future posts to answer all these questions!

Have a fun and safe Halloween!

Enjoy!

Let’s create something!
How To: Paleo Chocolate

 You heard about ‘Paleo Diet’, you are thinking, it sounds interesting BUT then the next thought comes to mind…
I’m going to have to give up on a lot of my favorite foods.
So don’t!
Don’t look at it as giving up on but switching it up.

Who said Chocolate and didn’t get some?
There you go!

Ingredients:

  • 1/2 cup Cocoa butter
  • 1/2 cup Cocoa powder
  • 1/2 tsp. Lucuma powder
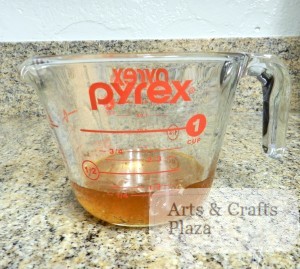
  • 1/4 cup of Honey
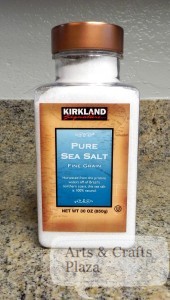
  • dash of Salt

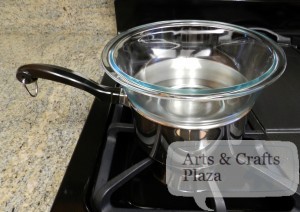
As we are dealing with Chocolate you need to set up double boiler.
What is double boiler? don’t worry no need to go out and buy some new contraption for the kitchen.

Take any pot and fill it about a 1/3 with water.

Put a bowl on top, I prefer Pyrex.
There you have it, double boiler!
The idea is you don’t direct heat or the Chocolate will burn.

On to make the Chocolate.
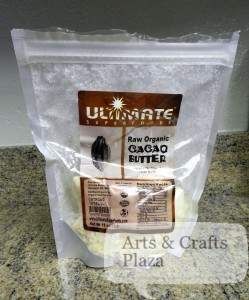
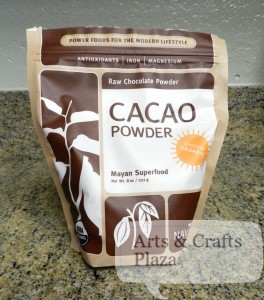
You can get Cacao Butter at ‘Whole foods’ or order online if you can’t find it in your local store.

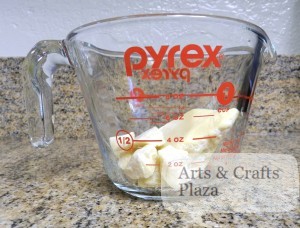
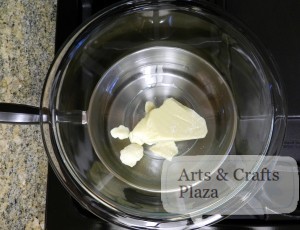
Measure 1/2 cup Cocoa butter, don’t pack it.

Put Cocoa butter into bowl.

Wait until Cocoa butter melts completely.

Cocoa Powder, you can find it in the same places.

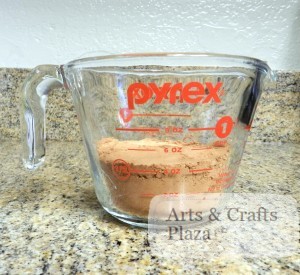
Measure 1/2 cup Cocoa powder.

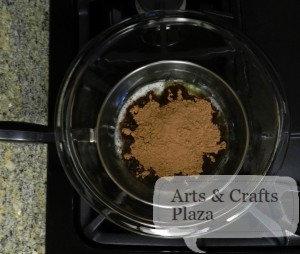
Add Cocoa Powder to bowl.

At this point you mix.

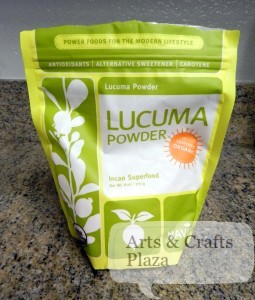
Lucuma powder I was only able to get online (off Amazon.com)
Wondering what is Lucuma powder?
It’s a fruit from Peru.
Adds flavor somewhat like Maple Syrup.

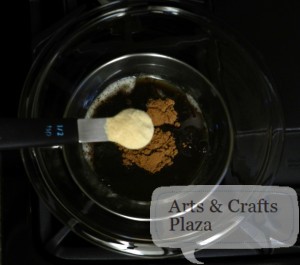
Add 1/2 tsp. Lucuma powder

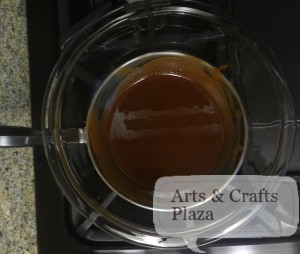
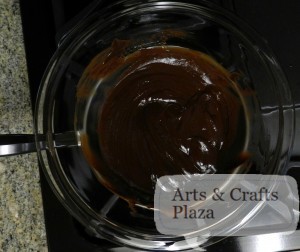
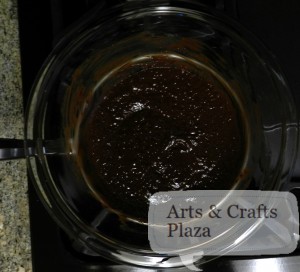
Mix, this is the consistency you should have.

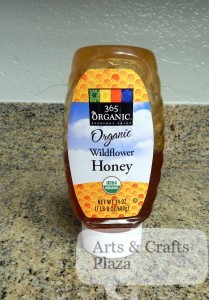
Honey makes everything better!

Add 1/4 cup of Honey to bowl.

Add a pinch of salt.

Mix again.
Your texture is now smooth and you could be done.

You could also decide to add something extra.
How about a pinch of Cinnamon?
Mayans added chili powder to their chocolate.
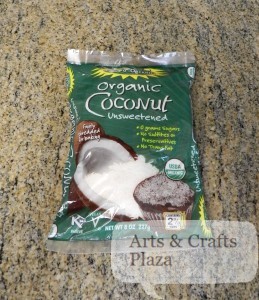
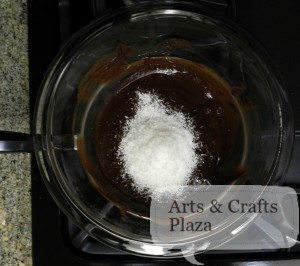
In this case I chose to add unsweetened shredded Coconut.

Adding the unsweetened shredded Coconut changes your consistency to be a little like toffee candy.

Try it see how you like it!
Add a little more or a little less, it’s up to you.

You could use the chocolate as a top for a cake.
Want to just eat it? really?
Why not make it look a little fancy?
Think about those designer chocolate, you can have it all!
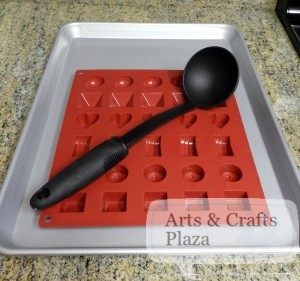
Just get a silicon mold designed for chocolate (you don’t want the ice one’s, this is HOT!)

Use a big spoon so you are not dripping Chocolate all over the place.
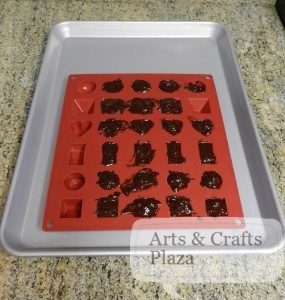
Fill out your molds.
As the Chocolate has coconut it’s not as smooth but it’s so worth it.

Another option, leave your chocolate plain and add things to it in the molds.
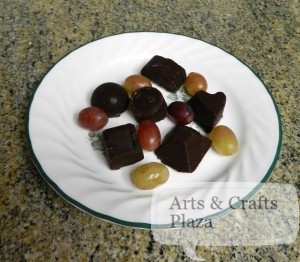
Add raisins, Almonds, Macadamia nuts, mix some coconut in just one of the shapes.

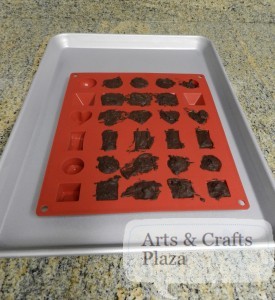
Pop it in the freezer for an hour to harden.
Now they will easily pop out of the molds.

So you want to know how it taste too?
AMAZING is how!
More like European Chocolate that just melts in your mouth.

Ok you can eat it….
Don’t “forget” to share it 🙂

Enjoy!

Let’s create something!
 

I Love Yarn Day 2012

October 12th, 2012

I Love Yarn Day

Is national day to declare your LOVE for yarn!
You can Knit it, crochet it, wear it, post it, tweet it, carry it, share it, give it, or bomb it!
Are you loving on your yarn?
Can you find yarn items throughout your house?
Do you shop for yard more often then you really need?
Even if you just Knit / Crochet / Craft / spin / weave / love fiber every now and then, it’s ok!

Help spread the word about I Love Yarn Day!
This day is all about spreading that good feeling people have about yarn and yarn-related crafts.
It’s for you to affirm your passion for yarn.
This year will be the second annual I Love Yarn Day.
To participate all you need is your yarn and maybe a couple of friends.

Get Involved

  • Create an I Love Yarn Day badge
  • Teach someone to knit or crochet
  • Do something for charity
  • Wear a knitted or crocheted item
  • Give a gift of yarn
  • Take your yarn to work day
  • Host a yarn-a-bration party
  • Knit, crochet and craft in public


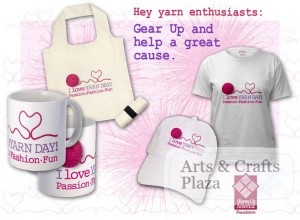
Any money generated from gear sales will be donated to the Warm Up America Foundation.
A 501C3 charity that has been providing warm clothing and afghans to people in need for more than 20 years.

Knitting abbreviations

You can find knitting abbreviations here.

Crochet abbreviations

You can find Crochet abbreviations here.

Need more incentive to love on your yarn?
Why don’t you try and win some yarn!

WIN Show us your love of yarn!

Go on the facebook page
www.facebook.com/iloveyarnday
There are three ways to enter: on Facebook, Twitter or Instagram!
Take a photo showing your love of yarn!
‘Like’ the facebook page and fill out the form to submit an entry.
You can find the entry form here.
Or enter from your mobile phones via Twitter and Instagram using hashtag #YarnDayContest.
Have all your friends vote on your photo.

Prizes

The Grand Prize winner will receive 365 skeins of yarn from prize sponsors: Bernat, Patons and Caron Yarns; Lion Brand Yarn; and Red Heart Yarns.
10 Runners-up will receive an I Love Yarn Day tote bag with a yarn-lovers’ collection of prizes valued at $300 each. Runners-up prizes are sponsored by All American Crafts (Knit ‘N Style, Knit 1•2•3 and Crochet 1•2•3), Annie’s (Creative Knitting and Crochet Magazine), Boye accessories, Clover Needlecraft accessories, Creative Partners’ books, Future US (Crochet Today magazine), Interweave (Interweave Knits, Interweave Crochet, Knitscene, and Knitting Daily TV), Leisure Arts (The Knook), Soho Publishing (Vogue Knitting, Knit Simple, Debbie Bliss magazine, Noro magazine), and TMA yarns.

How to Win

The 10 photo entries with the highest number of votes at the end of the contest period will each win the yarn-lover’s tote bag and prizes, and one photo entry will be selected from the Top 10 by a panel of Sponsor’s employees to win the Grand Prize, according to the following criteria: personality (33%), quality (33%), and representation of the I Love Yarn Day theme (33%).

Winners Announcement

Winners will be announced on October 26, 2012.

www.ILoveYarnDay.org

Enjoy!

Let’s create something!