Halloween is a fun holiday not to mention colorful.
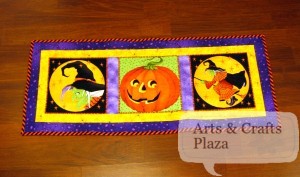
When a friend bought this Table runner with Halloween theme, I thought perfect!
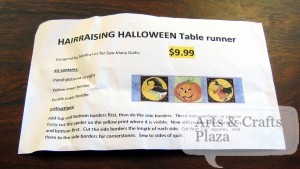
In the package you have instructions.
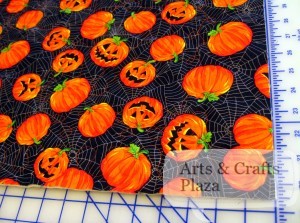
As well as fabric for the top of the table runner.
There are things that are not included (typical) as it is your choice on what you may want to use.
Not included: batting, backing fabric and binding (all optional).
You want to start by pressing everything so it’s straight.
Press iron down don’t move it on fabric as not to stretch fabric.
Make any markings you need to help guide you as you sew.
Use chalk or erasable pen.
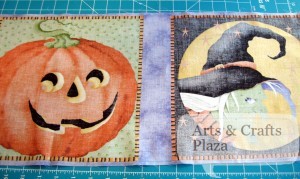
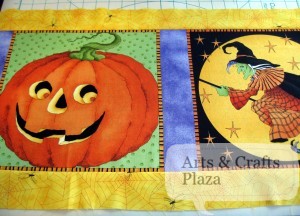
I am using the Black/Orange border as my sewing guide.
I wanted a “connecting line” between the borders.
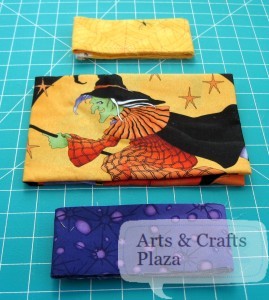
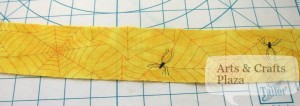
You can select to chose which color you want to use first as they are the same length (Yellow or Purple)
I chose to start with the Yellow for more contrast but it’s up to you.
The instructions are only a guide line.
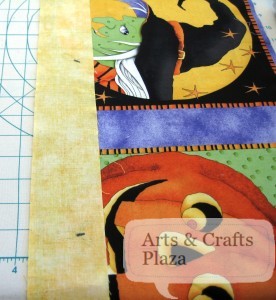
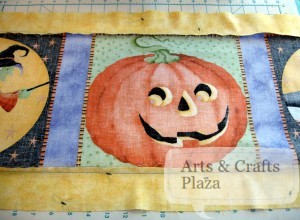
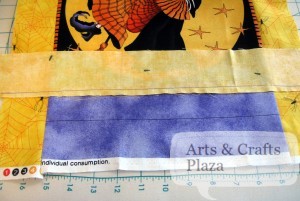
Put right sides of fabric facing together and sew.
How the sewing line should look on right side of main fabric.
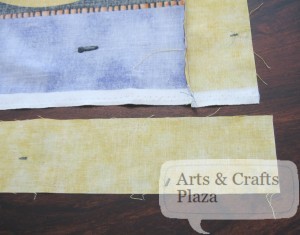
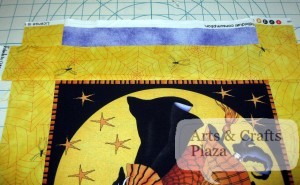
You want to iron your seams.
Always iron to the darker side of your fabric.
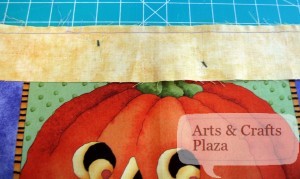
Repeat on other side.
This is how it should look from back side.
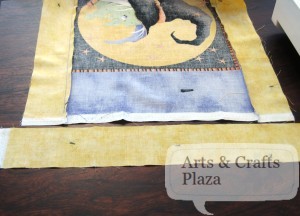
As you get 3 long stripes of fabric (Yellow and Purple) you need to trim it to size.
You don’t have to be exact and as long as you cut it just a little longer you’re good.
You could get a little fancier and add cornerstones.
You could mix and match your 2 colors.
I didn’t think it needed that, so I kept it simple.
Decide where you want to position the sides.
I decided to stay with the border but you have extra fabric so you can chose to make your table runner longer.
Iron again.
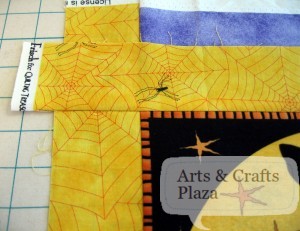
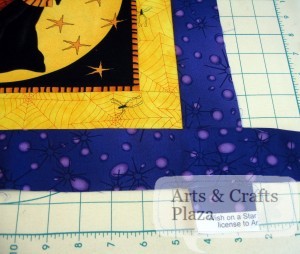
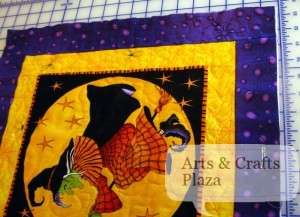
A close up look at the corners.
Repeat process with Purple strips of fabric.
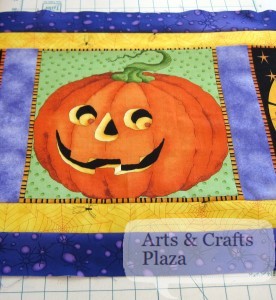
Close up look at corner.
At this point you have options.
You can turn raw edges under, sew and be done.
You can buy ready made biding.
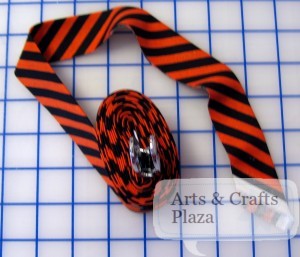
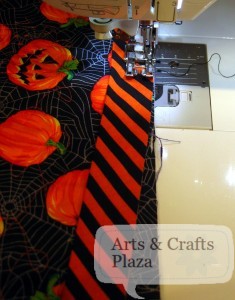
I chose to make my own biding using Halloween color fabric.
It’s stripes of Orange and Black cut on bias so lines are diagonal.
Cut to size your favorite type of batting.
Cut to size your selected fabric for backing.
Attach with pins until you are done
Cut access fabric and batting.
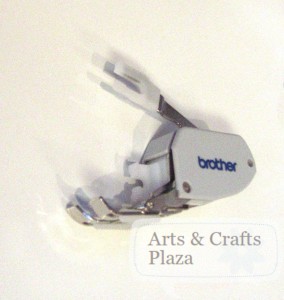
You may want to use a walking foot.
As it will help with moving all layers of fabric nice and smooth.
Every batting package will tell you how wide your stippling needs to be.
Usually, around 4-5 inches apart.
That means you don’t have to stipple every little square inch.
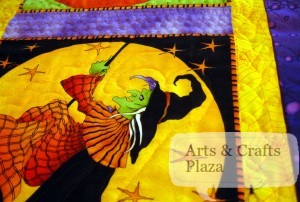
You can use stippling as a decorative feature.
You can stipple all your colors the same way.
You may choose to stipple every color different and create something more unique to you.
Decide what thread color you want to use.
Have a dominant color and you don’t want your stippling to show, chose that color.
You could use a contrast color and make your stippling even more of a feature.
Another option is to use clear thread.
You are the designer!
A look at back fabric, already have some stippling going.
You could saw your back fabric and turn it and then do your stippling.
I chose to use binding.
Not sure how to make your own binding?
How to attach your binding?
What to do with those corners?
Look for future posts to answer all these questions!
Have a fun and safe Halloween!
Enjoy!
Let’s create something!


Write a Comment