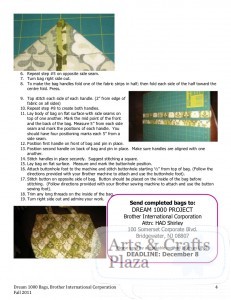
DREAM 1000 PROJECT – Update

BROTHER INTERNATIONAL CORPORATION’ DREAM 1000 PROJECT PRODUCES SCHOOL BAGS FOR
JAPANESE EARTHQUAKE AND TSUNAMI VICTIMS

To view original post:
The Dream 1000 Project

Customers and dealers overwhelmingly respond to global relief effort with much-needed sewn bags
BRIDGEWATER, NJ –When a Japanese engineer working for Brother Industries Ltd., the parent company of Brother
International Corporation, “dreamed” big, he could not have imagined the outpouring of international support he would receive.
The Dream 1000 Project, a global relief effort created in mid-2011, called for all of Brother’s worldwide employees
and its dealers to support those affected by the March 2011 Japanese earthquake and tsunami by producing 1,000 hand-
decorated fabric school bags for children to tote their belongings.
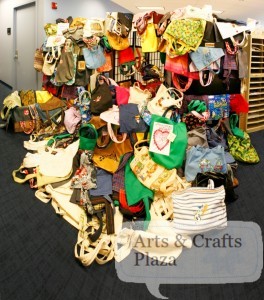
Photo 1: Tote bags created by Brother employees and dealers for Japanes children affected by the tsunami
came in an array of colors and designs.

The project combines Brother’s history and leadership of producing world-class sewing machines with its strong corporate
commitment to the community and its Japanese roots. The completed bags from the U.S. as well as Canada, Brazil, and
Taiwan, were shipped in late December. In total, more than 1,300 tote bags were produced and shipped to the Japanese
children.

Here in the U.S., project leaders asked for 100 tote bags but Dean Shulman, Senior Vice President of Brother
International Corporation and head of the Home Appliance and Industrial Products Divisions, set a higher goal. Shulman
asked for 300 tote bags from his associates around the country.
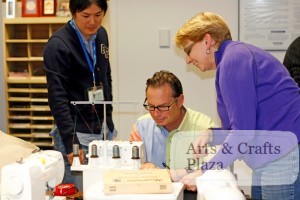
Photo 2: Dean Shulman (center), senior vice president of Brother International Corporation and head of the
Home Appliance and Industrial Products Divisions, created his own tote bag for the Dream 1000 project.

“In the end, our employees, dealers, and customers answered our request in an even bigger way and sent us 524 tote
In bags for the relief effort,”says Shulman. “
They completely surpassed our goal of 300. One dealer even sent 70 bags.”

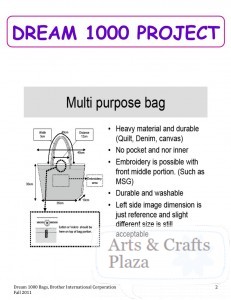
Part of the allure of producing the bags was their easy pattern to follow. Participants say the bags took no more than 45
minutes to produce, depending on how much unique embroidery, quilting, or appliqué was added. The 20 x 20-inch tote
bags were made with heavy, durable fabrics such as denim or canvas and had a closure, either a button or Velcro, and
handles.

“Sewers and crafters are very compassionate, giving people,”says Shulman. “
They used their Brother sewing machines
to send hopes, dreams, and love to the children of Japan by creating these essential multi-purpose school bags. Nearly a
year after the disaster, the Japanese people still face basic needs to rebuild their lives.”

On March 11, 2011 a strong earthquake measuring 9.0 on the Richter scale struck off the Pacific coast of Japan, followed
by severe aftershocks. It was the most powerful known earthquake ever to hit Japan and one of the five most powerful
earthquakes in the world since modern record-keeping began in 1900. The earthquake triggered powerful tsunami waves
that reached heights of up to 133 feet causing devastating human and physical damage in northeastern Japan and
destroying entire cities in the coastal prefectures of Fukushima, Iwate and Miyagi. The Japanese National Police Agency
confirmed 15,844 deaths, 5,890 injured and 3,451 people missing. The disaster damaged or destroyed more than
700,000 commercial and residential properties, leaving thousands of families homeless in the middle of winter.

According to Save the Children, an international humanitarian organization, the crisis in northeastern Japan directly
affected more than 100,000 children through displacement, loss of access to education, loss of family members, and
exposure to high levels of stress and anxiety.

Photo 3: Brother International Corporation’s president, Tadashi Ishiguro, admires the many tote bags produced
for the Dream 1000 project.

Coming to their aid, Brother employees, dealers, and customers from 17 U.S. states gathered together throughout the
summer and fall to produce the tote bags. Dozens of quilters from around the world created bags during the Houston Quilt
Show in November—the largest quilt show in the U.S. with 30,000 attendees. Terry Koike, president of Brother Industries
Ltd, participated in the project by making a bag, as did Brother International Corporation’ president, Tadashi Ishiguro and
his wife. Brother International Corporation’ Dean Shulman made a bag and decorated it with glitter, a guitar, and
handwritten message, “ Our Heroes in Japan from Your Brothers in the U.S.A.”Another donated bag was embroidered
To simply with the words “Love, love, love.”

Creative Threads, a family-owned two-store dealership in Binghamton and Greene, New York, contributed 12 bags to the
project. A note accompanying their donation said, “ We send our thoughts and prayers for those in Japan impacted by the
tsunami. We hope that these bags will help bring some joy to the children affected by this tragedy.”

Amy Phipps, an employee at Creative Threads, joined four others who produced the school bags. “ We thought it was a
great idea on Brother’s part to extend this invitation to make the bags and help the children. They are so far away in
Japan and you don’t know what to do to help. You can contribute money but it seems so impersonal. Knowing that these
bags are needed gave us the opportunity to help out, especially for the children who sometimes seem to be forgotten.”

The five from Creative Threads found the pattern very easy to follow. They enjoyed, said Phipps, being able to customize
the bags for either boys or girls using their own fabrics and embroidering Disney characters on some of them.
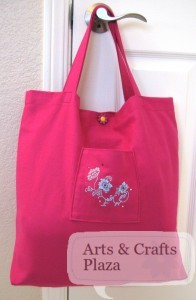
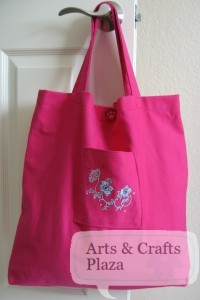
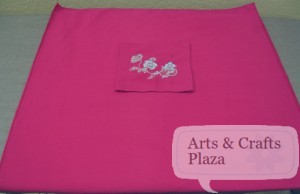
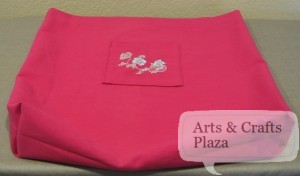
Keren at Arts And Crafts Plaza makes a bag to donate to the kids affected by the Tsunami and Earthquake in Japan.
How To: Dream 1000 Project Bag

At sewnow! in Lafayette, California (outside of San Francisco), co-owner Susan Goldie assembled her pre-teen and teen
sewing class to produce the tote bags. The 22 teens worked at different stations and produced 20 bags for the project.

“Our core business is to teach sewing skills to children and adults,”says Goldie. “ We incorporated the project into our
teen sewing class. The kids found it super fun to make the bags and they were aware of the disaster in Japan and felt it
important to help other children.”

Goldie’s group produced tote bags for both boys and girls using blue and grey denim fabric and accessorizing them with
floral or plaid straps. The more experienced sewers took the roles of precision sewing techniques such as top-stitching
and button holing whereas the new sewers produced straight-line stitches.

“We even had a few guys come to work on the tote bags,”recalls Goldie. “
They are usually more interested in the
technology behind the sewing machines. This project really highlighted that area on our Brother machines since we used
the Quattro® 6000D model with the scanner and camera features. The Brother machine also has hundreds of built-in
embroidery designs that we could use on our tote bags and that captivated their interest.”

To learn more about Brother International Corporation, visit www.brother.com.

About Brother International Corporation
Brother International Corporation has earned its reputation as a leading supplier of innovative products for the home sewing enthusiast. Through a
growing network of sewing machine dealers and retail outlets nationwide, Brother offers a full line of home sewing machines, from basic to top-of-the-line
sewing and embroidery machines. The company is recognized for its high-quality, state-of-the-art machines and accessories, offering ease of use and
flexibility at affordable prices. Brother is a wholly owned subsidiary of Brother Industries Ltd. With worldwide sales approaching $5 billion, this global
manufacturer was started almost 100 years ago by sewing fanatics. Brother offers a diversified product line that includes fax machines, Multi-Function
Center® machines, P-touch® Labeling Systems and both color and mono laser printers for home, office and industry. Bridgewater, New Jersey is the
corporate headquarters for Brother in the Americas, from Canada to South America. It has fully integrated sales, marketing services, manufacturing,
research and development capabilities located in the U.S. In addition to its headquarters in Bridgewater, New Jersey, Brother has facilities in California,
Illinois, Massachusetts and Tennessee, as well as subsidiaries in Canada, Brazil, Chile, Argentina Peru and Mexico. For more information you can visit
the website at www.brother.com.
 

How to: Diaper Bag Kit – Part 2

 You can find: How to: Diaper Bag Kit – Part 1

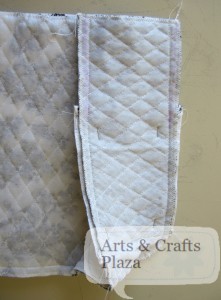
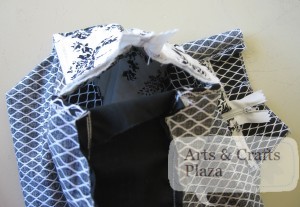
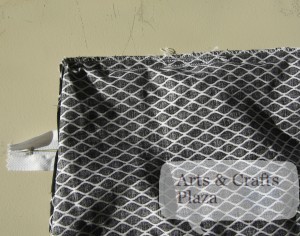
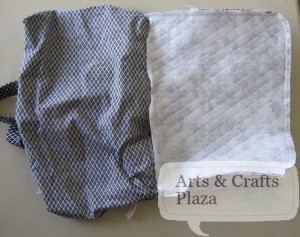
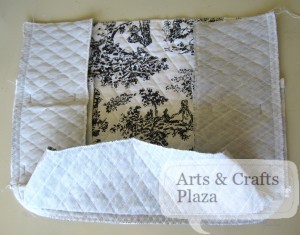
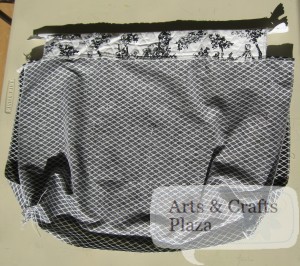
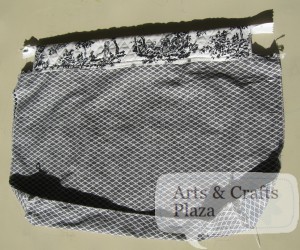
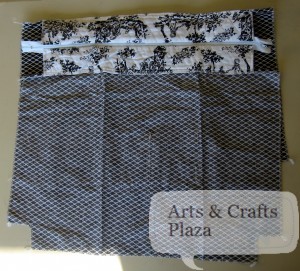
Turns out the top side of the bag doesn’t match the lining side nor the sides of the bag.
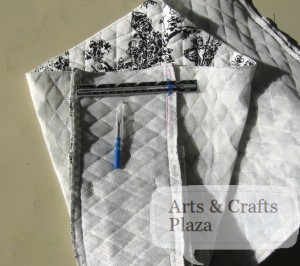
Measure and mark where you need to stitch.
(Ignore instruction to stitch by seam allowance.)

Open part of the seam of the lining.
I didn’t want to take all  the stitches out as the corners were perfect.

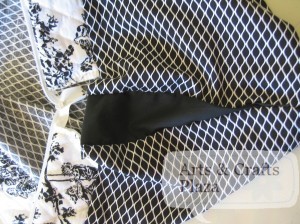
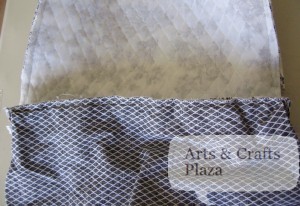
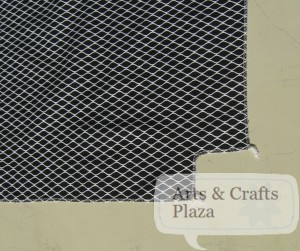
Add a piece of fabric in coordinating color making the top side of bag the correct size.
Make sure the seams are on the inside (hidden inside the bag).
Try and get it as even as you can on both sides.

Make sure size of top of bag and lining are the same.

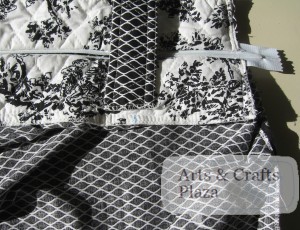
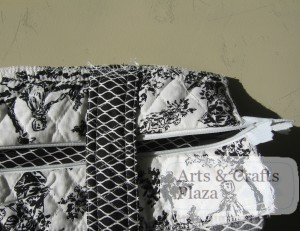
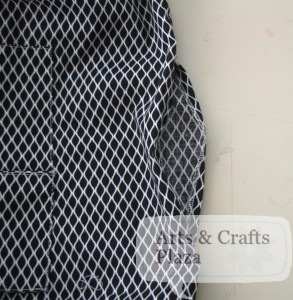
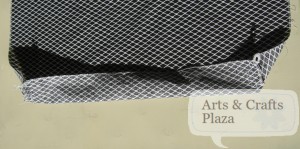
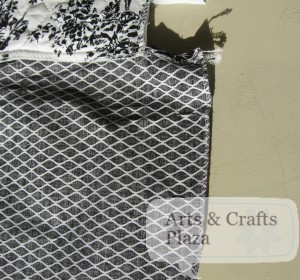
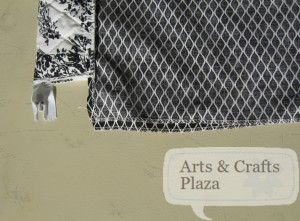
Another view.

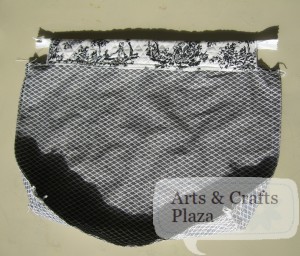
How it looks on the right side of the fabric.

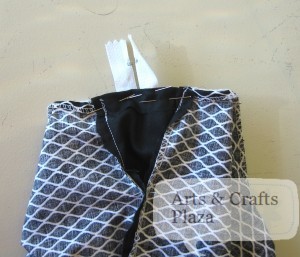
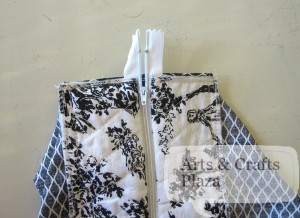
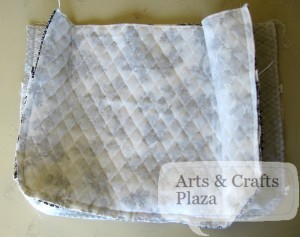
Pin top of bag to lining.

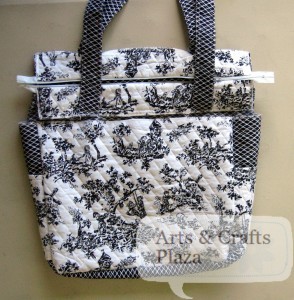
Open the zipper so it’s out of the way.

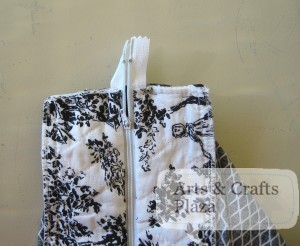
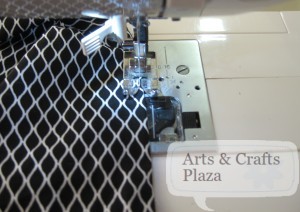
Stitch over zipper in a straight line on the edge.

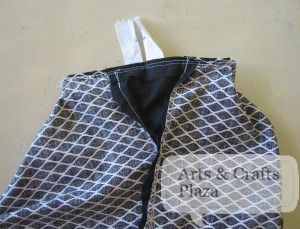
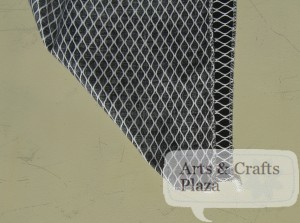
View from the other side.

Moving on to the straps.
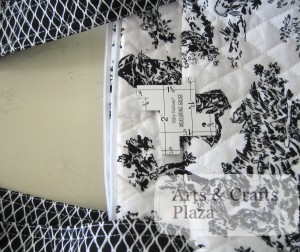
Measure and mark 4 inches from the size of the bag on both sides.

Attach straps on your marking. Use 1/2 inch seam allowance.
Make sure straps are not twisted.

View from the other side.
You may want to reinforce your stitches.
Stay inside your seam allowance.

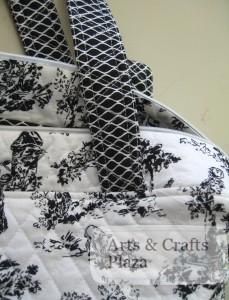
How it should look so far.

Make sure the sides of your bag are the correct size.
In this case 4.5 inches.

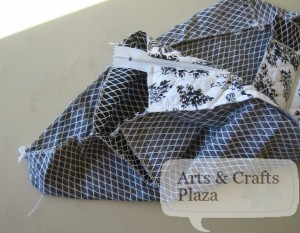
Insert your lining into your bag.

I find it helpful to pin first with a few pins, just to make sure everything is where it’s supposed to be.

Turn bag and lining inside out.

Pin and stitch all around the top of the bag, using 1/2 inch seam allowance.
Take extra care of your corners.

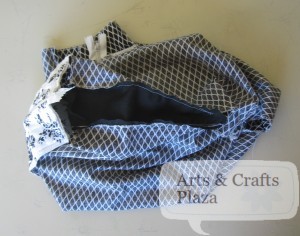
Turn bag to the right side.
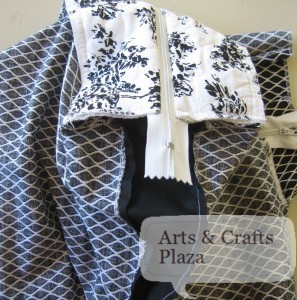
Use the opening at the bottom of lining and zipper.

Measure 1/4 inch for top stitch.

How it should look.

Time to close the opening at the bottom of lining which we used for turning the bag.

With raw edges of fabric turned inside, top stitch the 6 inches.
Use 1/4 inch seam allowance.

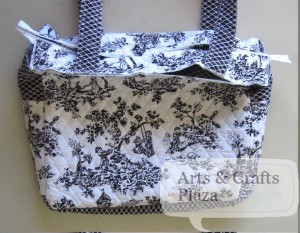
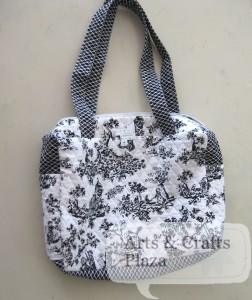
Your bag is now complete.
Final touches, cut any loose thread.

You can find: How to: Diaper Bag Kit – Part 1

Let’s create something!

How To: Diaper Bag Kit – Part 1

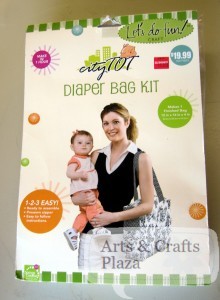
Ever come across a kit at the store and think, would it be easy or difficult to make?

This is what you can expect to find in the kit:
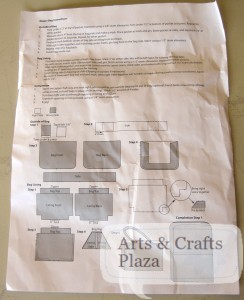
A basic instructions page

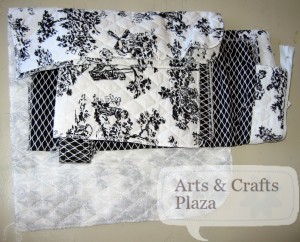
Pre-cut fabric pieces that will need to be assembled.
It’s nice that all the pieces of fabric are pre-serged.

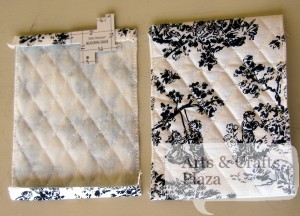
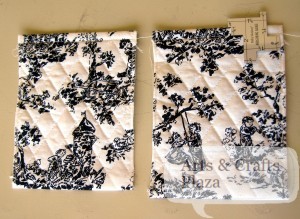
Start off by folding and ironing 1/2 inch off top and bottom of the pockets towards the back.

Top stitch with 3/8 inch seam allowance.

Start working on the side panel of the bag by marking 4 inch on both sides.

Pin when lining up top pockets to marked line on side panel. Both pieces right side of fabric facing up.
Stitch bottom of pockets to side panel with 1/4 inch seam allowance.

Mark center point on bottom on wrong side of fabric, of front, back and side pieces.

This next part should have been straight forward. Unfortunately, not so much…
Attach with pins right sides together of front and side panel.

Stitch around with  1/2  inch seam allowance.

Repeat for back panel of the bag.

The lining of the bag is mostly pre-assembled in this kit.
The zipper is in place and attached to sides of lining as well as two inside pockets.

Turn your attention to bottom of lining.

Fold corners of lining right sides together.

Pin and stitch corners of lining.
Repeat on both lining bottom pieces.

It helps if you put the lining corners one inside the other.

Pin around the outside of the lining.

Notice to pin in place the fabric when some of it is turned (right side of fabric).

Since this diaper bag is square at the top, pay extra attention to lining up the top part.
Don’t pin by the side on the lining.

Stitch with 1/2 inch seam allowance.
Leave 6 inch opening at the bottom center of the lining.

Assuming that all pieces of fabric in the kit are to the exact size they should be… big mistake.
Had to take some seams out, measure, add pieces of fabric and reassemble.

See part 2 to how it all worked out in the end.
You can find: How to: Diaper Bag Kit – Part 2

How To: Dream 1000 Project Bag – Part 2

Happy Thanksgivings everyone!
Brother started ‘Dream 1000 Project’ by requesting folks to make a bag to donate to the kids affected by the Tsunami and Earthquake in Japan.

 You can find: How To: Dream 1000 Project Bag – Part 1

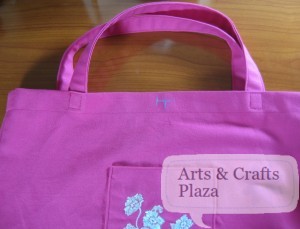
To create the straps of bag, take one of the 5″ x 20″ strip pieces.
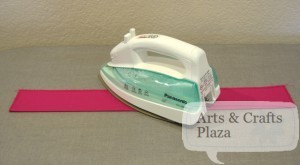
Fold it in half, right side of fabric facing out and iron.

Open fold.
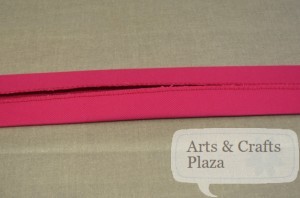
Fold each side towards just created center fold.
Iron in place.

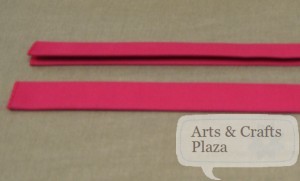
Take both sides and fold together.
Iron into place.
Repeat for other strip.
Top stitch on both sides of strips.

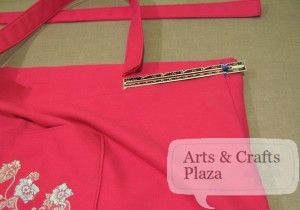
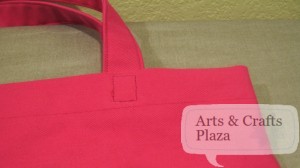
To attach strap to bag, measure 5″ from side of bag.

Attach to inside of bag, pin and stitch a square for added strength.
Make sure straps are aligned with each other and are not looped.
Cut a piece of paper the size of the square and use it as guide to have uniform square stitches.

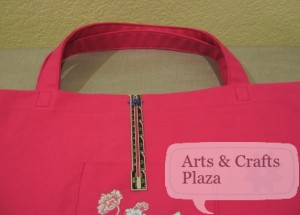
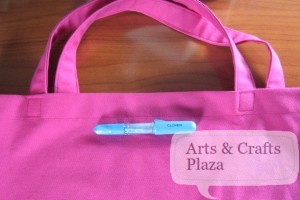
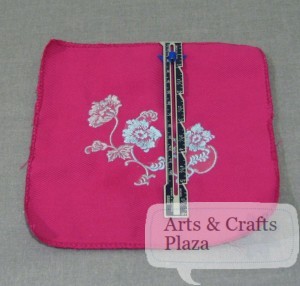
To attach the button, find center position and mark 1/2″ from top of bag.

Clover caulk pens are easy to use for all your marking needs.

Center button on marked line and mark on both sides of button.

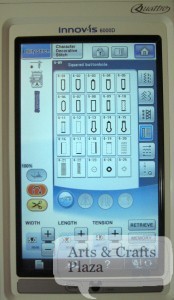
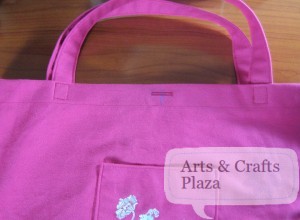
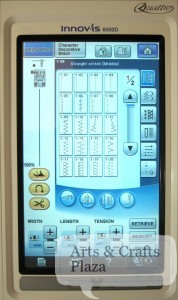
Use buttonhole foot, marked as A. Buttonhole # 9 was selected for this type of fabric.

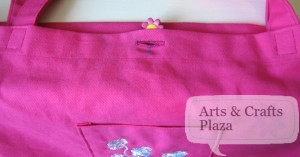
Cut open your buttonhole and make sure button goes through.
Attach button on inside of bag.

Attach button on inside of bag.

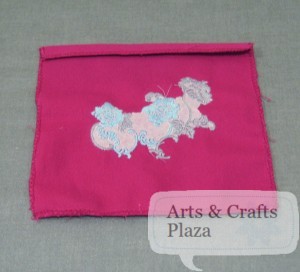
Bag is now ready for your final touches of decoration should you chose to add some.

Start of by removing any remaining pieces of the water soluble topper .

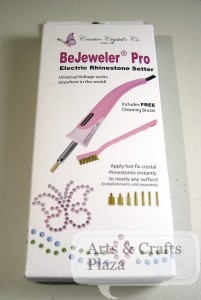
Add a few Swarovski Crystals or Rhinestones hot fix to bag.

Final touches:
Cut off any loose thread
Remove caulk markings

Bag is now complete.

Be proud! you just made a kid in Japan very happy.
Don’t forget, deadline to ship bags: December 8, 2011

For more details about ‘Dream 1000 Project’: www.artsandcraftsplaza.com/?p=689

 You can find: How To: Dream 1000 Project Bag – Part 1

Let’s create something!

How To: Dream 1000 Project Bag – Part 1

Thanksgivings is fast approaching and with that spreading some goodwill.
Brother started a ‘Dream 1000 Project’ by requesting folks to make a bag to donate to the kids affected by the Tsunami and Earthquake in Japan.
Deadline to ship bags: December 8, 2011
For more details about this project: Dream 1000 Project

Are you a beginner sewer? Just want to check out how the bag is constructed before taking it on?
Let’s get started!

Suggested fabric: Denim or Quilting fabrics.
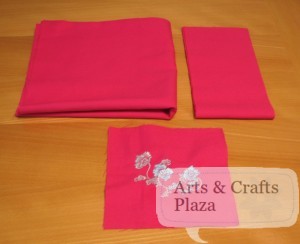
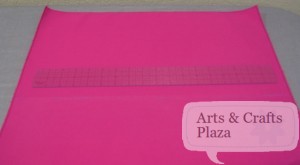
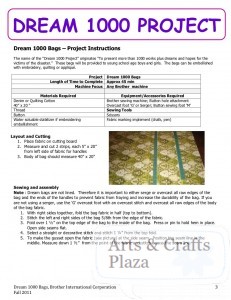
Start of by cutting your fabric to:
One 40″ x 20″
Two 5″ x 20″
Optional pocket, one 6″x 6″

As these bags are not lined, it is important to serge or overcast all raw edges of fabric.
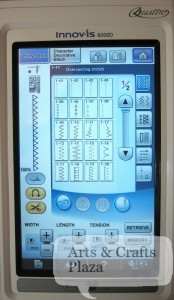
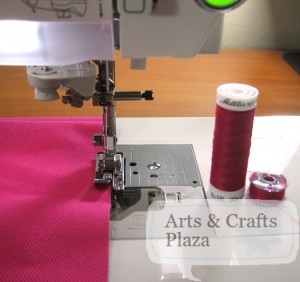
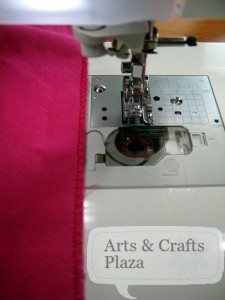
For those without a serger, use a G foot and choose one of the overcast stitches.

Put your fabric against the metal part in the middle of your foot.
Use same color thread as your bobbin.
Suggested thread: Polyester Mettler.

How your raw edges of fabric should look like.

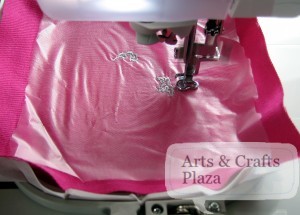
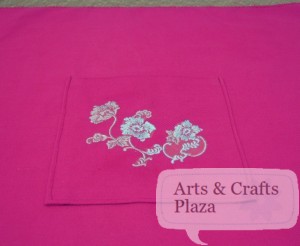
To create the pocket, we start by Embroidering it first.
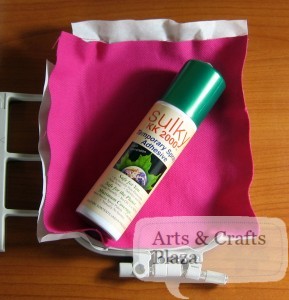
Hoop a tear away stabilizer, use Spry adhesive to attach your 6″x 6″ piece of fabric.
On top of that put your water soluble topper with spry adhesive.

Embroider something you think the kid that will get this bag will appreciate.
Think about color combination and overall look of the bag.

Change the foot of your machine and select a straight stitch.
This straight stitch uses a J foot.
Experiment with a scrap of fabric first and then adjust width and length of the stitch.

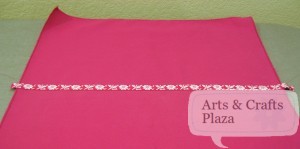
Measure 1/2 an inch from top of pocket.

Fold to the back of pocket.
Iron in place for ease and better result.

Top stitch top of pocket.

Folder back other 3 sides of pocket 1/2″ and iron.
Find center position on front of bag and pin.


Stitch both sides and bottom of pocket to bag.

Should you have any marking on fabric like this fold on fabric on back side of the bag, it’s a chance to decorate.

Make a straight line mark with caulk on unwanted fold line.

Add a ribbon in matching or contrasting color.
You may want to add another piece of fabric instead of ribbon.
Top stitch ribbon on both sides to secure to fabric.

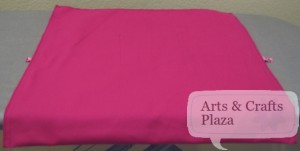
With right sides of fabric facing together, Stitch both sides of bag with 5/8″ seam allowance from edge of fabric.

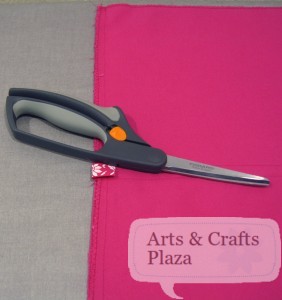
Trim and access ribbon or any loose thread.

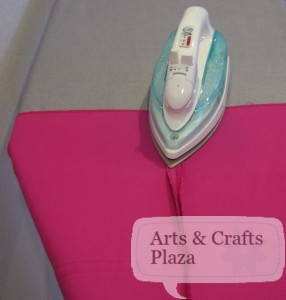
Iron open the side seams.

From top of bag fold towards the inside of bag 1 1/4″ and iron or pin.

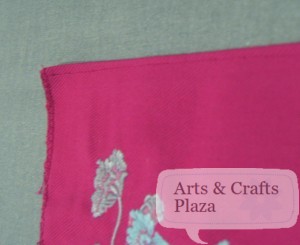
Use straight or decorative stitch 1 1/4″ from top of bag.
This picture shows straight stitch.

To create depth to the bag, add a gusset.
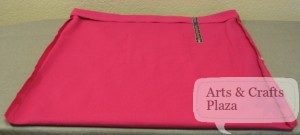
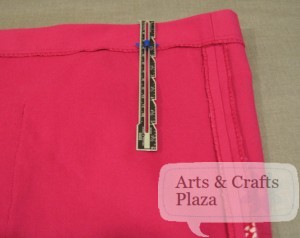
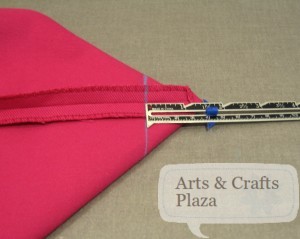
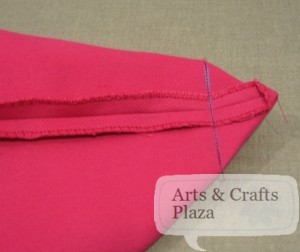
At bottom side of bag, measure 1 1/2″ from corner and mark.
Mark other bottom side as well.

Stitch over line on both sides.

Turn bag right side out.
View of how gusset changed appearance of bag.

 You can find: How To: Dream 1000 Project Bag – Part 2

Let’s create something!

The Dream 1000 Project

Brother company is sponsoring a wonderful project, ‘The Dream 1000 Project’. As we all heard, Japan had a major disaster this year, Earthquake followed by Tsunami that devastated the area. The folks there are still struggling to put their lives back together. Brother’s goal is to collect school bags for the children made from a pattern that takes approximately 45 minutes to complete. The bags will be collected and distributed to the children affected by the disaster. Some Brother dealers agreed to collect the bags and ship them, check with your local dealer to see if they are participating. Follow the link below for the Dream 1000 project information and instructions on how to construct the bags and where to send them.  It’s the little things that make a difference. The kids will appreciate any and all efforts. The complete bag must be shipped by December 8, 2011.
See how to make this bag:
You can find: How To: Dream 1000 Project Bag – Part 1
You can find: How To: Dream 1000 Project Bag – Part 2

See information Brother provided and consider joining for a great cause:

The Dream 1000 Project – Tuesday, October 25 at 8:00am – December 8 at 9:00am

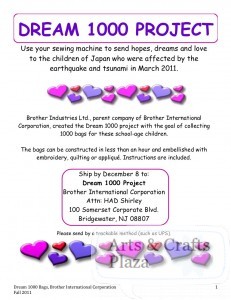
Brother Industries Ltd., parent company of Brother International Corporation, created the “Dream 1000 Project” with the goal of collecting 1000 bags for young school age boys and girls in Japan who were affected by the earthquake and tsunami in March 2011. We’d like to surpass this goal, but we’ll need your help.

We invite you to use your sewing machine to send hopes, dreams and love to the children of Japan by creating multipurpose school bags.
Send bags to:

Ship by December 8 to:

Dream 1000 Project
Brother International Corporation
Attn: HAD Shirley
100 Somerset Corporate Blvd.
Bridgewater, NJ 08807

Please send by a trackable method (such as UPS).

In the link below we have provided the specific instructions on how to create and where to send the bags.
The bags can be constructed in less than an hour and embellished with embroidery, quilting or applique.
You can find the instructions below:
http://ow.ly/d/o3X

For your convenience, see information:

Join the event on facebook:
https://www.facebook.com/event.php?eid=235853446469748

Remember, the goal is 1000 bags, the hope is to far surpass this. Thank you for all your help!

Houston, TX
Visit Brother at the George R. Brown Convention Center!
1001 Avenida De Las Americas, Houston, TX
Brother “drop-in” classroom #361A
Monday, October 31 – Saturday, November 5
8:00 am – noon. 1:00 pm – 5:00 pm
Sunday, November 6
8:00 am – noon only
All materials for creating the bags will be available in the classroom!

Central California
Central Valley Vacuum & Sewing Center customers, we are participating and will allow you to come into the store and use one of our Brother embroidery machines so that you can also participate.
We will even ship them to save you the postage. info@cvvsc.com
41453 Avenue, Madera, CA 93636     559-822-3300      www.cvvsc.com

East Bay of SF, CA:
We are hosting a free sewing bee using all of our fabulous modern sewing technology to sew and embroider tote bags for children in Japan who are still greatly impacted by the effects of the 2011 earthquake and tsunami. Joining Brother dealers across America, our joint goal is to donate at least 1000 totes for school age Japanese boys and girls.
sewnow! will provide all the supplies and set-up, as well as refreshments and a take home gift for all participants. Basic sewing skills required – ages 8-100 are welcome for a morning of sewing fun.
Register by clicking the facebook event or email info@sewnow.com to confirm participation.
960 Moraga Rd., Lafayette, CA 94549   925.283.7396     http://www.sewnow.com
Join us at sewnow! to participate in the ‘Dream 1000 Project.

To see some pictures of the area affected and how it’s changing:
http://blogs.sacbee.com/photos/2011/09/japan-marks-6-months-since-ear.html

Let’s create something!