You can find: How to: Diaper Bag Kit – Part 1
Turns out the top side of the bag doesn’t match the lining side nor the sides of the bag.
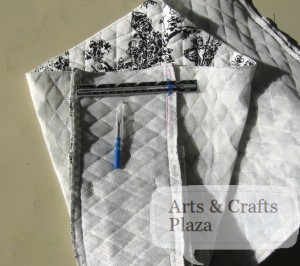
Measure and mark where you need to stitch.
(Ignore instruction to stitch by seam allowance.)
Open part of the seam of the lining.
I didn’t want to take all the stitches out as the corners were perfect.
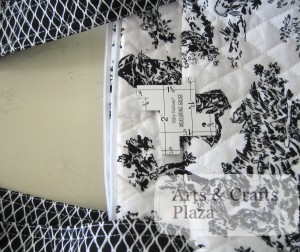
Add a piece of fabric in coordinating color making the top side of bag the correct size.
Make sure the seams are on the inside (hidden inside the bag).
Try and get it as even as you can on both sides.
Make sure size of top of bag and lining are the same.
Another view.
How it looks on the right side of the fabric.
Pin top of bag to lining.
Open the zipper so it’s out of the way.
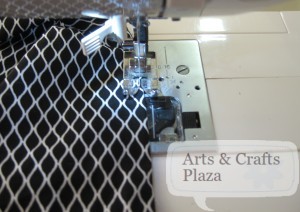
Stitch over zipper in a straight line on the edge.
View from the other side.
Moving on to the straps.
Measure and mark 4 inches from the size of the bag on both sides.
Attach straps on your marking. Use 1/2 inch seam allowance.
Make sure straps are not twisted.
View from the other side.
You may want to reinforce your stitches.
Stay inside your seam allowance.
How it should look so far.
Make sure the sides of your bag are the correct size.
In this case 4.5 inches.
Insert your lining into your bag.
I find it helpful to pin first with a few pins, just to make sure everything is where it’s supposed to be.
Turn bag and lining inside out.
Pin and stitch all around the top of the bag, using 1/2 inch seam allowance.
Take extra care of your corners.
Turn bag to the right side.
Use the opening at the bottom of lining and zipper.
Measure 1/4 inch for top stitch.
How it should look.
Time to close the opening at the bottom of lining which we used for turning the bag.
With raw edges of fabric turned inside, top stitch the 6 inches.
Use 1/4 inch seam allowance.
Your bag is now complete.
Final touches, cut any loose thread.
You can find: How to: Diaper Bag Kit – Part 1
Let’s create something!


Write a Comment