You created a gorgeous buttoned down shirt and you want to create your own buttons using your own fabric, what to do?
Get Buttons to Cover!
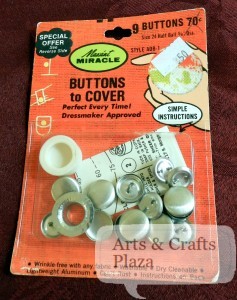
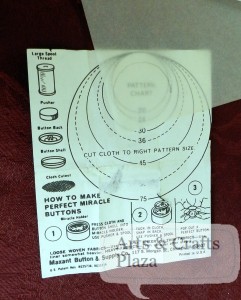
A look at back of packaging.
This is an old package with some advertising on it.
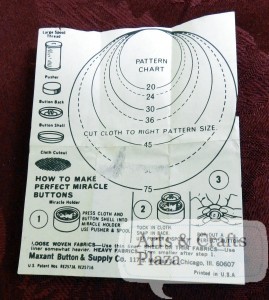
The instruction paper inside.
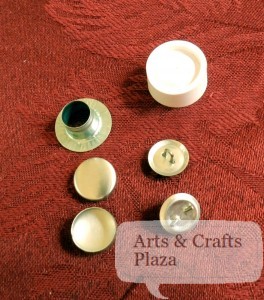
The parts you will use.
Use a paper to trace the size circle/button you would like.
You can use a scraps tracing paper from a pattern you use.
Cut out your circle pattern.
Use only need a very small piece of fabric.
See which part of the print you would like to use as the front of your button.
Trace and cut your circle from your fabric.
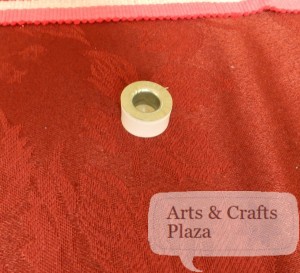
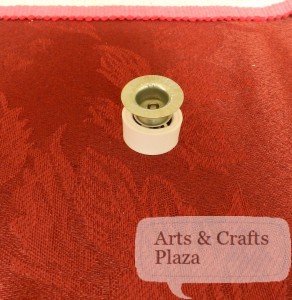
This White rubbery gizmo is called Miracle holder.
Place it with hole facing up.
Place your fabric on top.
Right side of fabric facing down.
Put button shell on top of fabric.
Put pusher on top of everything.
Press down.
A side angle.
Remove pusher.
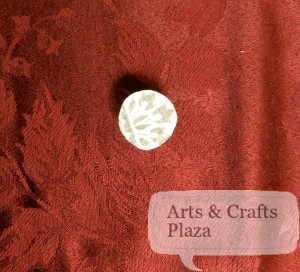
This is what you will see.
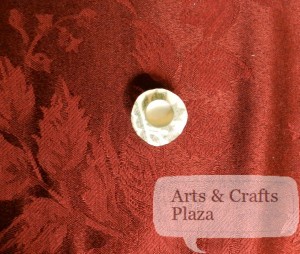
Put back of button on top.
Make sure your fabric is all tucked in inside.
Put pusher on top.
A side angle.
And push down.
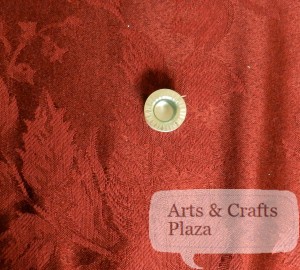
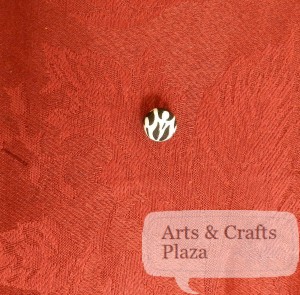
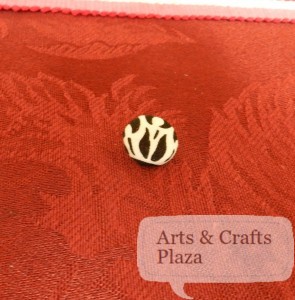
You are done!
Just remove the button and there you go.
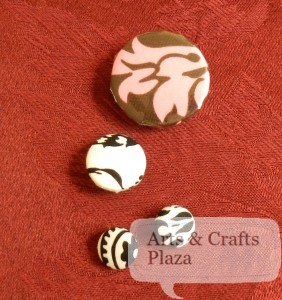
A side view of your completed button made to mach everything you wanted.
To view another technique of how to create your own button: How To: Button Maker
To view another technique of how to create your own button:How To: Make a Button Using Your Fabric, Self Cover Buttons
Enjoy!
Let’s create something!







Write a Comment