Shop Hop by the Bay

What is Shop Hop?

It’s a wonderful way to get to know your soon to be favorite stores.
Each area has a group of shops that participate in a shop hop. Stop by a shop hop participating store and pick up your passport. You will get a chance to explore a shop you may not have visited before. At each location you will have your passport stamped and receive a FREE GIFT!

Think this is a great idea? What to participate? Live in the Bay Area, CA?
Shop hop by the Bay 2012 is a group of 13 quilt shops and the San Jose Museum of Quilts and Textiles.
If you Quilt or Sew you will love it!
Not a Quilter or a Sewer? It’s fine, come anyway, check out the classes and think about joining.
Each store carries different fabrics, patterns, notions and gifts, come and share in the love.

At the first store, along with your passport, you will receive a Shop Hop by the Bay containing a map.
It will guide you to all participating shops.
You can see where every store is located:
http://www.shophopbythebay.com/shops.htm
Although a visit to the beautiful San Jose Museum of Quilts & Textiles is optional, in doing so you will be entered into the Museum’s own drawing for a wall-size collectible quilt!

Need more reasons to participate? How about winning some prizes?
Visit all 12 shop and the Museum and you will be entered into a drawing to win one of the wonderful prizes.
Got 7 or more stamps? And you will be eligible to win a second chance gift basket.

Shop Hop by the Bay Prizes:

GRAND PRIZE: A week a Empty Spools Seminar in Pacific Grove, CA.
KIDS GRAND PRIZE: 
One lucky Shop Hopper will win a sewing machine ($350 value);  must be between 5 and 17 years of age to be eligible.
13 First Prizes: $100 Gift Certificate to one of the participating shops.
Additional Prizes: 12 Fabulous gift baskets full of fabric, books, patterns, notions and more! Plus… 1 year free membership to San Jose Museum of Quilts & Textiles.
Up to $25,000 in Prizes and Give-Aways this Year!

When?

Shop hop by the Bay will take place between June 20-24.
Turn in your completed passport at the last shop you visit. This MUST be done during the Shop Hop.

Where?

To see completed list of shops and maps:
http://www.shophopbythebay.com/shops.htm
Participating Shops:
Always Quilting

Back Porch Fabrics
Eddie’s Quilting Bee
Family Threads
Golden State Sewing & Quilting
The Granary
Judy’s Sewing Center Capitola
Laurel Leaf
The Nimble Thimble
Quilts and Things
Sew Bee It Quilting
SueDee’s
San Jose Museum of Quilts & Textiles

At your first shop you will receive Shop Hop By The Bay passport and a newsletter containing a large scale map with insets showing the location of each shop

Shop Hop hours:

9:00 a.m. to 6:00 p.m. Wednesday-Saturday, June 20-23 and
11:00 a.m. to 4:00 p.m. Sunday, June 24
(some shops may have extended hours)

When/How do I know if I won a prize?

All winners will be notified using the contact information they provided in their passports.
You don’t have to be present in order to win.

Grab your friends. Make new friends. Join in for a fabulous tour of the Bay’s Best Shops!
This is a great way to spend a few days with your quilting and sewing friends, become inspired by what you see, and shop!
Explore the area, made a day out of it.

A more optimized route:

Always Quilting 4230 Olympic Avenue, San Mateo, CA 94403
The Laurel Leaf 648 Laurel Street, San Carlos, CA 94070
Sew Bee It Quilting 94 San Pedro Avenue, Morgan Hill, CA 95037
Quilts and Things 16985 Monterey St., #312G Morgan Hill, CA 95037
The Nimble Thimble 7550 Monterey Street, Gilroy, CA 95020
Family Threads 107D The Alameda, San Juan Bautista, CA 95045
Back Porch Fabrics 157 Grand Avenue, Pacific Grove, CA 93950
Judy’s Sewing Center Capitola 1501 41st Avenue, Capitola, CA 95010
SueDee’s 222 Mount Herman Rd. Ste. G Scotts Valley, CA 95066
Golden State Sewing & Quilting 2435 South Winchester Boulevard, Campbell, CA 95008
San Jose Museum of Quilts & Textiles 520 N 1st St, San Jose, California 95112
The Granary 1326 South Mary Avenue, Sunnyvale, CA 94087
Eddie’s Quilting Bee 480 South Mathilda Avenue, Sunnyvale, CA 94086

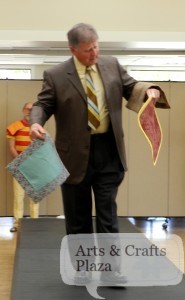
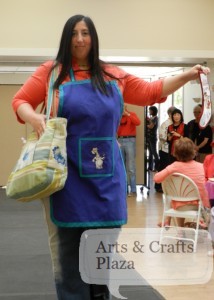
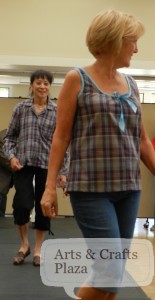
Spring Tea Party and Fashion Show

Above: Belinda with asymmetrical blouse.

Have you ever been to a tea part and fashion show?
If you haven’t, you are in for a treat…

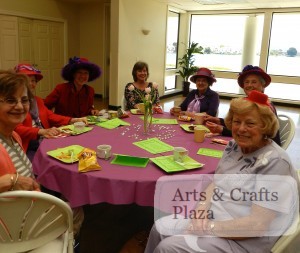
Started off with potluck with the participants.
The army marched on it’s stomach…

Meet the sewing instructor, Lynn Faus.

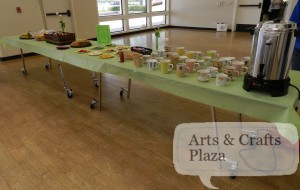
Tea and refreshments.
It is a spring tea party after all.

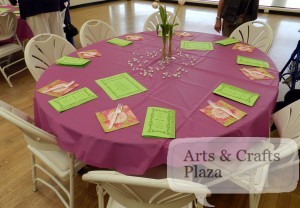
Tables are all set.

Getting ready, behind the scenes.
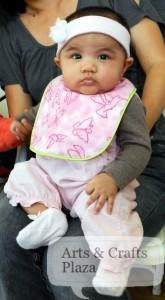
Adorable baby Mina – check.

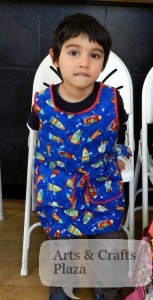
Cute kid, with Apron and over mitt – check.

Final preparations.
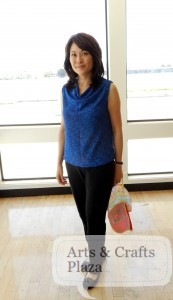
Susan with Tina’s cowl neck top.

Here we go!

From full ensemble.
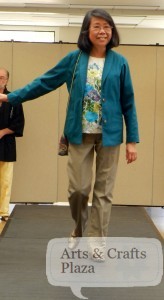
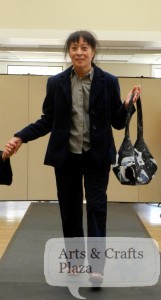
Tina with Jacket, shirt, pants and purse.

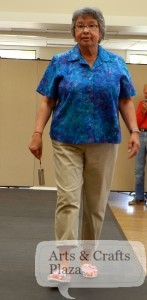
Lucy with camp shirt.

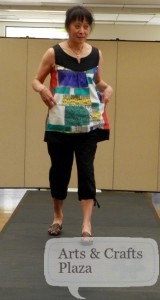
Linda with sleeveless smock with pockets.

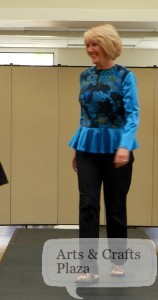
Judy modelling Ruth’s peplum top.

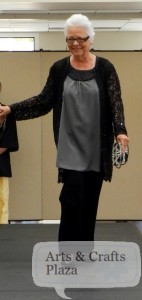
Belinda with sequin top.

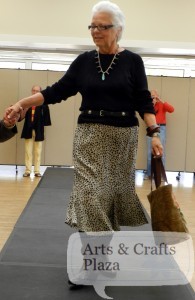
Look at the flair of Mary’s skirt with a matching handbag.

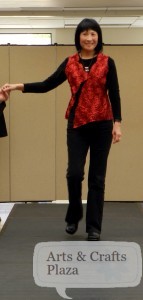
Marsha with Satin rosette Red top and matching purse .

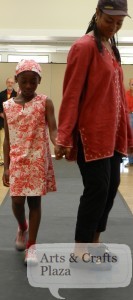
Mom Charity made the dress and Miriam loves it!

Tina’s pants and shirt.

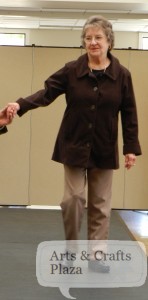
Linda made the jacket, corduroy suit, tailored shirt and bag.
She is SO talented and also Lynn’s assistant.

Mary made the pants.

Check out Elaine’s jacket.

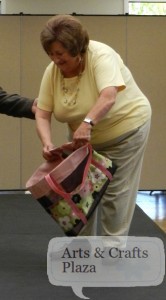
Marie walking this gorgeous bag by Marsha.
Did you know some of the materials for it came from the hardware store?

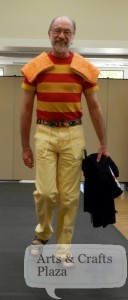
Rock those place-mats Ron!

A different style of place-mats by Ken.

Susan’s Bibs for the little ones.
That monkey is the perfect model!

Keren kicking off BBQ season.
A girl’s must have, a big tote bag.
Christmas stocking? why, that’s how we roll!

Same fabric yet different looks:
Judy with a summer sleeveless top.
Linda with long sleeve open collar shirt.
There were two additional looks that didn’t get into the shot, sorry ladies.

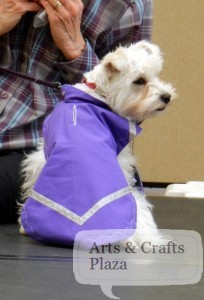
What is a fashion show without something for our four legged friends?
Linda made this coat and hat for her adorable dog, Mochi.

Great job on organising such a successful event.
Colleen on right, Corrie on left.
To find out more information about events and classes at the Foster City Recreation Center:
http://www.fostercity.org/Services/classes/index.cfm

Hope you enjoyed as much as the Tea Party goers did!

Like what you saw?
Look for one  near you or even better join the local sewing class!

Cash Mob

A new phenomenon out there, Cash Mob…

What is Cash Mob?
http://cashmobs.wordpress.com/about-us

On designated date folks go into small, local businesses and shop there, spend $10-$20 each on the goods and services offered. This helps the business owner and keeps our money in our community. The best way to promote and grow local businesses is to support and patronize them. Then head to the local restaurant, bar or pub to celebrate with your news friends.

First “Cash Mob” took place on November 16, 2011 organized by Andrew Samtoy, an attorney at Dworken & Bernstein. It was later on discovered that the first “Cash Mob” actually took place in Buffalo, NY, on August 5, 2011, and was organized by blogger and an engineer for Oracle Corp, Christopher Smith.


Looking for a Cash mob near you?
http://cashmobs.wordpress.com/near-you

If you know of another Cash Mob, let them know!
cashmobs@gmail.com

Looking for International Cash Mobs, check:
https://cashmobs.wordpress.com/international-cash-mobs

To follow on Twitter @Cashmobs
Bookmark www.cash-mobs.com


Mob Rules

Taken from: https://cashmobs.wordpress.com/rules-2

Here are the rules we’ve developed for running cash mobs.  THESE ARE JUST SUGGESTED RULES!!!

  1. The mob date and meeting location must be announced at least a week in advance via Twitter, Facebook and/or email.
  2. The amount to spend will not be more than $20, although people can spend more if they wish.
  3. The business must have products that cost less than $20 for both men and women.
  4. The business must be locally owned and independently operated.
  5. The business owner must give back to the community in some way.
  6. The business owner must approve the Cash Mob before the mob is announced.
  7. The business must be within one block of a locally-owned watering hole.
  8. Cash Mobbers must join us for celebratory drinks after the successful mob.
  9. The cash mob will occur during the evening on a weekday or on a weekend.
  10. Pictures will be posted to the blog after the CashMob.
  11. Parking or public transportation must be available.

At the mob, there are three rules:

  1. Spend $20;
  2. Meet three people you didn’t know before;
  3. HAVE FUN!!!


Saturday March 24, 2012 was International Cash Mob Day. Missed it? No worries, another one is coming up shortly.

Coming up:

International Cash Mob Day II: May 25, 2012
Where will you be?
Keep your eyes on twitter feeds, facebook pages, G+, blogs…
Start your own Cash Mob, support your local Arts and Crafts Mom and Pop store!

Almond-Scented White Cake – Part 2

You can find: Almond-Scented White Cake – Part 1

While you are waiting for the cake to cool, it’s time to turn your attention to the frosting.

Frosting:

  • 1 cup mascarpone
  • 1/4 cups confectioners’ sugar
  • 1 1/4 cup heavy cream

You will need 1 1/4 cup heavy cream.

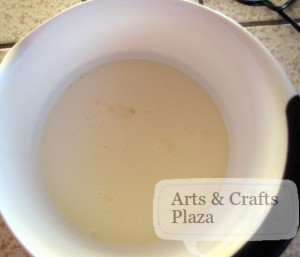
Pour heavy cream into a bowl.

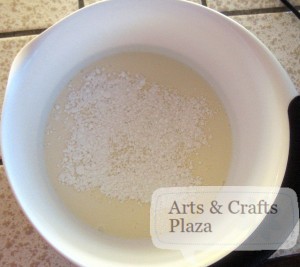
Add 1/4 cups confectioners’ sugar.

Whip together using an electric mixer set on medium-high speed.

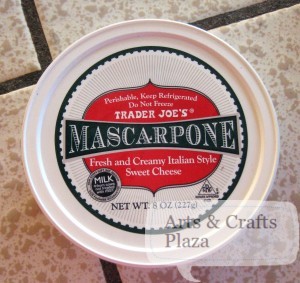
Fold in 1 cup Mascarpone.

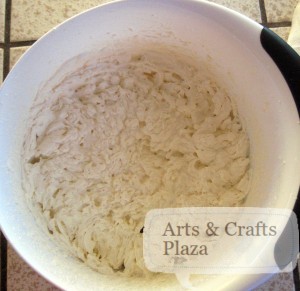
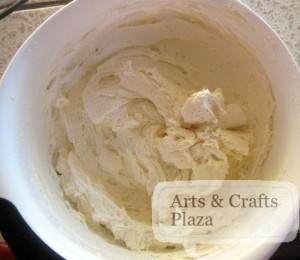
How the frosting should look.

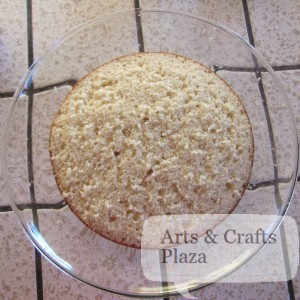
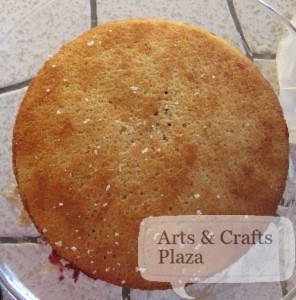
Both cakes will need to be cut in half.
Use a long serrated knife, cut each cake in half horizontally.

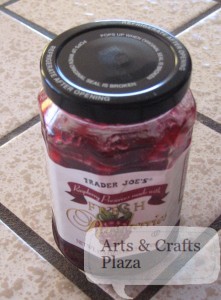
We elected to use Raspberry preserve.

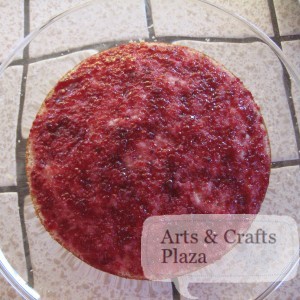
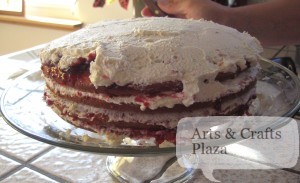
Place half a cake on a plate and spread with Raspberry preserve.

Spread some of the frosting on top.

Place second half of cake on top.

Repeat for all layers.

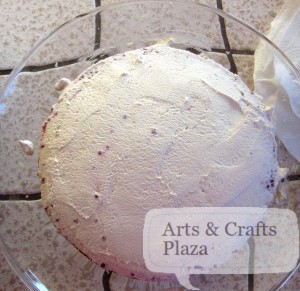
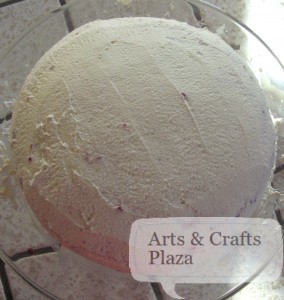
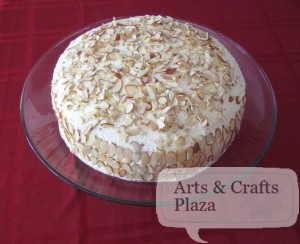
Spread the remaining frosting over the top and sides.

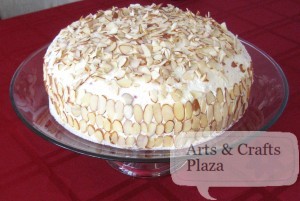
Press the toasted almonds onto the sides and sprinkle on top.
Clean edges of cake plate.

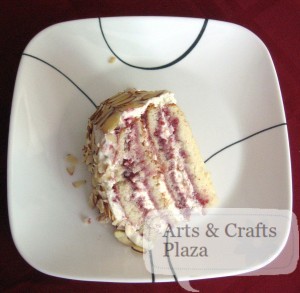
Time for taste test…
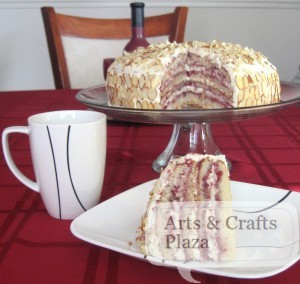
Cut a piece and enjoy!

Serve immediately, or cover with a cake dome and refrigerate for up to 1 day. Bring to room temperature before serving.
Makes one 9-inch cake; serves 10 to 12.

You can find: Almond-Scented White Cake – Part 1

Let’s create something!

How To: Mother’s Day Photo Frame

Mother’s Day is just around the corner.
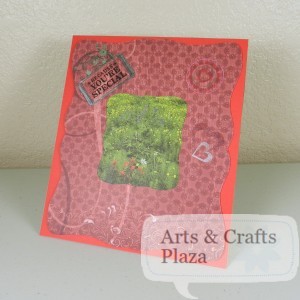
Let’s make mom a photo frame with a picture of the family.

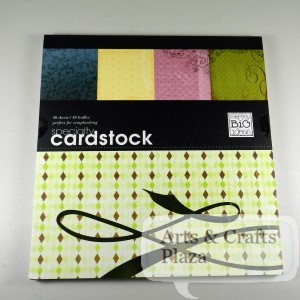
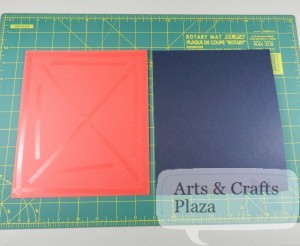
Pull out one of your card stock.
This is Speciality Cardtock, Me and My Big ideas.

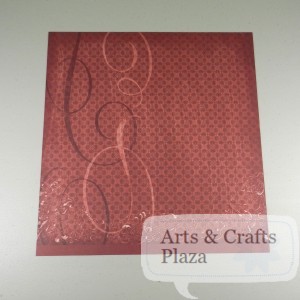
Chose a page that you think will look the best.

This step can be done directly on your card stock paper.
It will work even better, if you start of with just a printer paper or any scrap paper you have around.
This way you will not have any fold marks on your finished project.
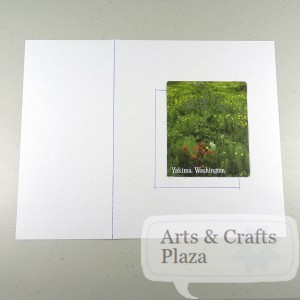
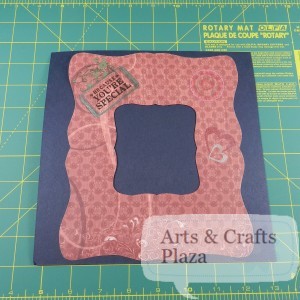
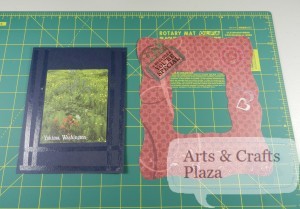
Position your picture and trace.
Decide on the size of the picture frame and mark.

Cut any access paper you may have.
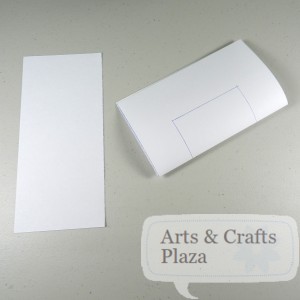
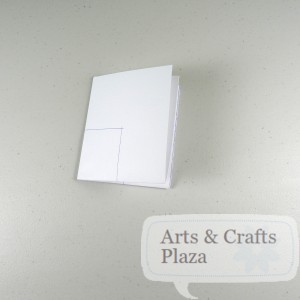
Fold the pattern photo frame in half.

Fold in half again.

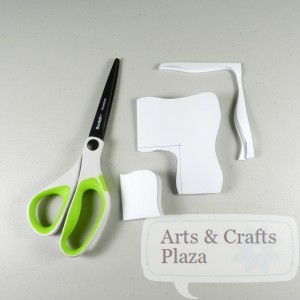
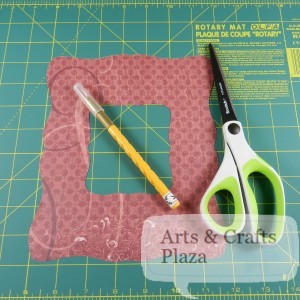
Use your scissors to cut inside your picture placement and close to the edge.

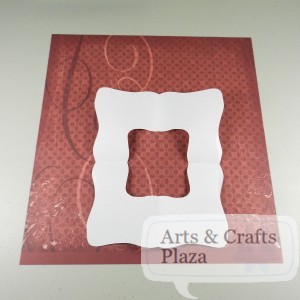
Audition on your card stock where you would like to cut it.
Since you only cut a scrap paper, you can give it another go if you are not happy with the result.

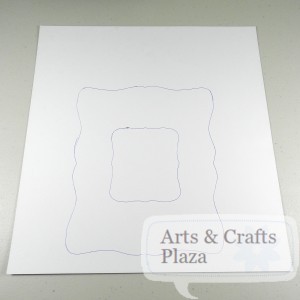
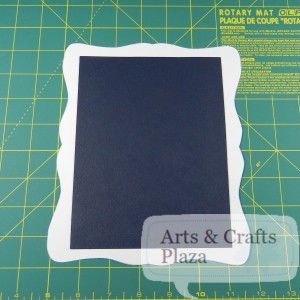
Turn your card stock around and trace.

It will be easier to cut around the photo frame.
Use an exacto knife on the inside photo placement.

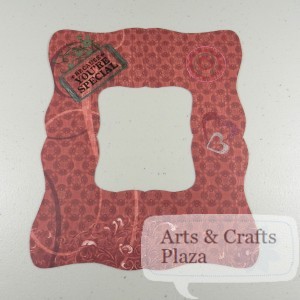
Choose your favorite way to decorate your photo frame.
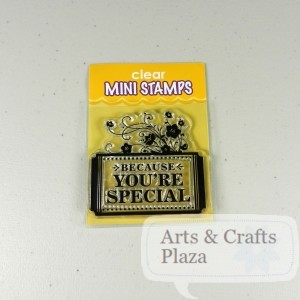
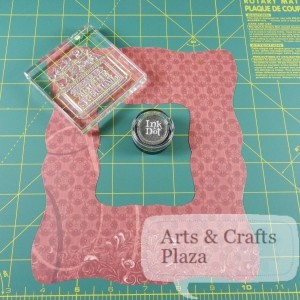
Use stamps, colored pens / pencils or anything you want to embellish with.

Using a stamp on photo frame.

Going over the stamp with Silver Metallic ink gel pens in various colors to give it a pop.

Take a sturdy cardboard to help your photo frame stand up.
Don’t have one on hand? You can use a cereal box.

You will need 2 pieces.
One that is slightly smaller than the photo frame.
Trace and cut.

The other slightly larger than the photo frame.

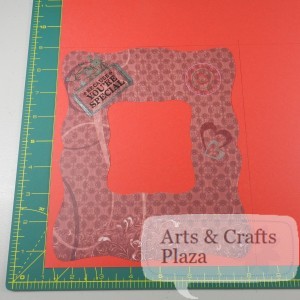
Take another piece of card stock paper.
This will be used to cover the front facing side of the cardboard.
Trace and cut.

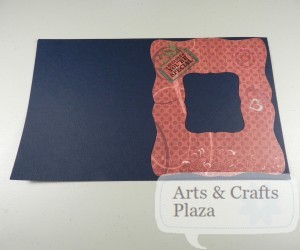
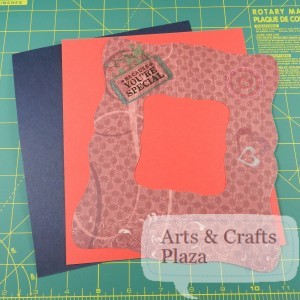
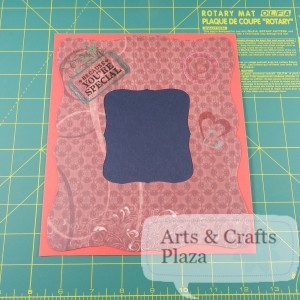
You now have your decorated card stock, place behind it your coordinating colored card stock and behind that the cardboard.


You can use glue stick, double sided tape or any adhesive that will hold all layers together.
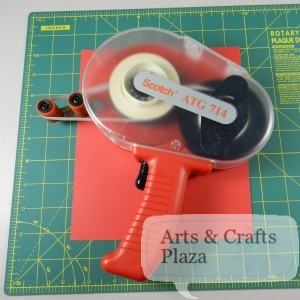
I use my trusty Scotch ATG 714 Tape Glider.

Tape card stock to cardboard.

Tape small cardboard to the back of your decorated frame.
Make sure you glue on 3 sides ONLY.
You want to be able to insert your picture in and also be able change it at a later date.
In this case the top was left with NO glue.

A look from the back side once glued.

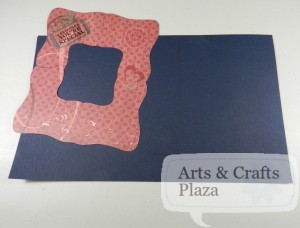
Now you can glue the decorated frame to the card stock.
Use glue ONLY on the back of the small cardboard and not on the decorated frame.
If you glue the decorated frame you will not be able to insert the picture in.

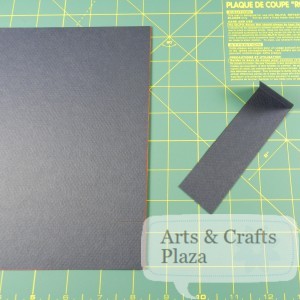
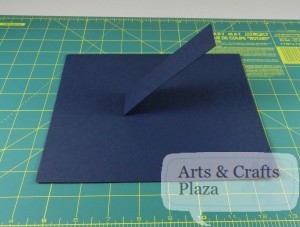
Take a small piece of the cardboard and bend a small piece.

Glue the small bend to the back of the photo frame.
This step will get your photo frame to stand.

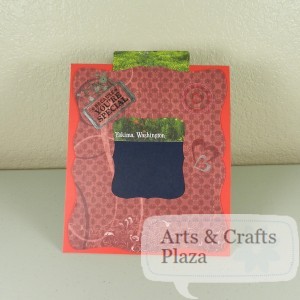
You can now insert the photo into your completed photo frame.
You can chose to insert your photo inside a photo sleeve protector for added protection.

Make sure you tell your mom you love her, not just on Mother’s Day 🙂

This project is suitable for kids, make sure to supervise while using scissors.

Enjoy!

Let’s create something!

Almond-Scented White Cake – Part 1

You can find the original recipe from Williams-Sonoma:
http://www.williams-sonoma.com/recipe/almond-scented-white-cake.html
In this case we changes it up and choose to use different frosting

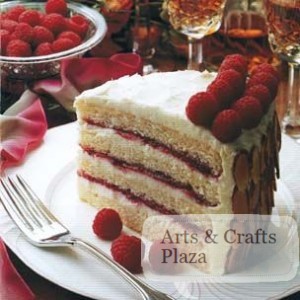
Picture from Williams-Sonoma

Ingredients:

  • 2 cups unbleached all-purpose flour
  • 1 Tbs. baking powder
  • 1/2 tsp. salt
  • 12 Tbs. (1 1/2 sticks) unsalted butter, at room temperature
  • 1 1/2 cups sugar
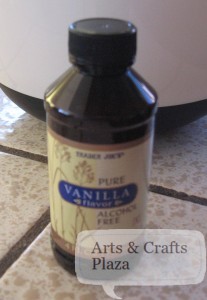
  • 2 tsp. vanilla extract
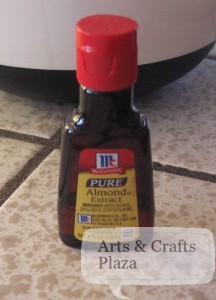
  • 1 tsp. almond extract
  • 1 cup milk
  • 5 egg whites, at room temperature
  • 3/4 cup raspberry preserves, melted
  • Raspberries (optional)
  • 1 1/4 cups sliced almonds, lightly toasted and cooled

Preheat oven to 350ºF.
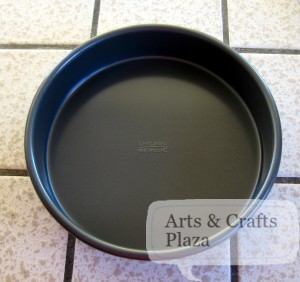
Start of with two 9 inches and 1 1/2 inches deep cake pans.
Butter and flour the cake pans.

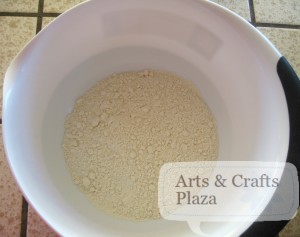
In a medium bowl, sift 2 cups unbleached all-purpose flour .

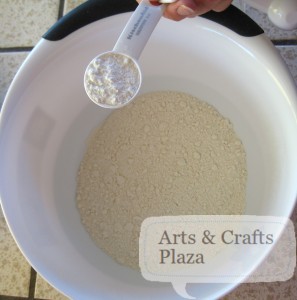
Add 1 Tbs. baking powder .

Add 1/2 tsp. salt.
Mix all together.

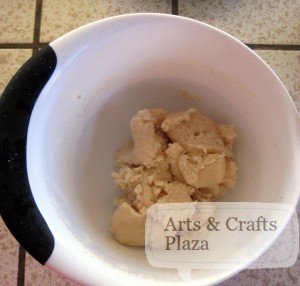
Put 12 Tbs. (1 1/2 sticks) unsalted butter, at room temperature to a large bowl.

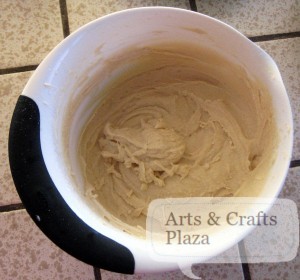
Use an electric mixer set on medium-high speed, beat the butter until light.
Gradually add 1 1/2 cups sugar.

Beat until well blended.

Beat in 1 tsp. almond extract

As well as, 2 tsp. vanilla extract.

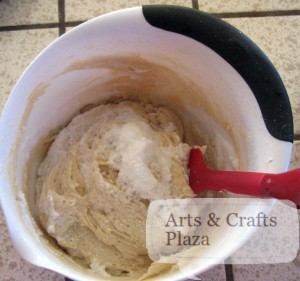
Once you get a nice consistent blend, Reduce the speed to low.

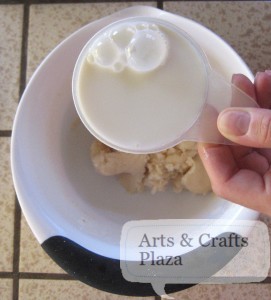
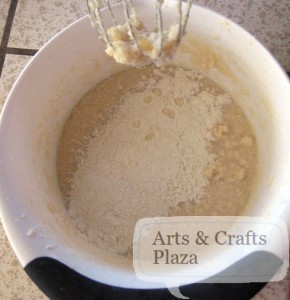
Alternate adding from 1 cup milk.

And the flour mixture into the butter mixture

Work it until combined.

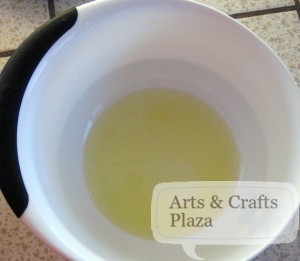
In a large bowl, use an electric mixer set on high speed, on 5 egg whites, at room temperature.

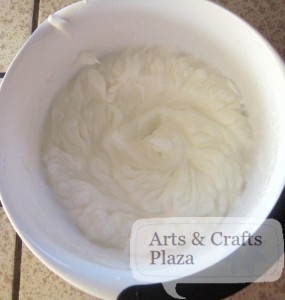
Beat egg whites until stiff peaks form.

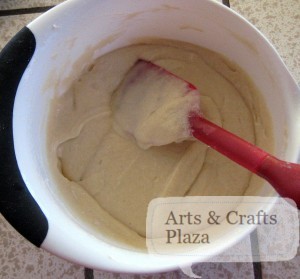
Use a rubber spatula, gently fold the beaten egg whites into the batter.

Continue until it’s incorporated.

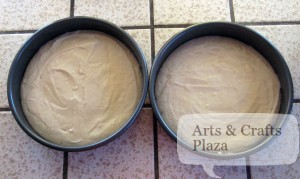
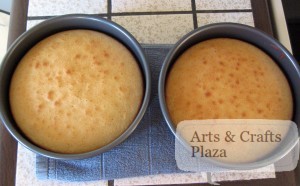
Divide the batter between the prepared pans; smooth top with the spatula.

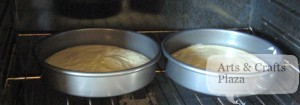
Bake in oven for about 30 minutes at 350ºF.
Cakes are ready once a toothpick inserted into the centers comes out clean.

Transfer to racks and let cool in the pans for 10 minutes.
Use a sharp knife around the pan sides to loosen the cakes.
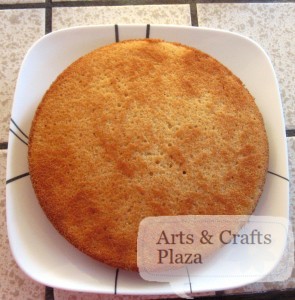
Invert onto racks and let cool completely.

You can find: Almond-Scented White Cake – Part 2

Enjoy!


Israel celebrate 64th Independence Day, Yom HaAtzmaut

Yesterday Israel celebrated it’s 64th Independence Day, Yom HaAtzmaut.
A look into the celebrations at PJCC , Peninsula Jewish Community Center

To check out what else the PJCC has to offer:
www.pjcc.org
800 Foster City Blvd., Foster City, CA 94404
P: 650-378-2721
F: 650-378-2799

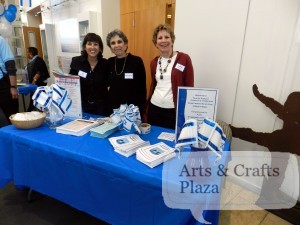
As you walk in to the PJCC, you are greeted with the lovely volunteers.
Take a flag, stickers, pins, schedule of activities etc. and in you go.
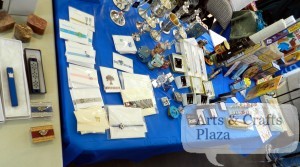
First you’ll come across the Artists Shuk (Craft Vendors).

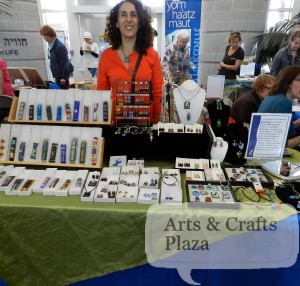
Bezu Designs, handcrafted arts by Cheryl Selman
cherylas@me.com
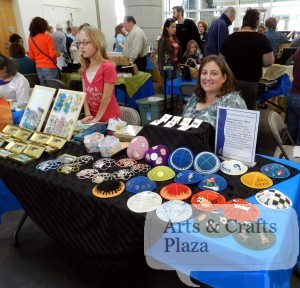
Cheryl and her daughter are painting yamaka (kippah, kipa) as well as create them from glass and crystals.

Robin Raphael Simke
sfmadl@comcast.net
Robin is a talented lady who paints on glass.

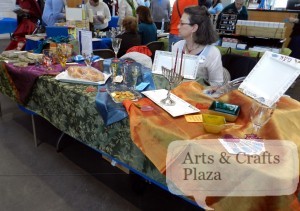
This table was a collective from Starr Stevens Judaica Shop
giftshop@sholom.org
P 650-697-2266
It is operated by the Peninsula Temple Sholom.
You will find unique gifts for all occasions.

Gila Sagy, Fused Glass Art
www.gilasagy.com
gila@gilasagy.com
Gila creates Jewelry, photo holders, Wine bottle cheese boards and Mezuzah cases.

Ceramics by Marcelle by Marcelle Walliser
www.ceramicsbymarcelle.etsy.com
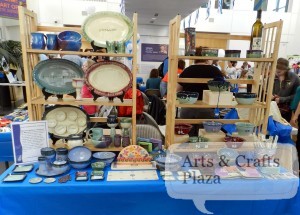
Marcelle creates handmade stoneware pottery, Bowls, mugs, soap dishes, Jewelry and so much more.
Everything is food safe, oven safe and microwave safe. They are dishwasher safe unless otherwise stated.

Peace in Mind by Lori Wick
lori.wick@comcast.net
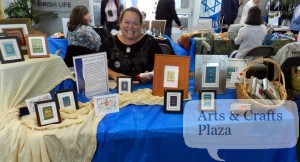
Mixed media artist who creates original framed art from paper, ribbons and textiles.
On each pieces is a hand written blessing.

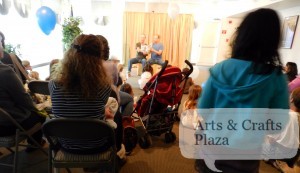
To keep the kids happy, they could listen to stories in Hebrew.
A few of the family activities:
Make a luggage tag
Masada obstacle course
Face painting
Bounce house
And so much more!

Enjoy the Puppet show, Apartment for Rent (Dira Le’haskir)

Israeli food by, The Flying Falafel
www.flyingfalafel.com
You can find a story about the origin of falafel on The Flying Falafel site.


Indoor and outdoor seating to choose from.
Don’t worry, pizza sold on PJCC grounds were not harmed!

Checking out the community mural.
Great job ladies!

Something for everyone, various activities, Israeli dance instruction or the Peninsula Synagogue Israel video trip.

Israel’s Independence Day celebrations at the PJCC came to conclusion with several speakers, youth choir and Micha Biton’s performance.

All pictures were taken with approval by the artist.

Hope you enjoyed Israel’s Independence Day celebrations at the PJCC!
Didn’t make it this year? Try and make it to next year.
This event is FREE to the public.

You can check out more information about Yom Ha’Atzmaut Community Celebration (Israel Independence Day)

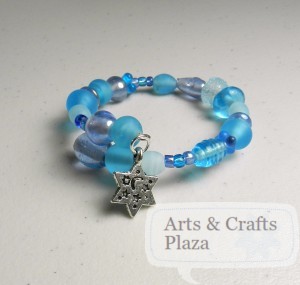
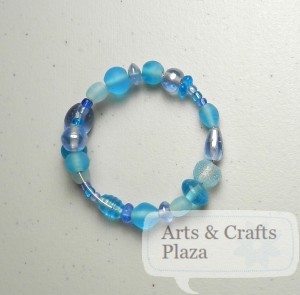
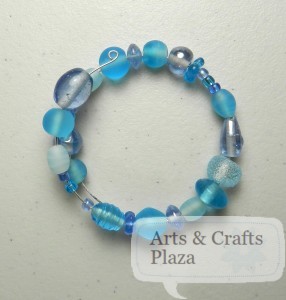
Blue Star of David Memory Wire Bracelet

The nice thing about a memory wire Bracelet is that you don’t need to worry about the fit, as well as, no need to fiddle with a clasp.

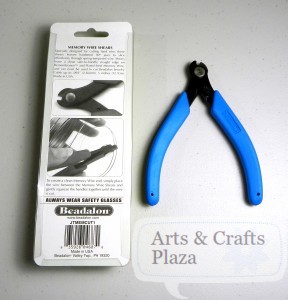
Start by using the right tools, memory wire sheers.
Cutters are not designed to be used with this product, they will not cut any longer if you use them on memory wire.
You will also achieve a clean safe edge when using memory wire sheers.


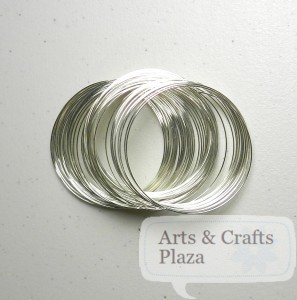
Memory wire is a spring like wire that holds designs snug against your skin.
Sizes of memory wire packs varies.

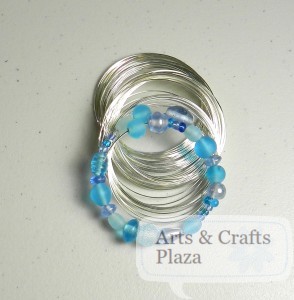
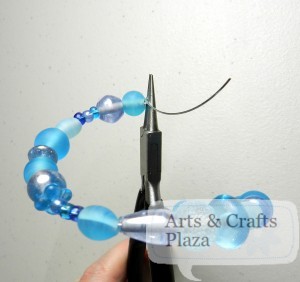
String your complimentary color of beads onto the memory wire until you are happy with the size you get.
I suggest you overlap a little.

Once you are happy with the size, use your memory wire sheers and cut.

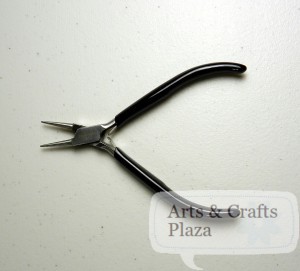
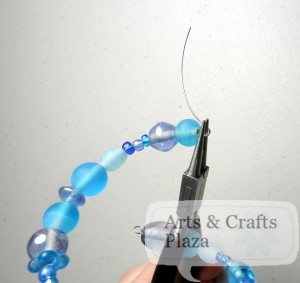
Use round nose pliers to form loop at the end of the wire.

Twist against the curve of the wire to form a loop.

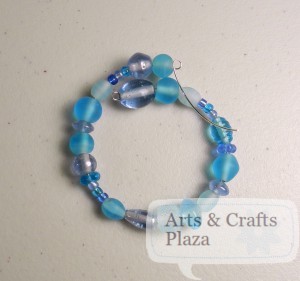
Check size again, add or remove a few beads if necessary.
Form a loop on the other end of the Bracelet.

You want the loop close to your last bead.

Have it snug but not too tight.

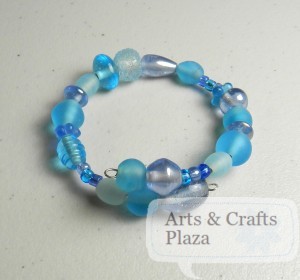
Your Bracelet can be done at this point.
You may want to add a charm to it.

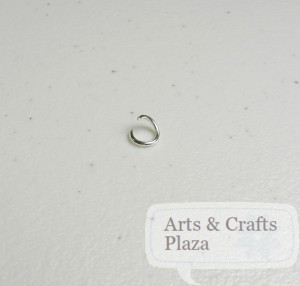
Open a Jumprings with 2 pliers.
Remember, twist, don’t pull it apart.

Add your charm and attach to one of the loops on your Bracelet.
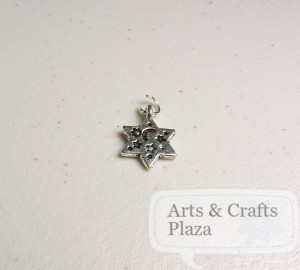
In this case Star of David charm that has a loop on top.
By attaching the charm to a jumpring first you will get more movement to your Jewelry piece.

Enjoy!

Let’s create something!

DREAM 1000 PROJECT – Update

BROTHER INTERNATIONAL CORPORATION’ DREAM 1000 PROJECT PRODUCES SCHOOL BAGS FOR
JAPANESE EARTHQUAKE AND TSUNAMI VICTIMS

To view original post:
The Dream 1000 Project

Customers and dealers overwhelmingly respond to global relief effort with much-needed sewn bags
BRIDGEWATER, NJ –When a Japanese engineer working for Brother Industries Ltd., the parent company of Brother
International Corporation, “dreamed” big, he could not have imagined the outpouring of international support he would receive.
The Dream 1000 Project, a global relief effort created in mid-2011, called for all of Brother’s worldwide employees
and its dealers to support those affected by the March 2011 Japanese earthquake and tsunami by producing 1,000 hand-
decorated fabric school bags for children to tote their belongings.
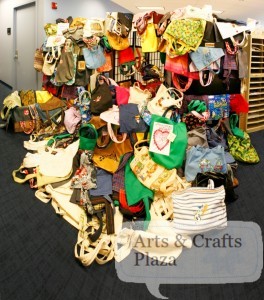
Photo 1: Tote bags created by Brother employees and dealers for Japanes children affected by the tsunami
came in an array of colors and designs.

The project combines Brother’s history and leadership of producing world-class sewing machines with its strong corporate
commitment to the community and its Japanese roots. The completed bags from the U.S. as well as Canada, Brazil, and
Taiwan, were shipped in late December. In total, more than 1,300 tote bags were produced and shipped to the Japanese
children.

Here in the U.S., project leaders asked for 100 tote bags but Dean Shulman, Senior Vice President of Brother
International Corporation and head of the Home Appliance and Industrial Products Divisions, set a higher goal. Shulman
asked for 300 tote bags from his associates around the country.
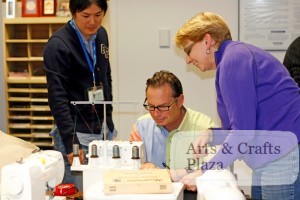
Photo 2: Dean Shulman (center), senior vice president of Brother International Corporation and head of the
Home Appliance and Industrial Products Divisions, created his own tote bag for the Dream 1000 project.

“In the end, our employees, dealers, and customers answered our request in an even bigger way and sent us 524 tote
In bags for the relief effort,”says Shulman. “
They completely surpassed our goal of 300. One dealer even sent 70 bags.”

Part of the allure of producing the bags was their easy pattern to follow. Participants say the bags took no more than 45
minutes to produce, depending on how much unique embroidery, quilting, or appliqué was added. The 20 x 20-inch tote
bags were made with heavy, durable fabrics such as denim or canvas and had a closure, either a button or Velcro, and
handles.

“Sewers and crafters are very compassionate, giving people,”says Shulman. “
They used their Brother sewing machines
to send hopes, dreams, and love to the children of Japan by creating these essential multi-purpose school bags. Nearly a
year after the disaster, the Japanese people still face basic needs to rebuild their lives.”

On March 11, 2011 a strong earthquake measuring 9.0 on the Richter scale struck off the Pacific coast of Japan, followed
by severe aftershocks. It was the most powerful known earthquake ever to hit Japan and one of the five most powerful
earthquakes in the world since modern record-keeping began in 1900. The earthquake triggered powerful tsunami waves
that reached heights of up to 133 feet causing devastating human and physical damage in northeastern Japan and
destroying entire cities in the coastal prefectures of Fukushima, Iwate and Miyagi. The Japanese National Police Agency
confirmed 15,844 deaths, 5,890 injured and 3,451 people missing. The disaster damaged or destroyed more than
700,000 commercial and residential properties, leaving thousands of families homeless in the middle of winter.

According to Save the Children, an international humanitarian organization, the crisis in northeastern Japan directly
affected more than 100,000 children through displacement, loss of access to education, loss of family members, and
exposure to high levels of stress and anxiety.
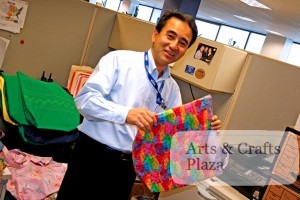
Photo 3: Brother International Corporation’s president, Tadashi Ishiguro, admires the many tote bags produced
for the Dream 1000 project.

Coming to their aid, Brother employees, dealers, and customers from 17 U.S. states gathered together throughout the
summer and fall to produce the tote bags. Dozens of quilters from around the world created bags during the Houston Quilt
Show in November—the largest quilt show in the U.S. with 30,000 attendees. Terry Koike, president of Brother Industries
Ltd, participated in the project by making a bag, as did Brother International Corporation’ president, Tadashi Ishiguro and
his wife. Brother International Corporation’ Dean Shulman made a bag and decorated it with glitter, a guitar, and
handwritten message, “ Our Heroes in Japan from Your Brothers in the U.S.A.”Another donated bag was embroidered
To simply with the words “Love, love, love.”

Creative Threads, a family-owned two-store dealership in Binghamton and Greene, New York, contributed 12 bags to the
project. A note accompanying their donation said, “ We send our thoughts and prayers for those in Japan impacted by the
tsunami. We hope that these bags will help bring some joy to the children affected by this tragedy.”

Amy Phipps, an employee at Creative Threads, joined four others who produced the school bags. “ We thought it was a
great idea on Brother’s part to extend this invitation to make the bags and help the children. They are so far away in
Japan and you don’t know what to do to help. You can contribute money but it seems so impersonal. Knowing that these
bags are needed gave us the opportunity to help out, especially for the children who sometimes seem to be forgotten.”

The five from Creative Threads found the pattern very easy to follow. They enjoyed, said Phipps, being able to customize
the bags for either boys or girls using their own fabrics and embroidering Disney characters on some of them.
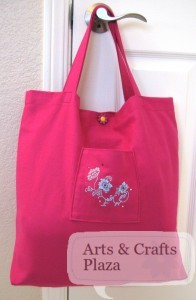
Keren at Arts And Crafts Plaza makes a bag to donate to the kids affected by the Tsunami and Earthquake in Japan.
How To: Dream 1000 Project Bag

At sewnow! in Lafayette, California (outside of San Francisco), co-owner Susan Goldie assembled her pre-teen and teen
sewing class to produce the tote bags. The 22 teens worked at different stations and produced 20 bags for the project.

“Our core business is to teach sewing skills to children and adults,”says Goldie. “ We incorporated the project into our
teen sewing class. The kids found it super fun to make the bags and they were aware of the disaster in Japan and felt it
important to help other children.”

Goldie’s group produced tote bags for both boys and girls using blue and grey denim fabric and accessorizing them with
floral or plaid straps. The more experienced sewers took the roles of precision sewing techniques such as top-stitching
and button holing whereas the new sewers produced straight-line stitches.

“We even had a few guys come to work on the tote bags,”recalls Goldie. “
They are usually more interested in the
technology behind the sewing machines. This project really highlighted that area on our Brother machines since we used
the Quattro® 6000D model with the scanner and camera features. The Brother machine also has hundreds of built-in
embroidery designs that we could use on our tote bags and that captivated their interest.”

To learn more about Brother International Corporation, visit www.brother.com.

About Brother International Corporation
Brother International Corporation has earned its reputation as a leading supplier of innovative products for the home sewing enthusiast. Through a
growing network of sewing machine dealers and retail outlets nationwide, Brother offers a full line of home sewing machines, from basic to top-of-the-line
sewing and embroidery machines. The company is recognized for its high-quality, state-of-the-art machines and accessories, offering ease of use and
flexibility at affordable prices. Brother is a wholly owned subsidiary of Brother Industries Ltd. With worldwide sales approaching $5 billion, this global
manufacturer was started almost 100 years ago by sewing fanatics. Brother offers a diversified product line that includes fax machines, Multi-Function
Center® machines, P-touch® Labeling Systems and both color and mono laser printers for home, office and industry. Bridgewater, New Jersey is the
corporate headquarters for Brother in the Americas, from Canada to South America. It has fully integrated sales, marketing services, manufacturing,
research and development capabilities located in the U.S. In addition to its headquarters in Bridgewater, New Jersey, Brother has facilities in California,
Illinois, Massachusetts and Tennessee, as well as subsidiaries in Canada, Brazil, Chile, Argentina Peru and Mexico. For more information you can visit
the website at www.brother.com.
 

How to: Sew 1 Step Buttonhole

Looking to buy a new Sewing Machine? Look here

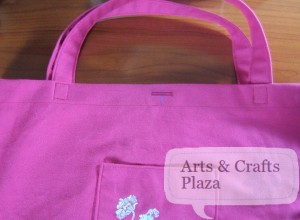
Start of by deciding where you would like to position the button.
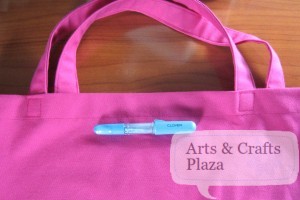
Use a caulk pen to mark the position.
You will need to mark the beginning and length of the button.
Do a test run to check what position your sewing machine will start sewing.
This machine, Brother’s Quatrro, sewing starting at bottom left, going up, going right, moving down and finishing at left bottom position.

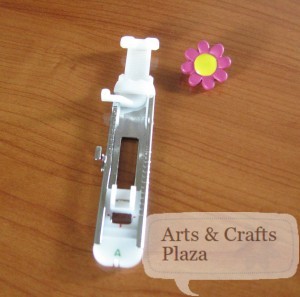
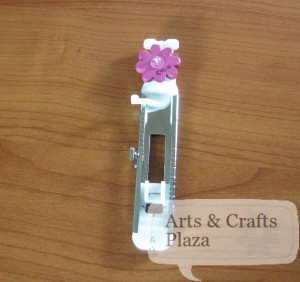
Extend the back (White plastic part) and insert button into button hole foot.
By doing so it “tells” the machine what size is your button.

In this case insert button facing down.
make sure the button holder plate is gripping the button tightly.

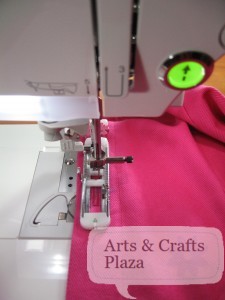
Attach the buttonhole foot.

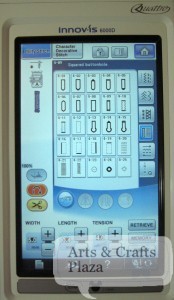
Select which button hole is appropriate for the type of fabric you are using.

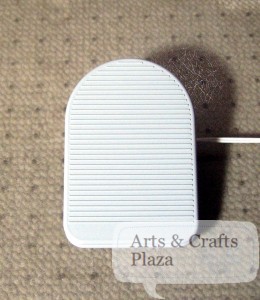
In some machine you will need to press on the foot peddle to make your machine start.

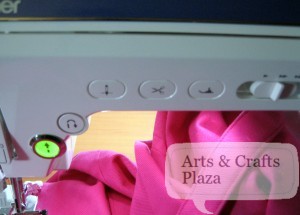
In some machine it’s a click of a button away.

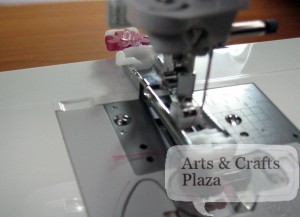
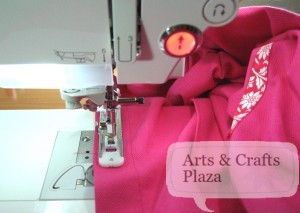
Place your fabric under the button hole presser foot.
There are markings on the buttonhole presser foot, use them to position the fabric.
Notice the little “window” opening at the front, watch for your fabric markings through it.

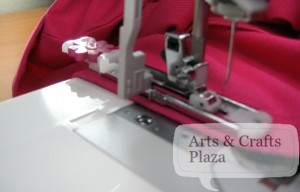
Lower the buttonhole lever that is located to the left of the needle, until it’s behind the metal bracket on the buttonhole foot.
Bring your thread under the presser foot.

Hold the end of the upper thread.
Your sewing machine will do the rest.

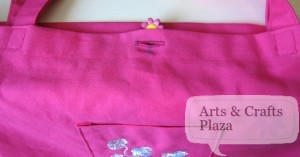
Now that you have the perfect buttonhole, you will need to open it.

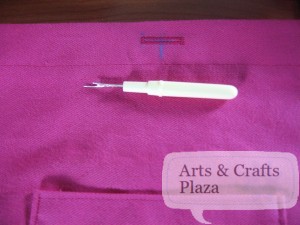
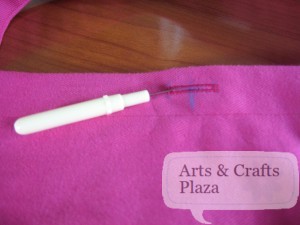
If you don’t have a buttonhole kit, use a seam ripper.

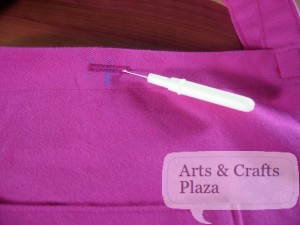
Start at one side push the seam ripper down and cut until you get to the half way point.

Repeat on other side until you meet the opening in the middle.
Be careful not to get into the stitches.

Depending on the type of button you use, you may be able to use your sewing machine to secure the button to your fabric.
In this case, hand stitch.

Enjoy!

Let’s create something!